The Legend of ZELDA
Tiny Guide
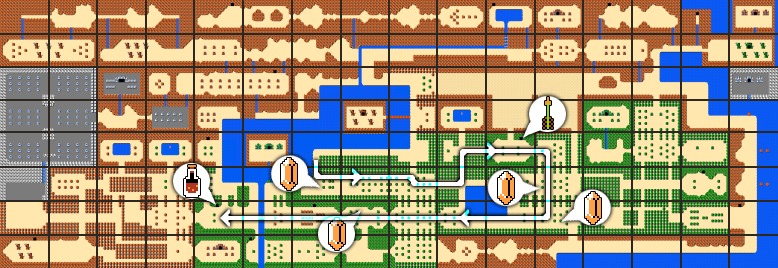
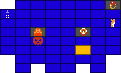
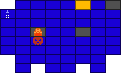
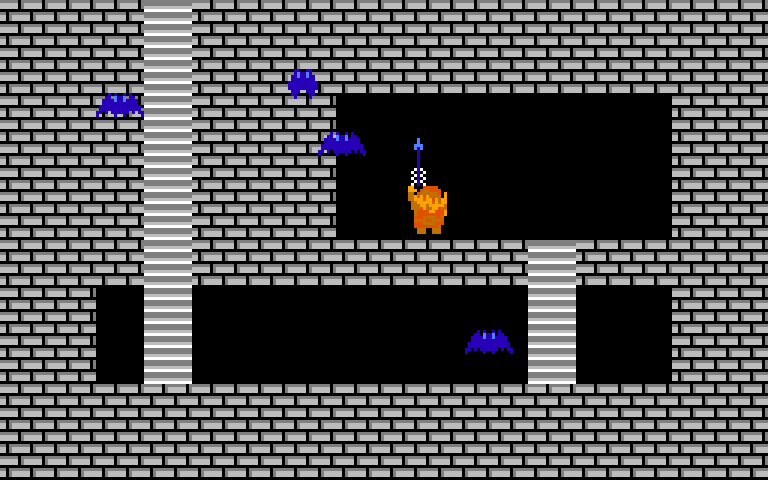
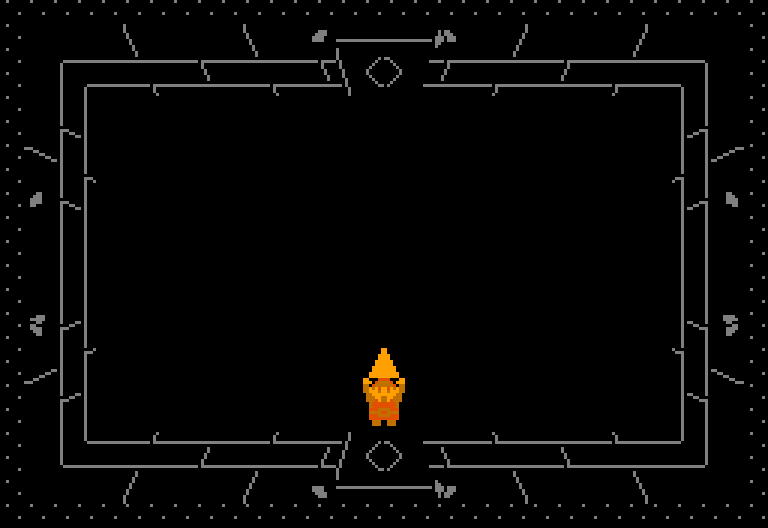
Compilation of Zelda Dungeon guides, rewritten and condensed so that on widescreen it can be placed to the left of an emulator running at full size in the original television aspect ratio. As direct and minimal as possible while maintaining clarity. [demo]
![[demo]](img/0.demo.jpg)
For Link's original quest released on NES in 1986...
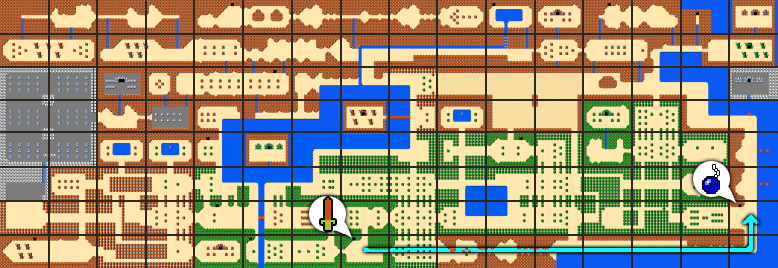
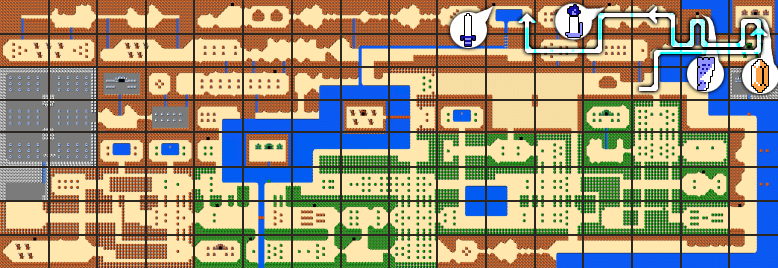
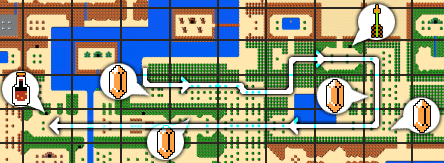
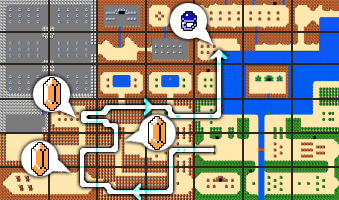
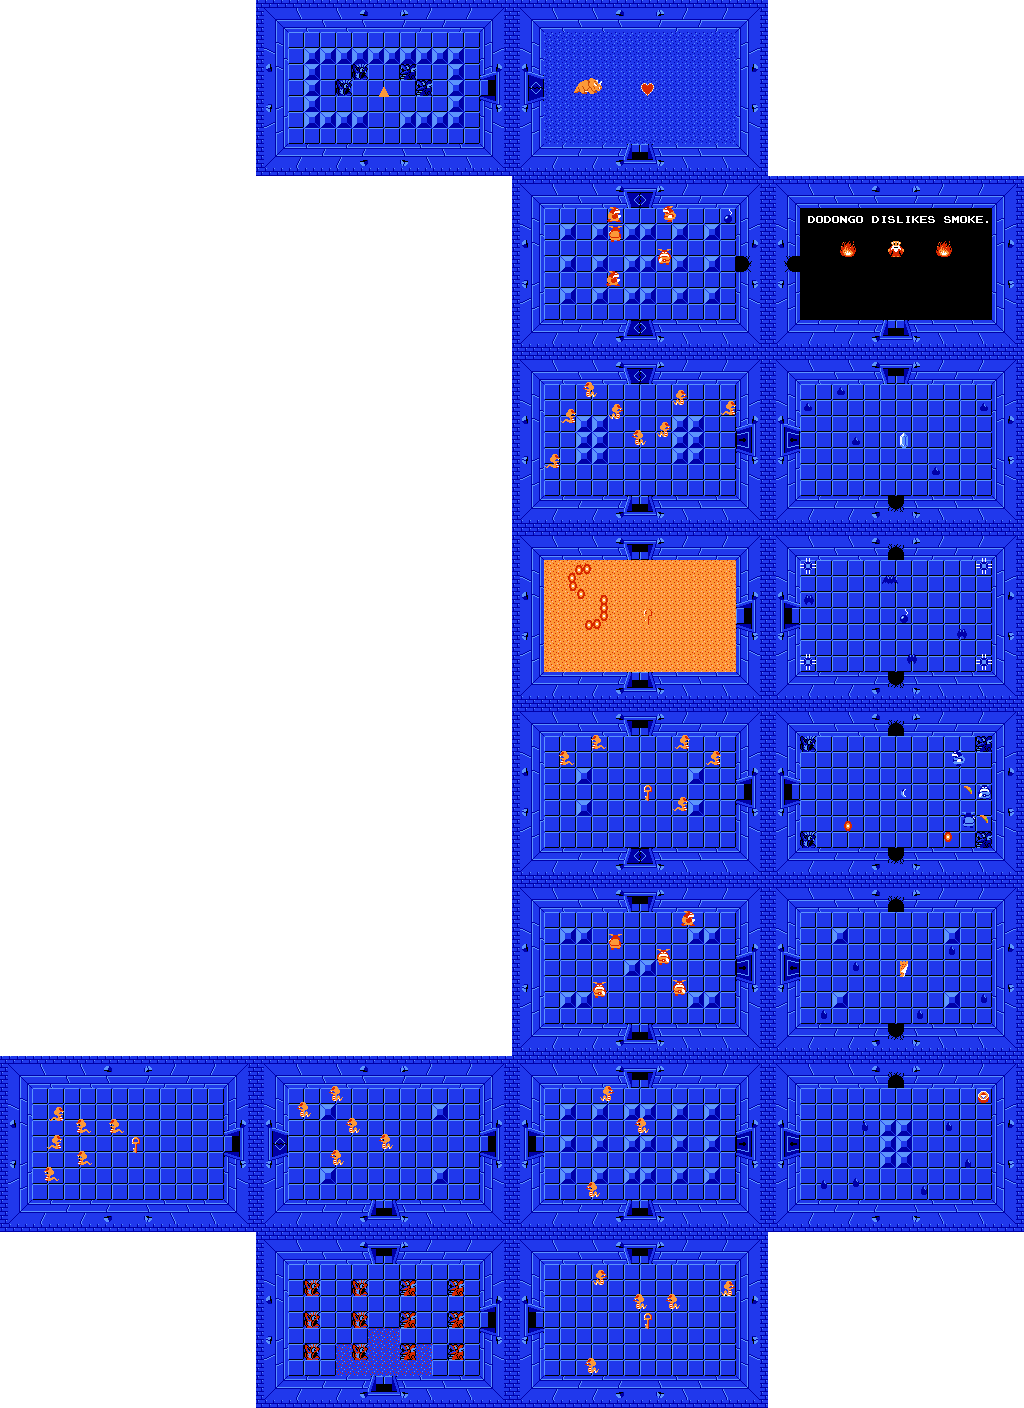
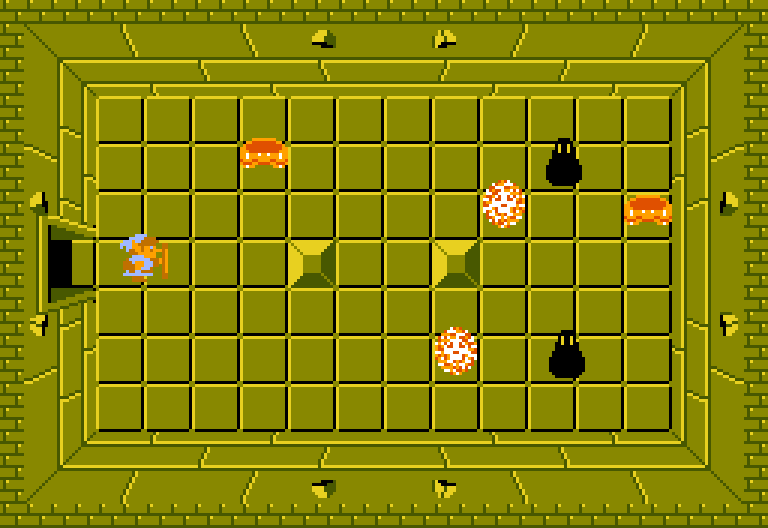
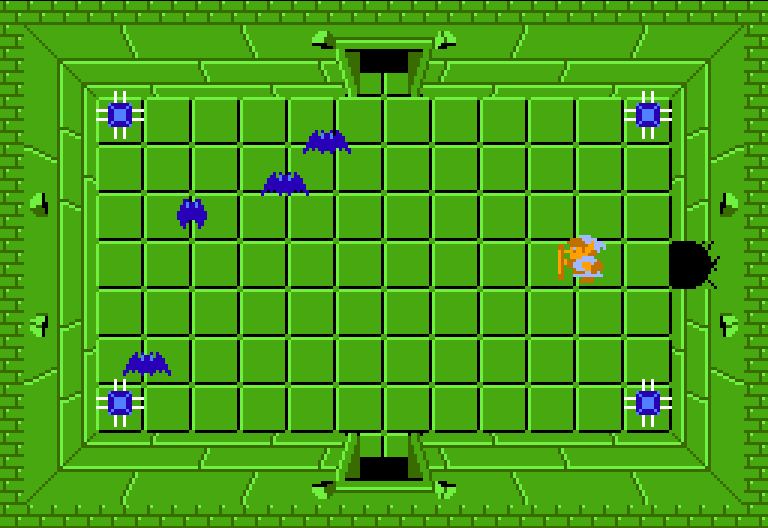
- Overworld: The Gathering
- Labyrinth 1: The Eagle
- Labyrinth 2: The Moon
- Labyrinth 3: The Manji
- Labyrinth 4: The Snake
- Labyrinth 5: The Lizard
- Labyrinth 6: The Dragon
- Labyrinth 7: The Demon
- Labyrinth 8: The Lion
- Labyrinth 9: Death Mountain
- Emulation Resources
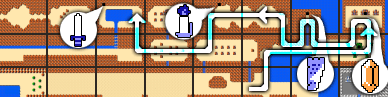
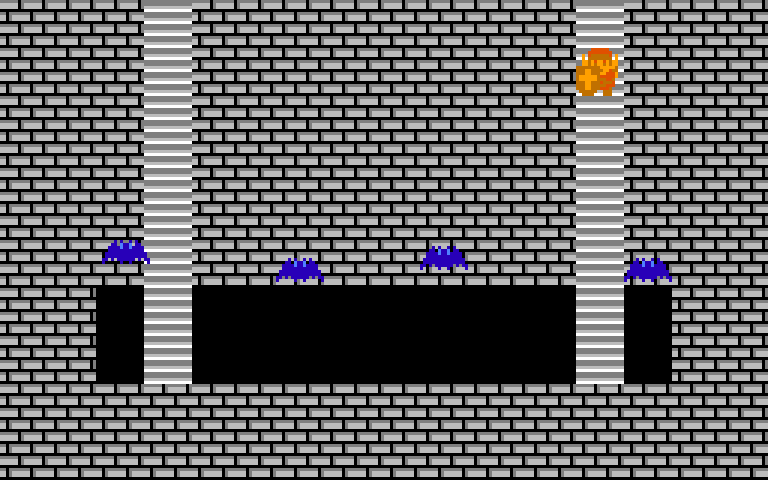
Play with your browser's zoom controls (usually ctrl/cmd and +/-) until this column fills 1/4 of your screen. That's what's left over when you embed a 4:3 emulation in a 16:9 screen.

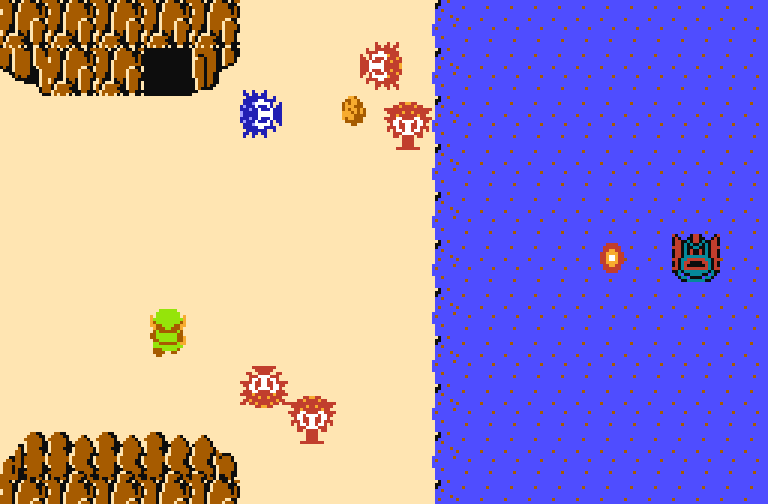
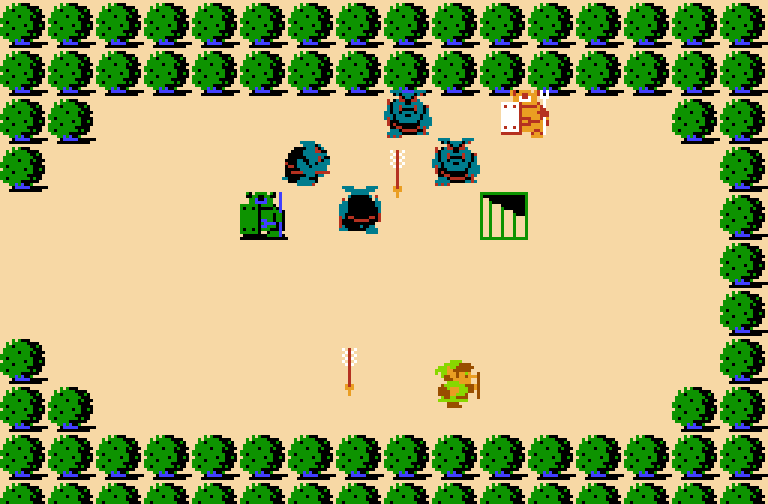
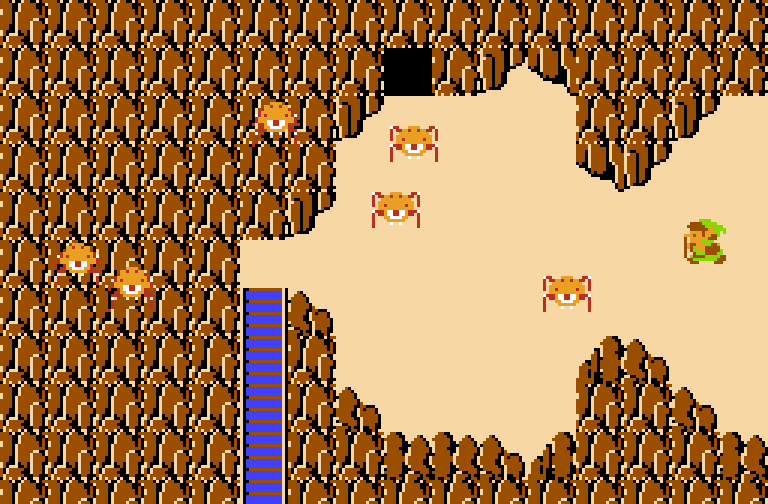
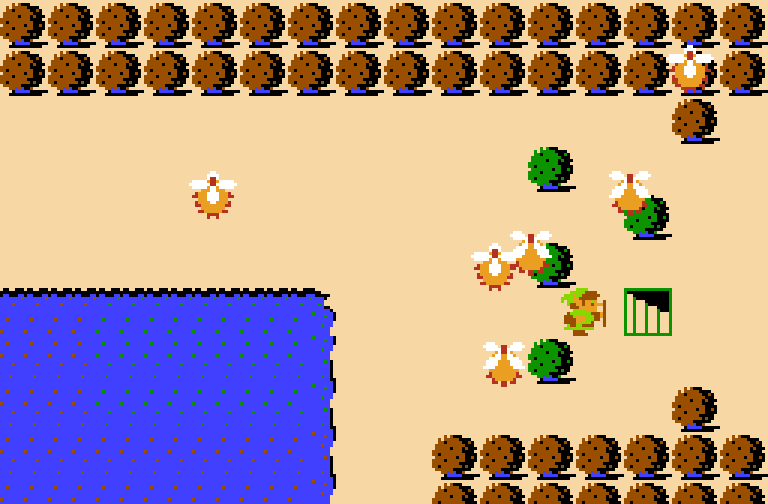
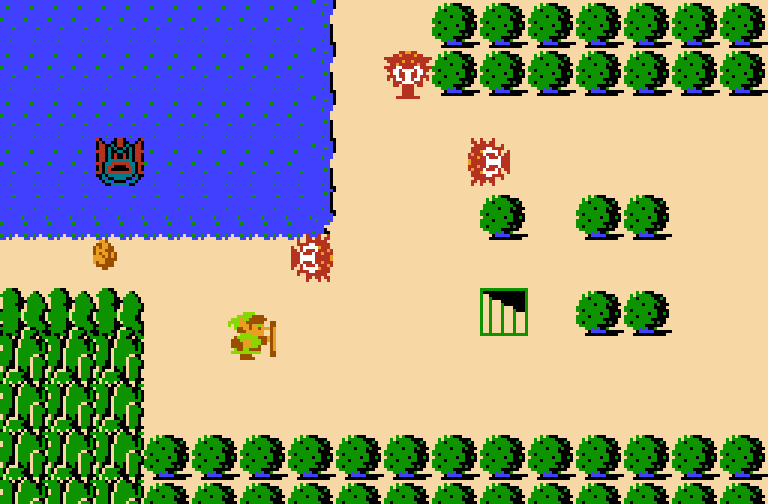
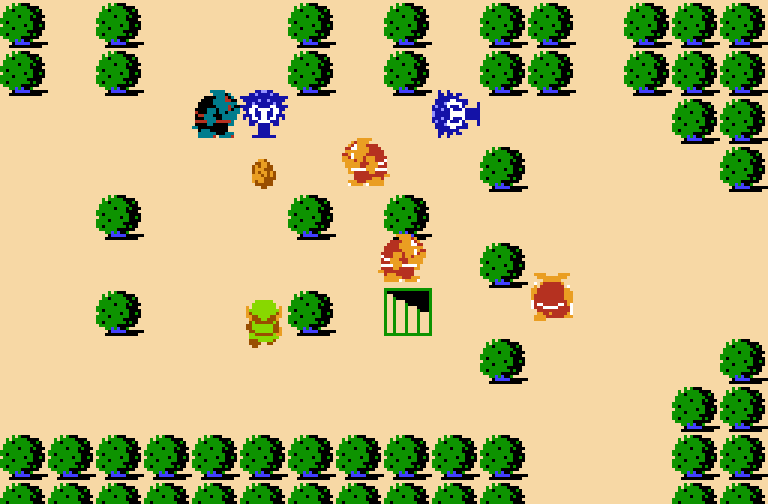
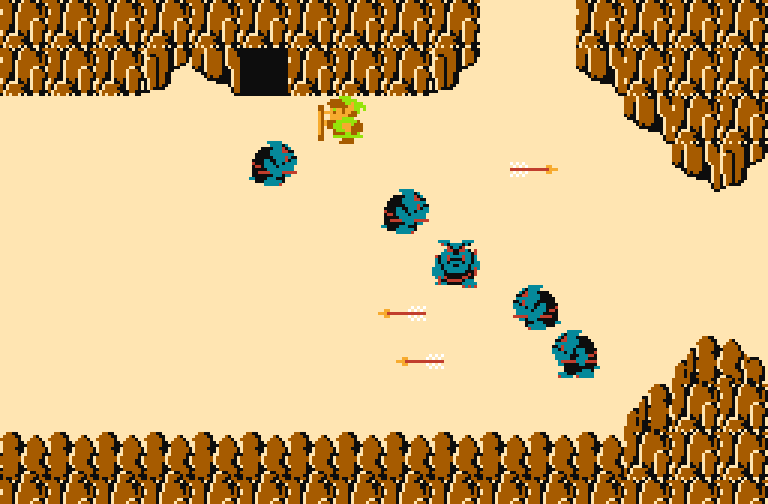
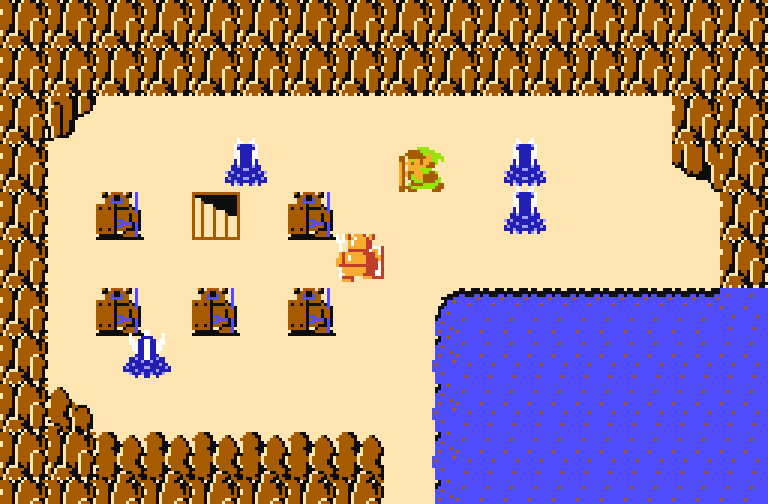
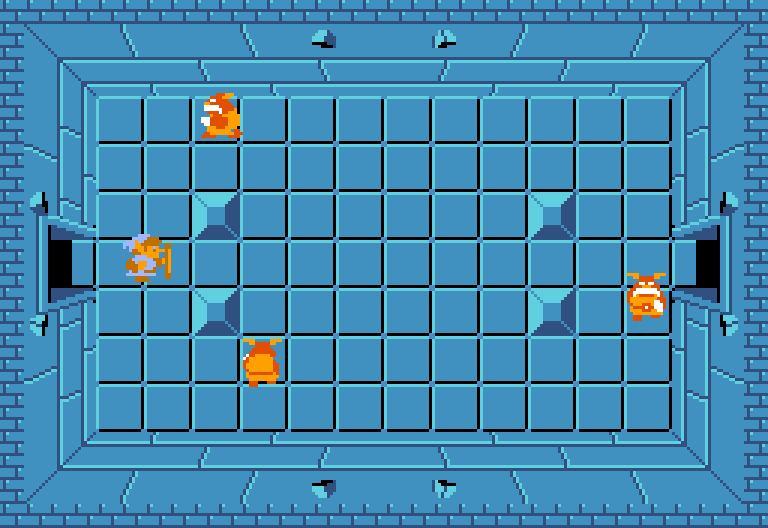
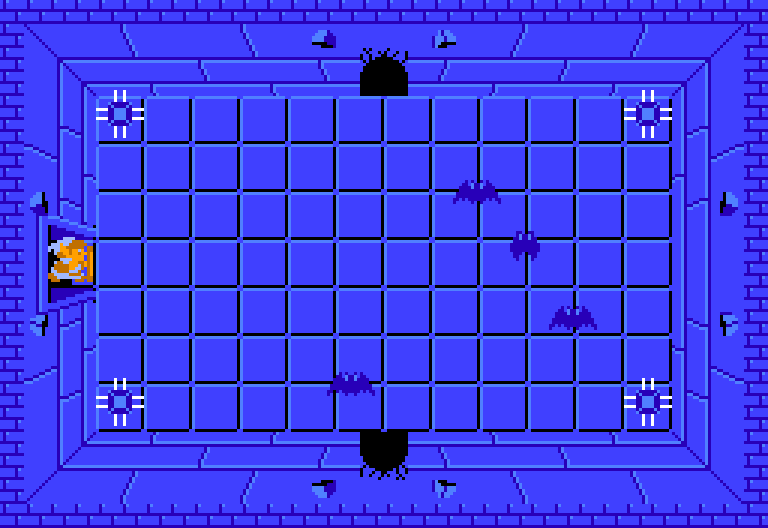
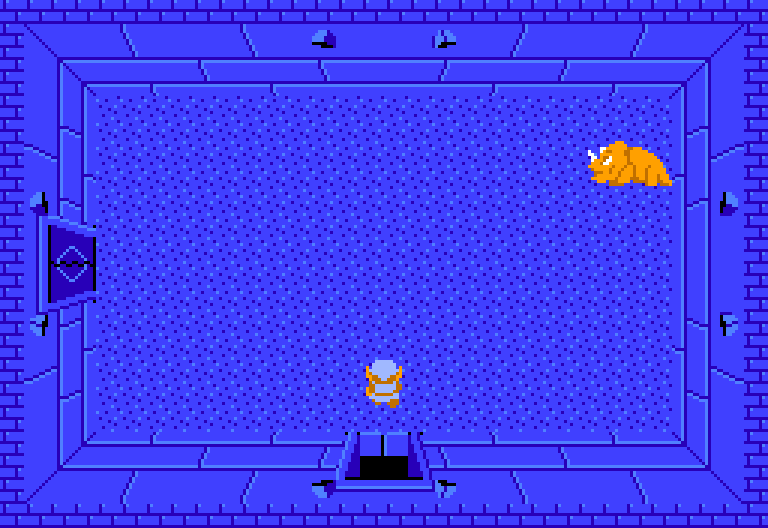
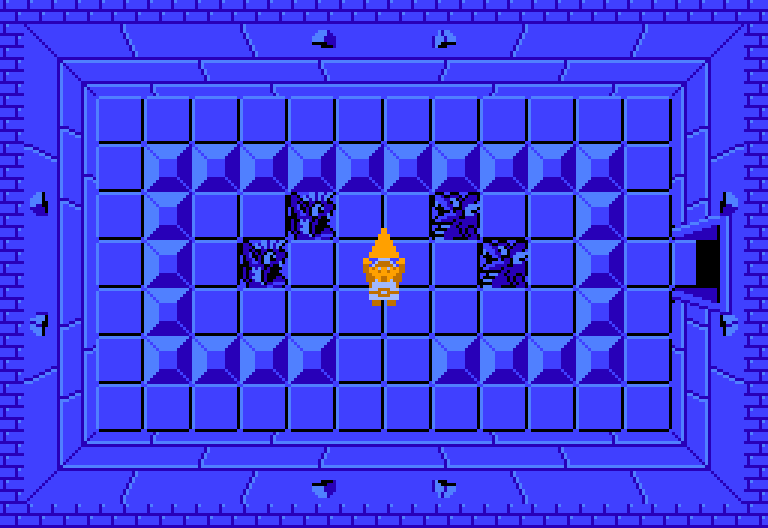
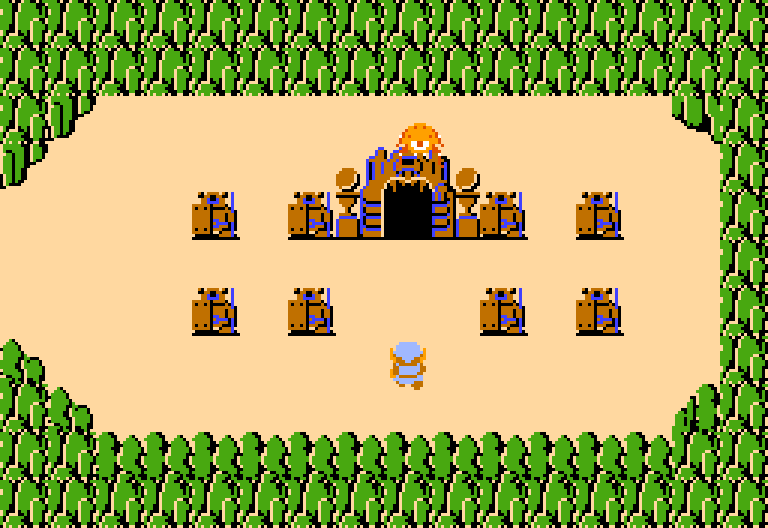
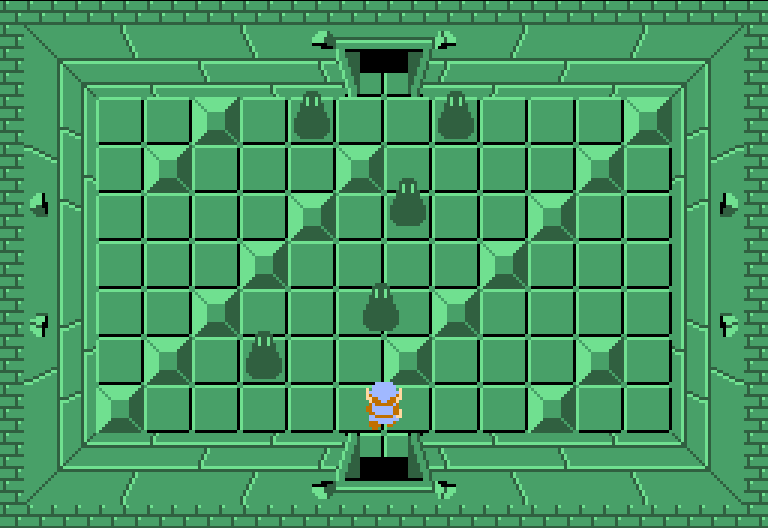
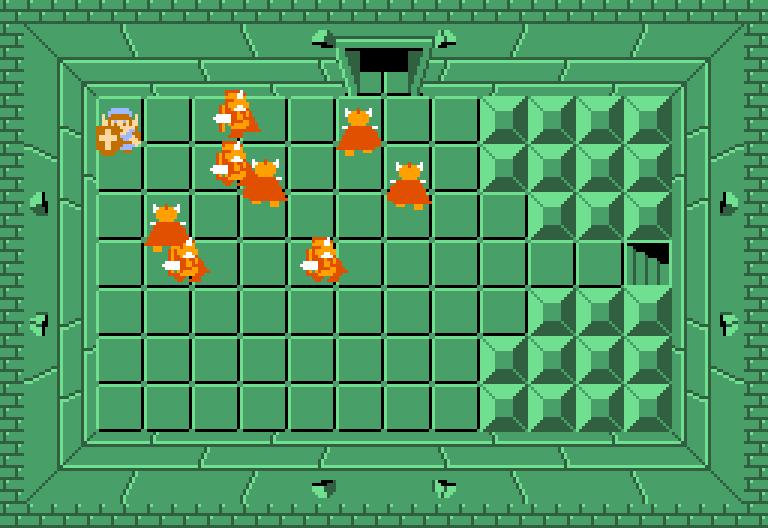
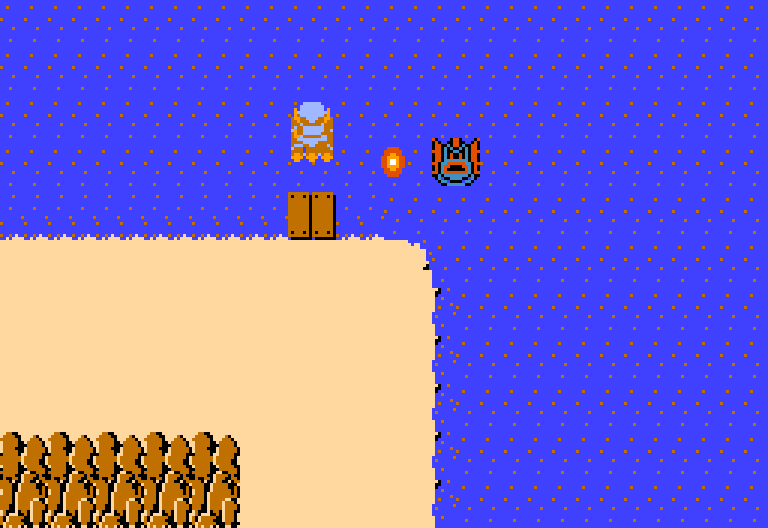
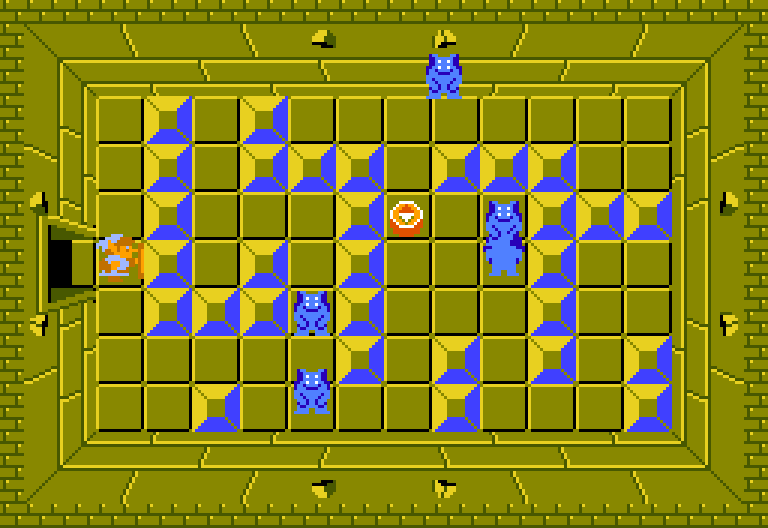
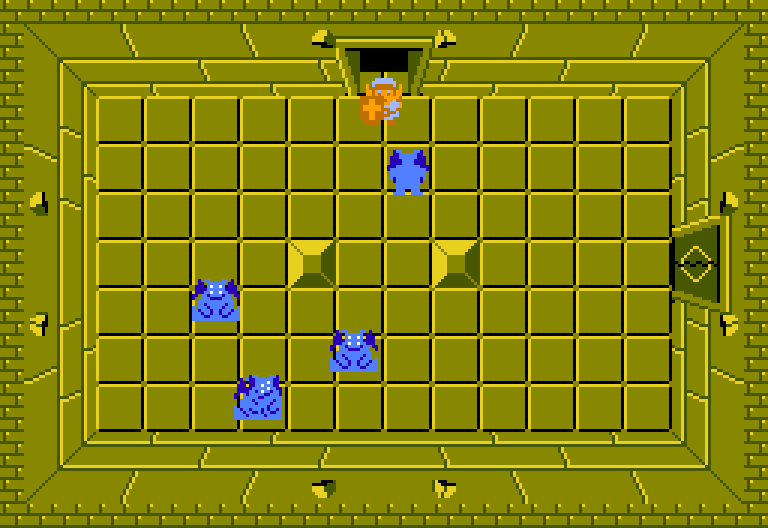
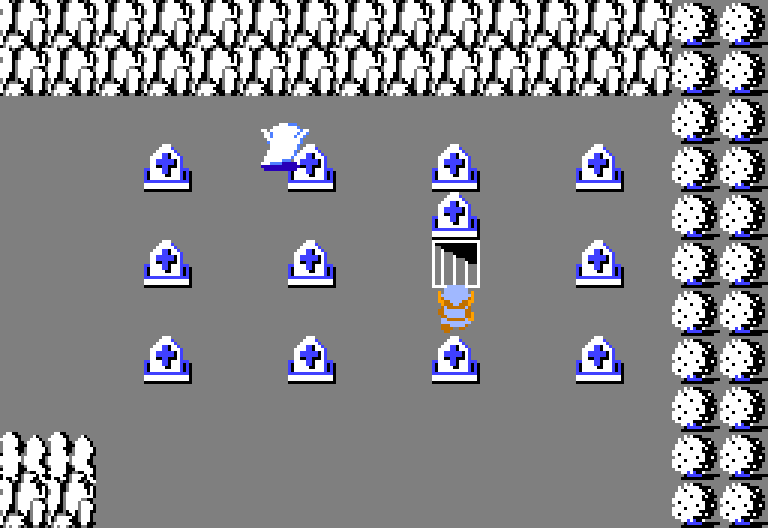
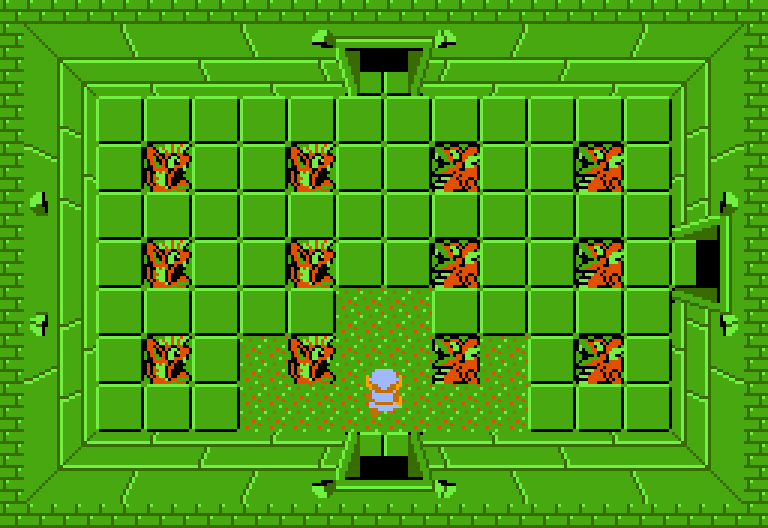
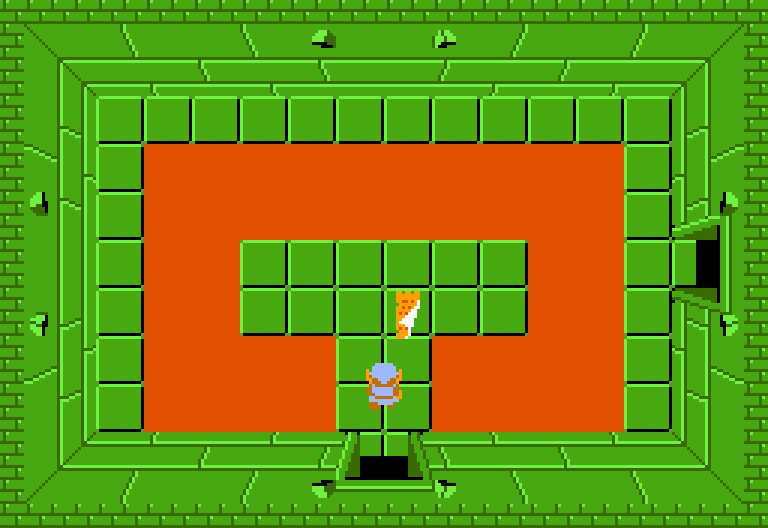
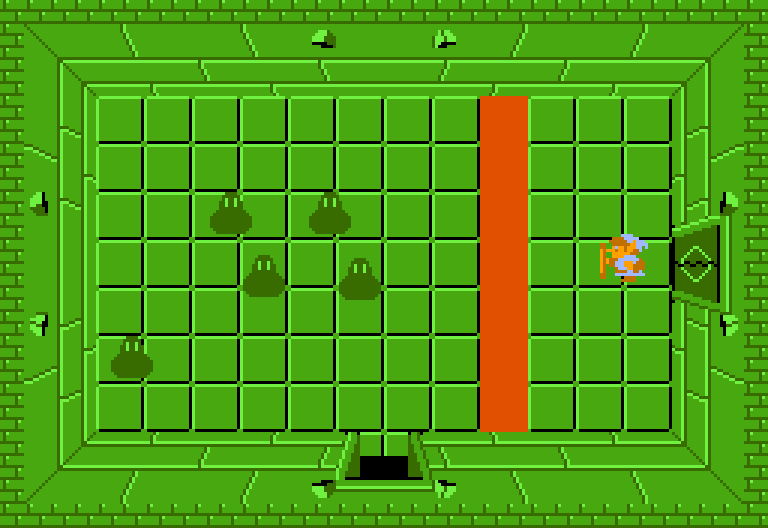
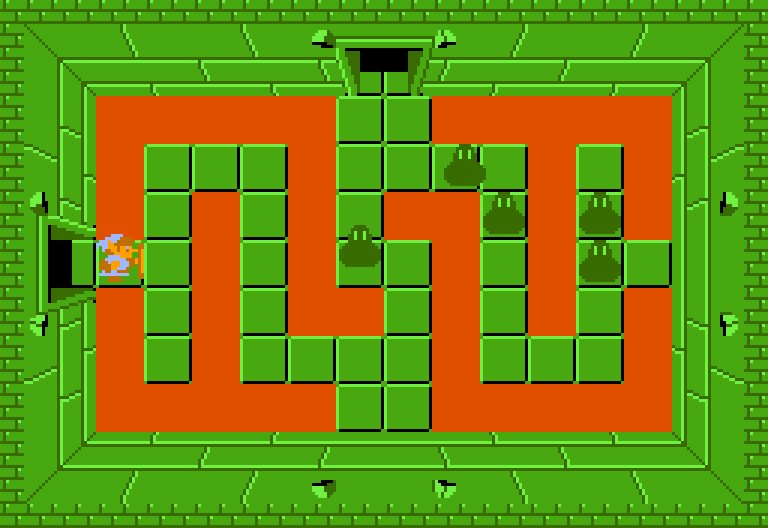
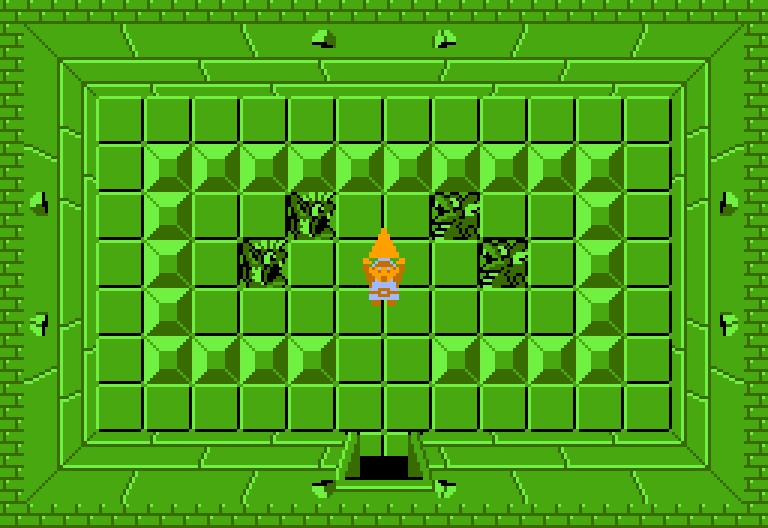
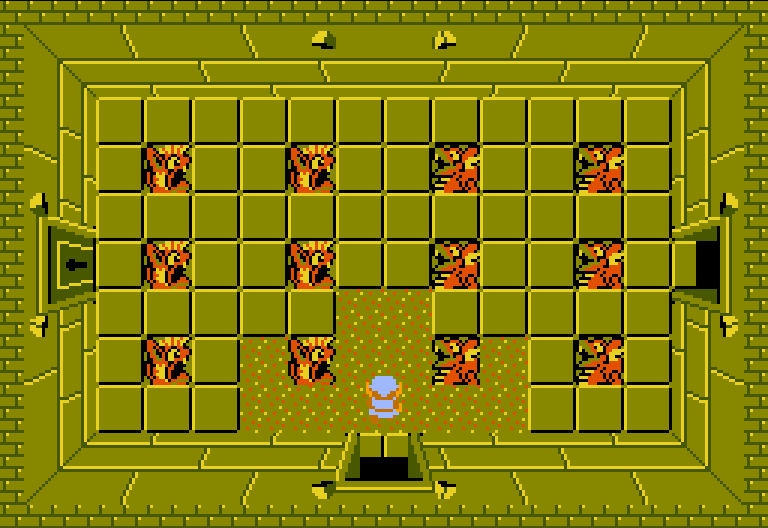
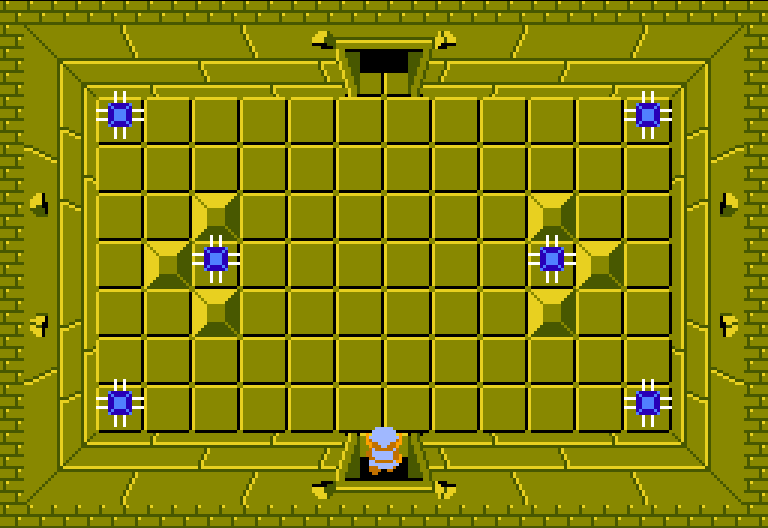
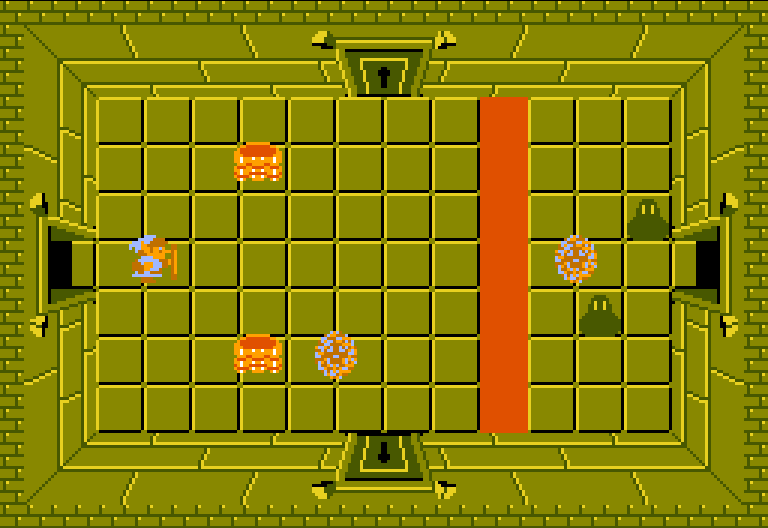
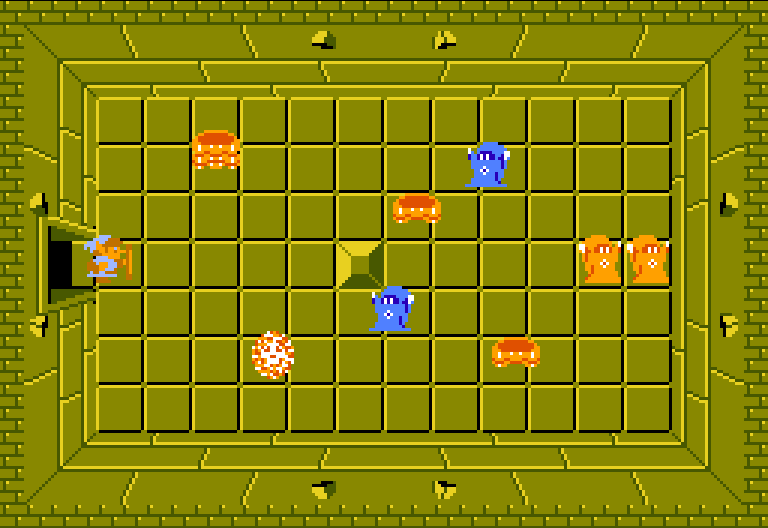
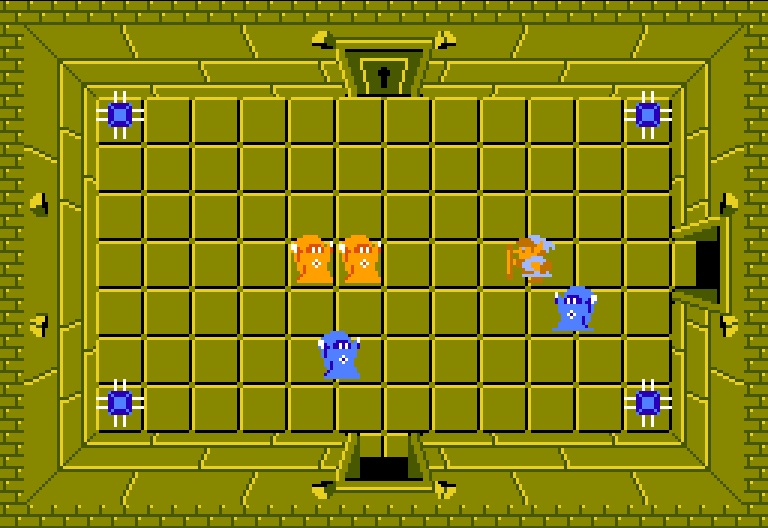
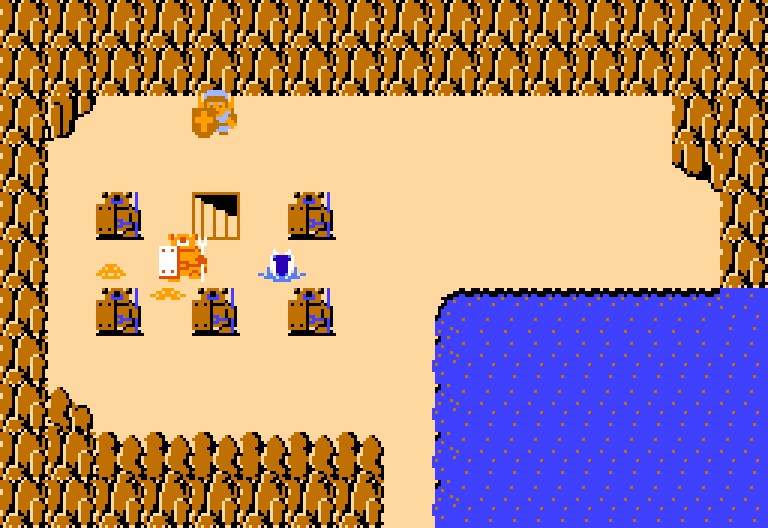
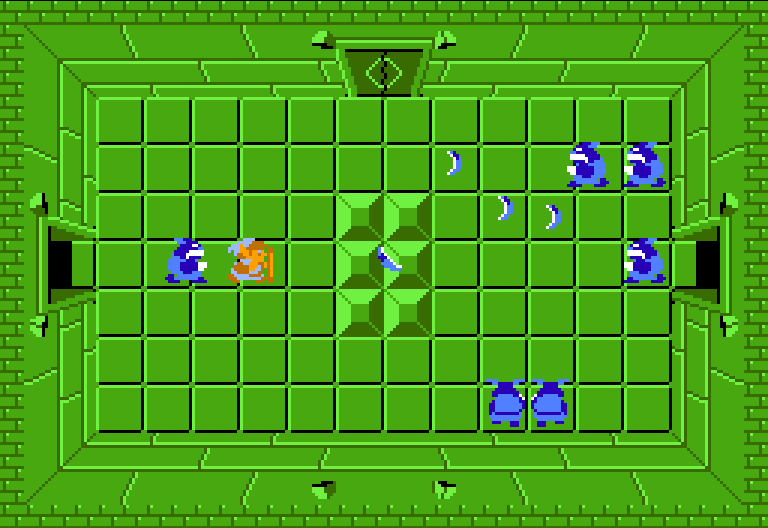
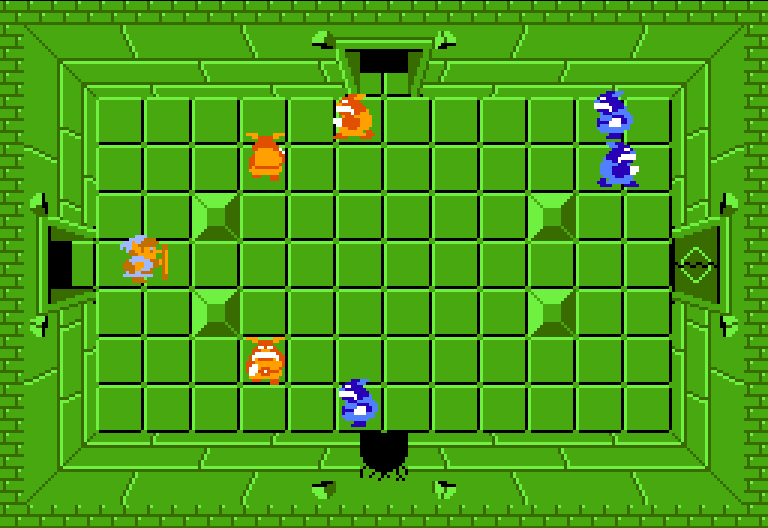
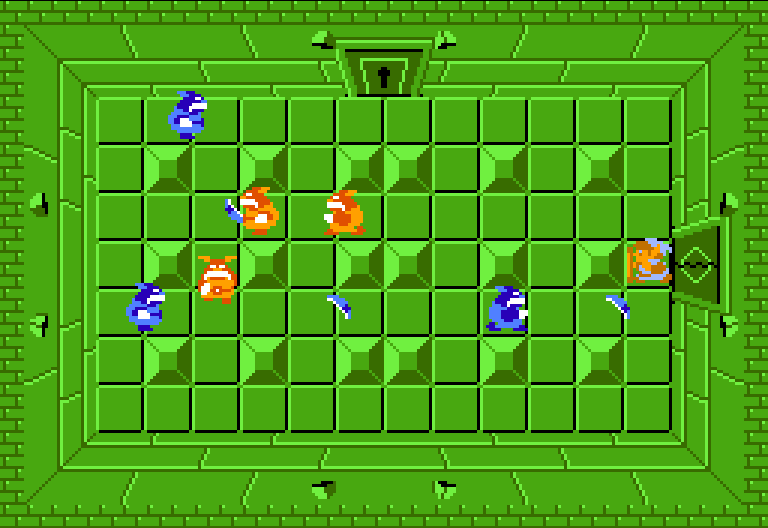
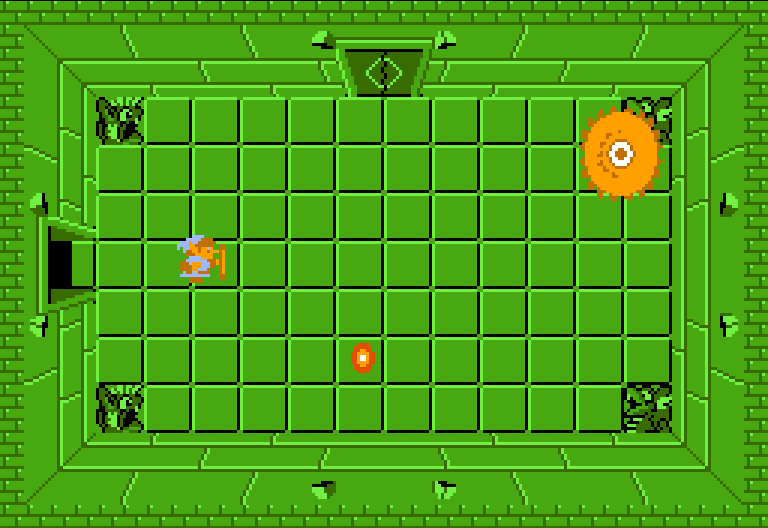
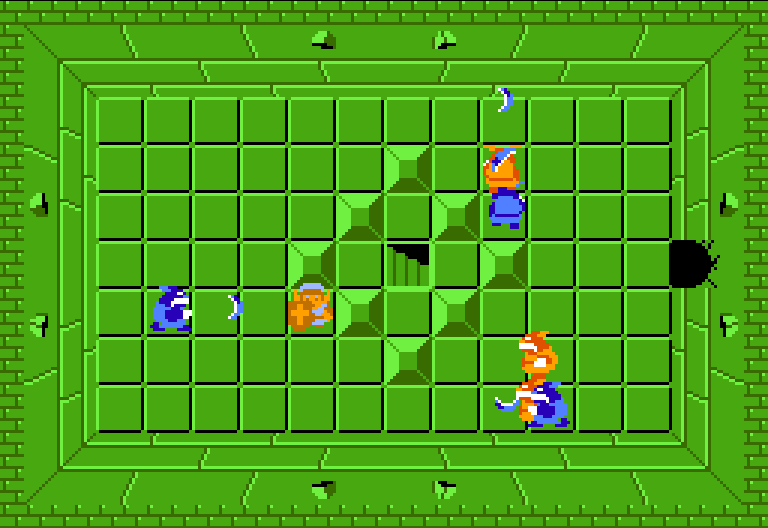
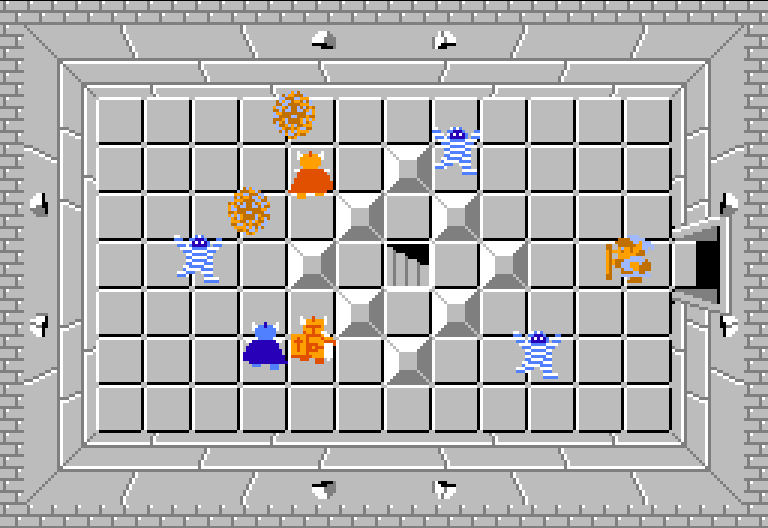
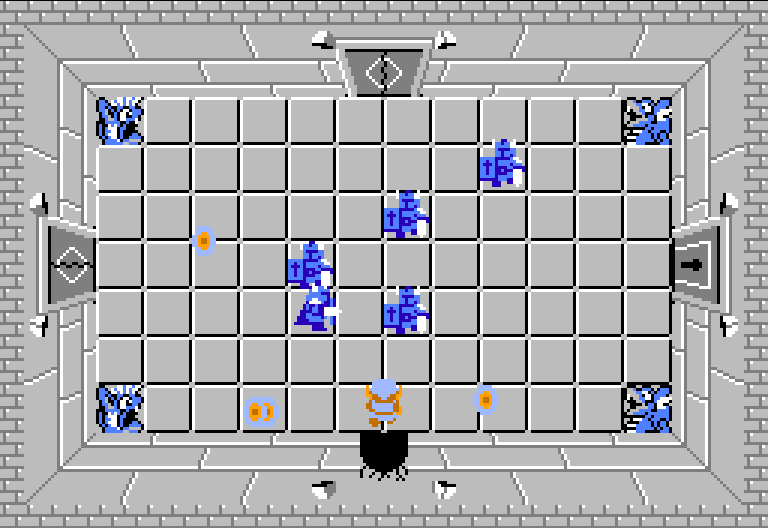
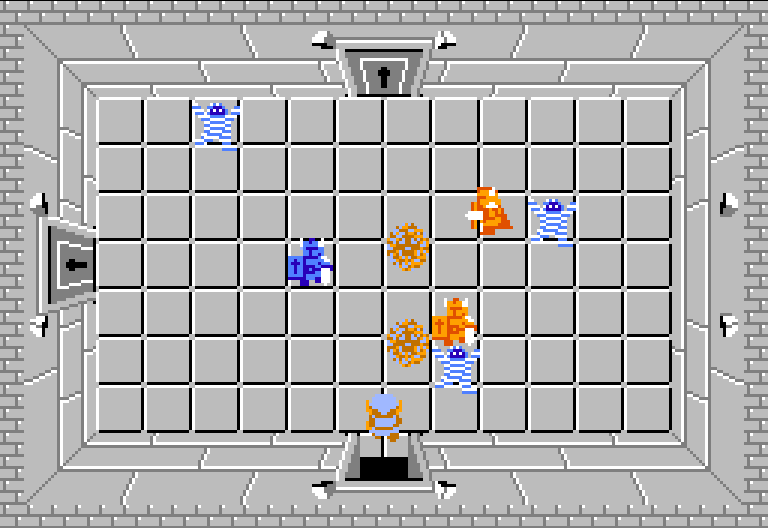
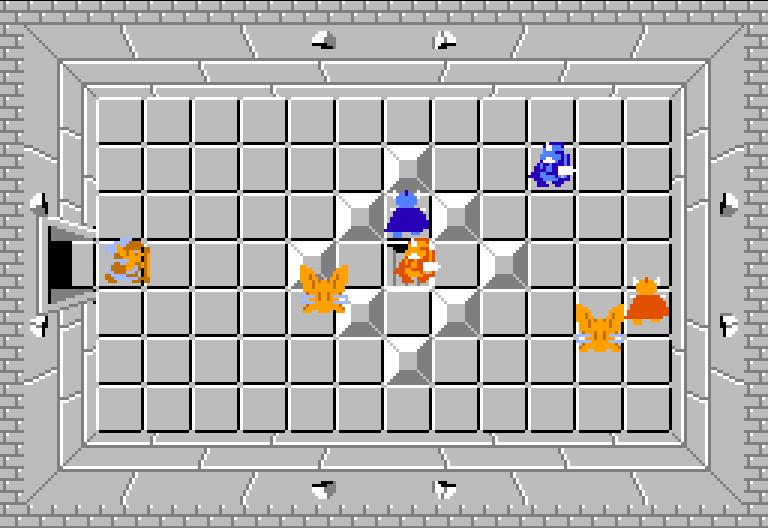
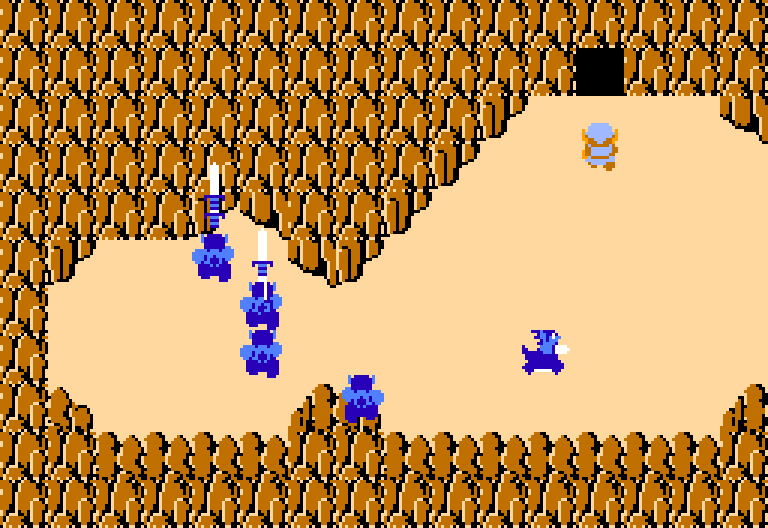
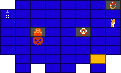
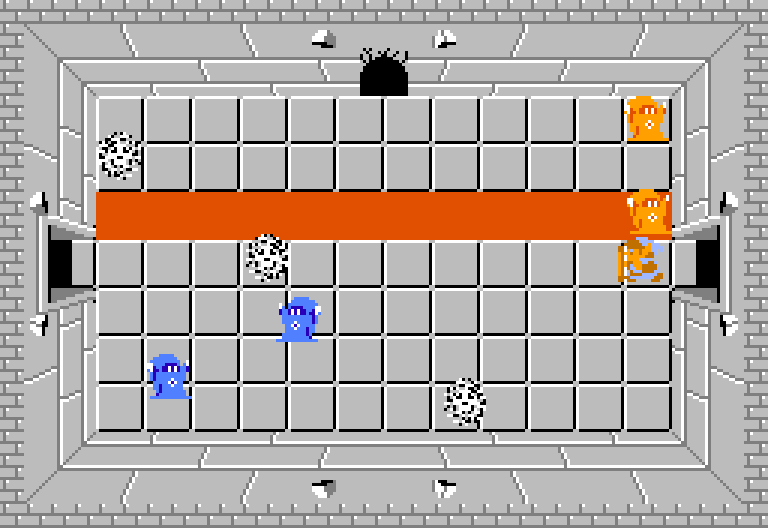
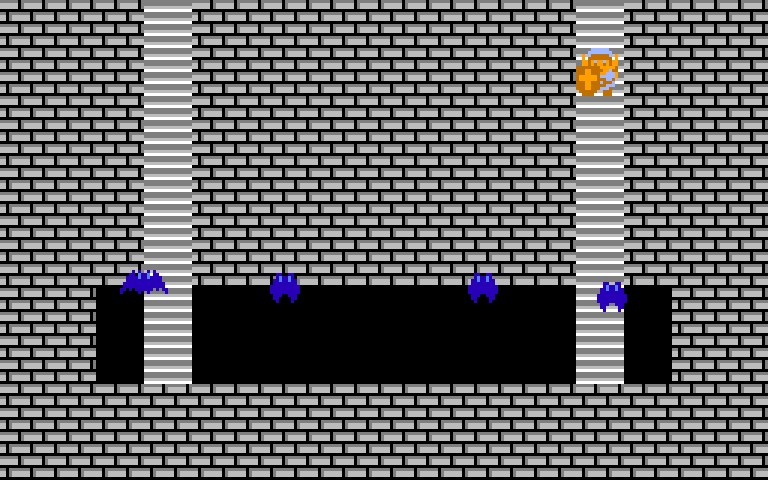
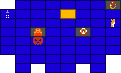
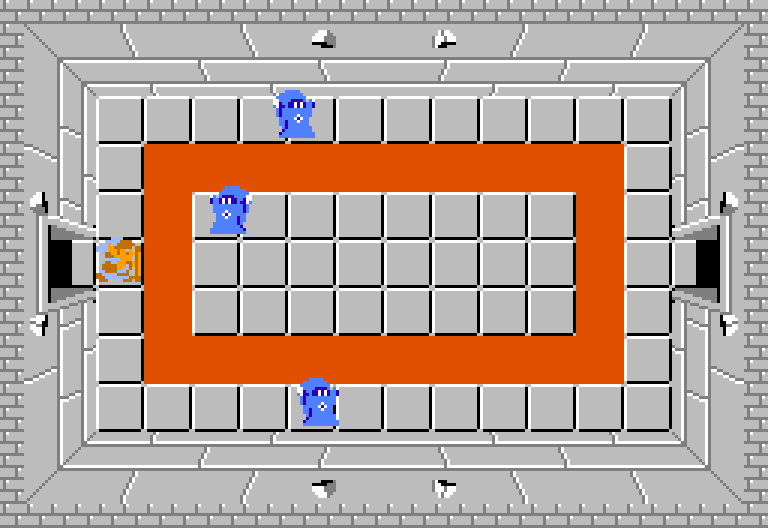
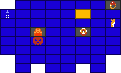
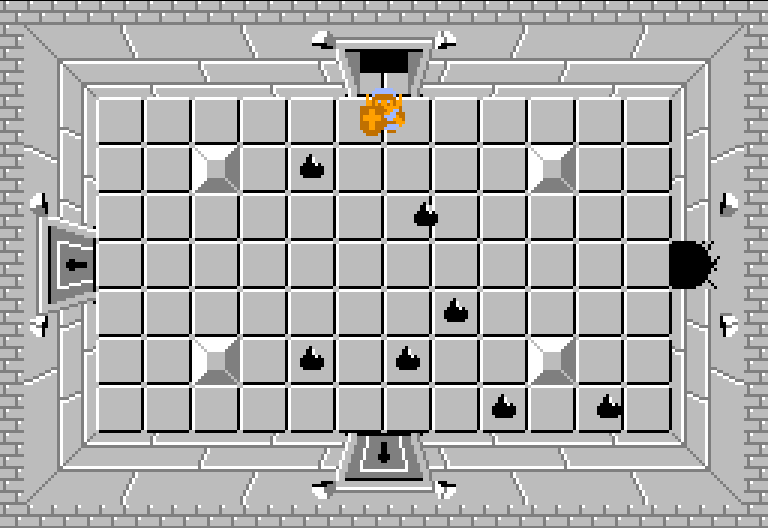
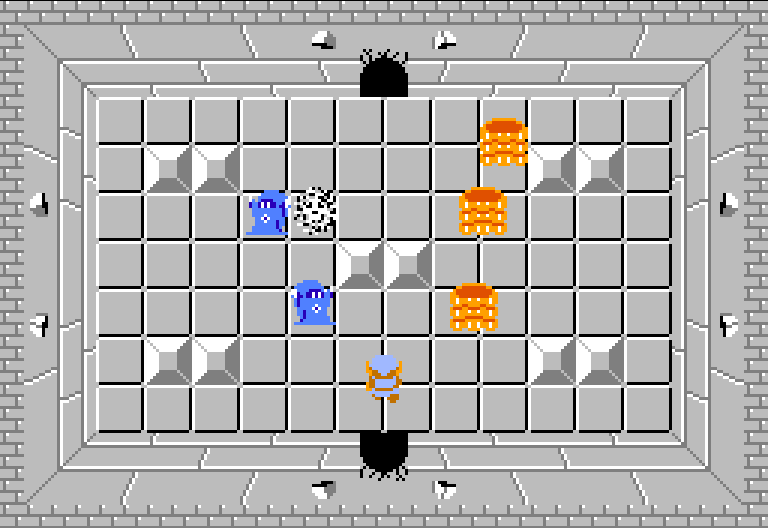
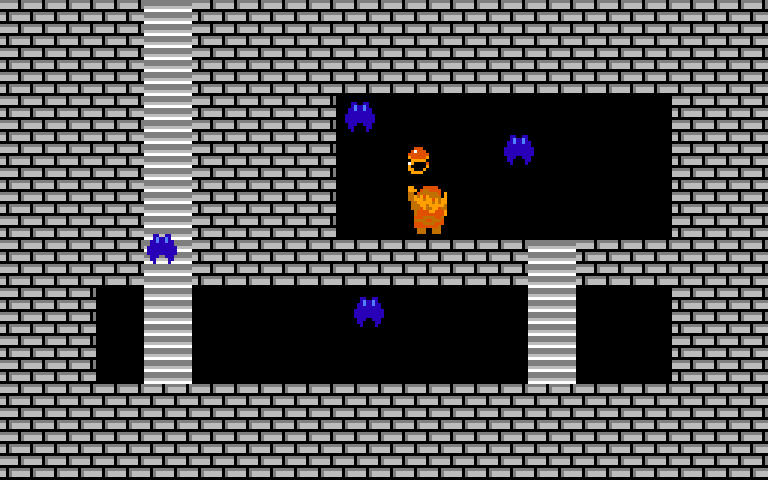
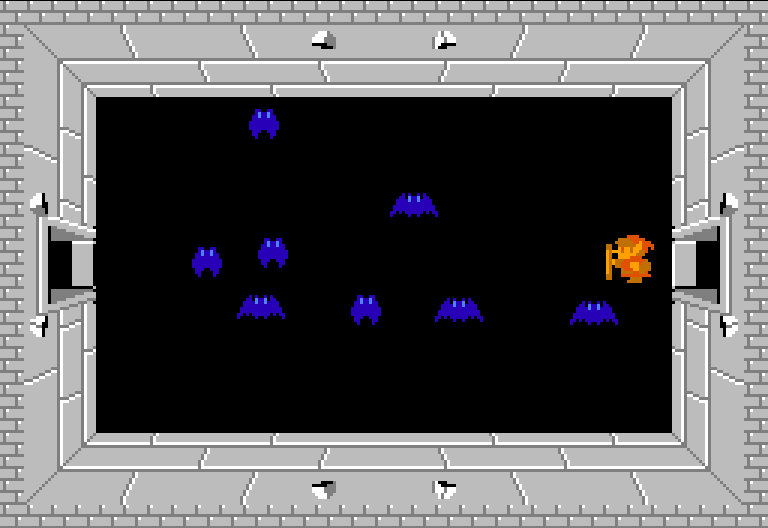
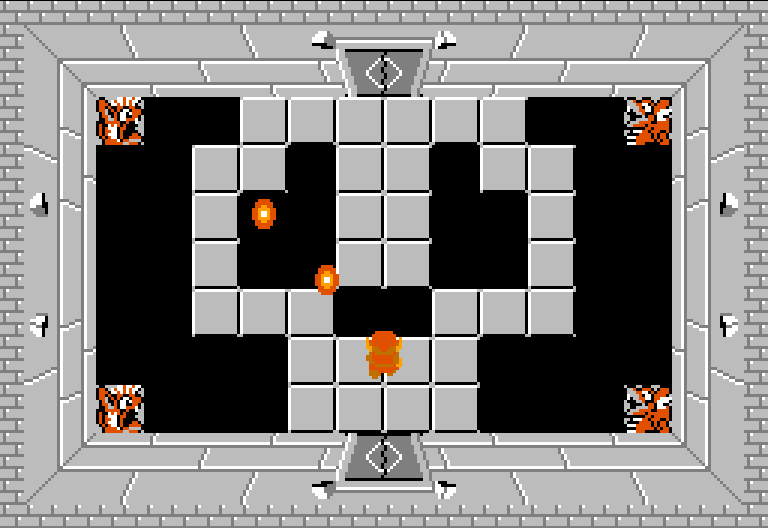
The Gathering
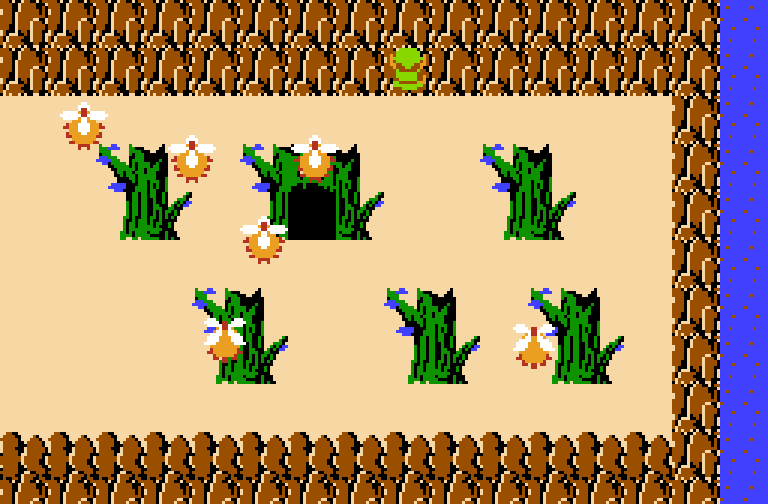
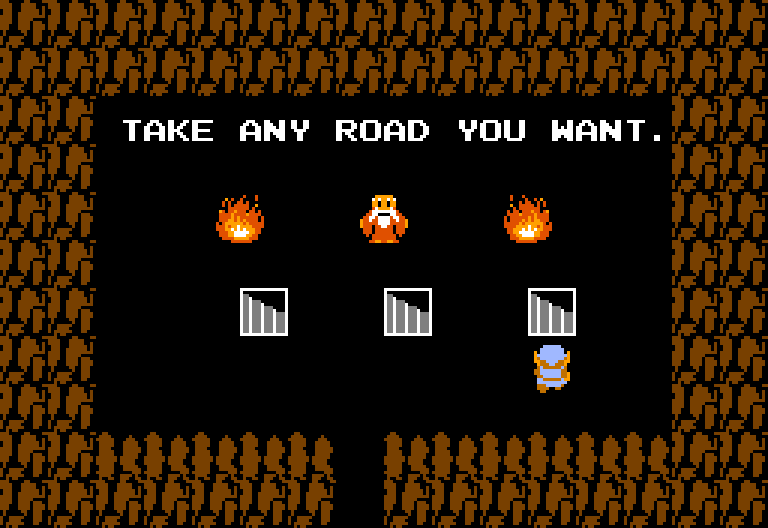
Find secrets with bombs and candles
 Sword
Sword
 Bombs ◇20
 Hearts
 Rupees
 Letter
 Candle ◇60
 White Sword
Heart
 Magical Shield ◇90

![]() Arrows ◇80
Arrows ◇80
 Medicine ◇68
 Blue Ring ◇250, 2x armor versus green.
 ⤒ index
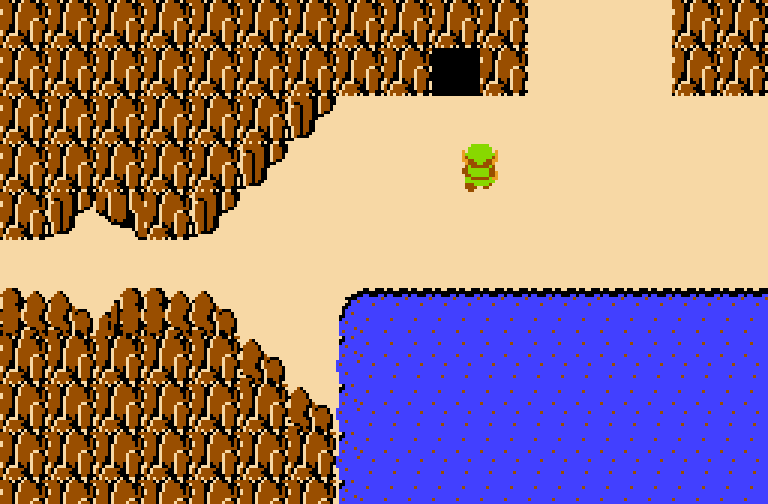
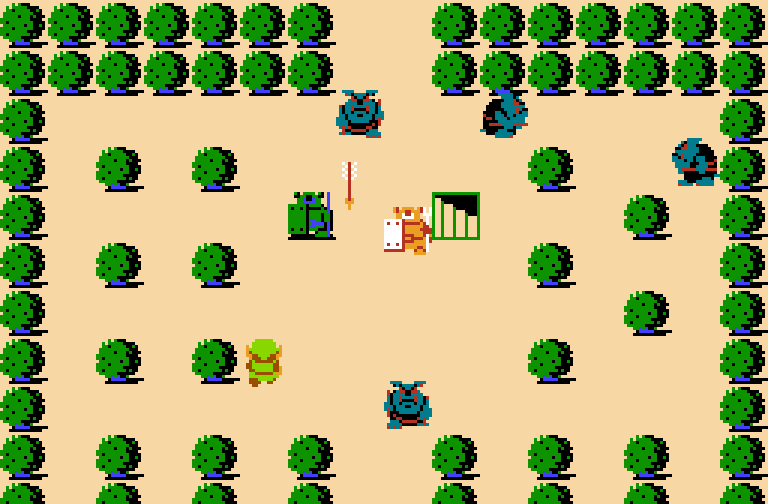
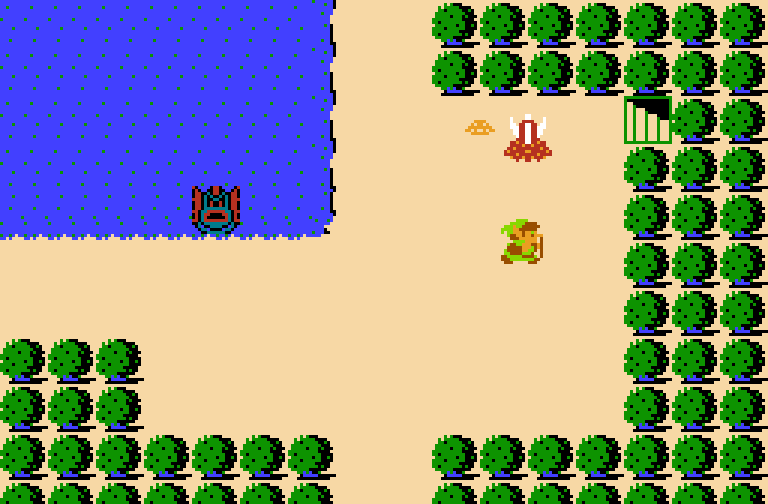
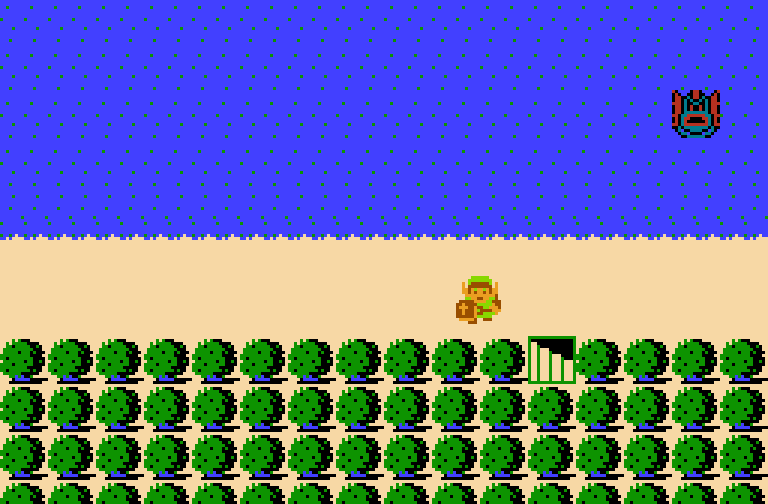
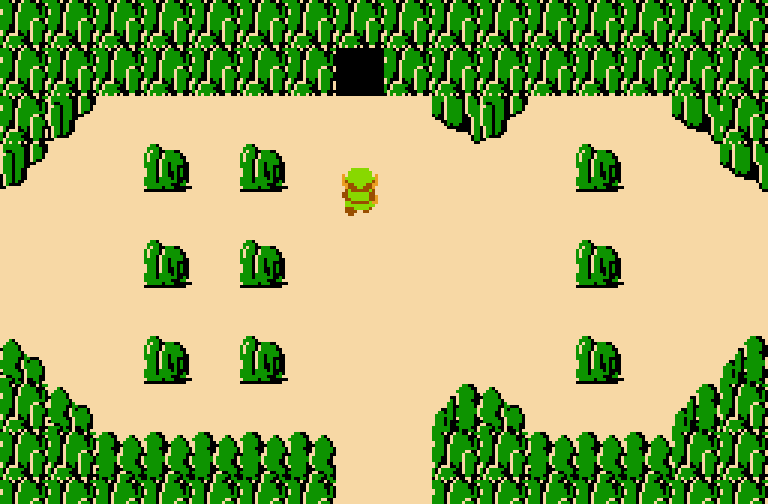
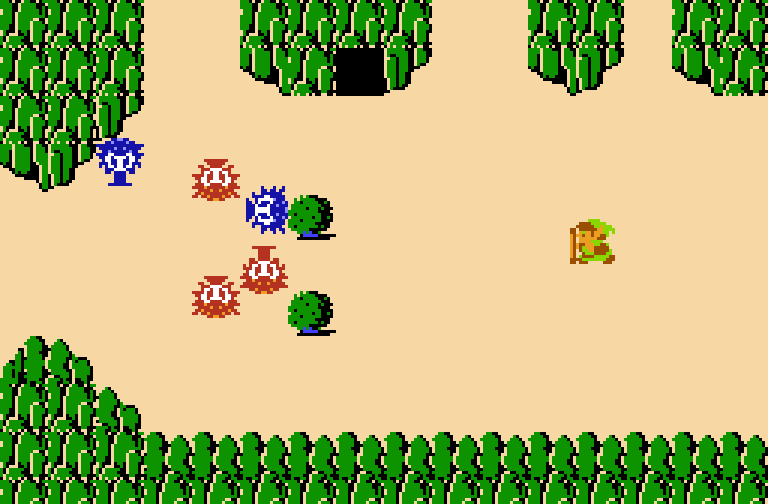
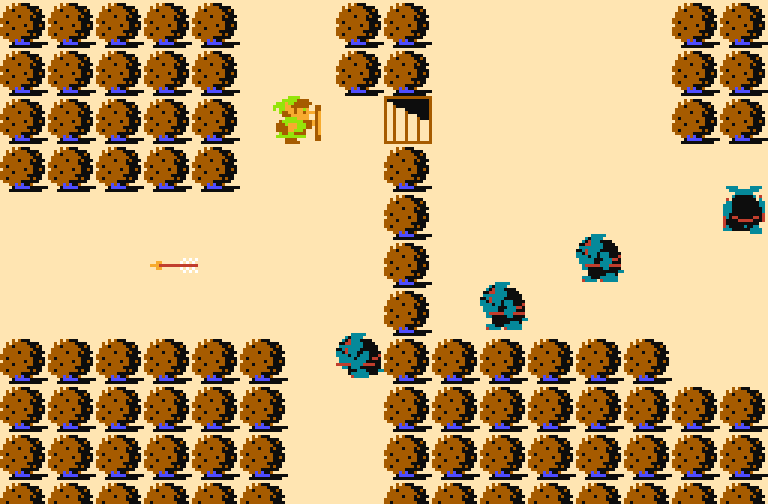
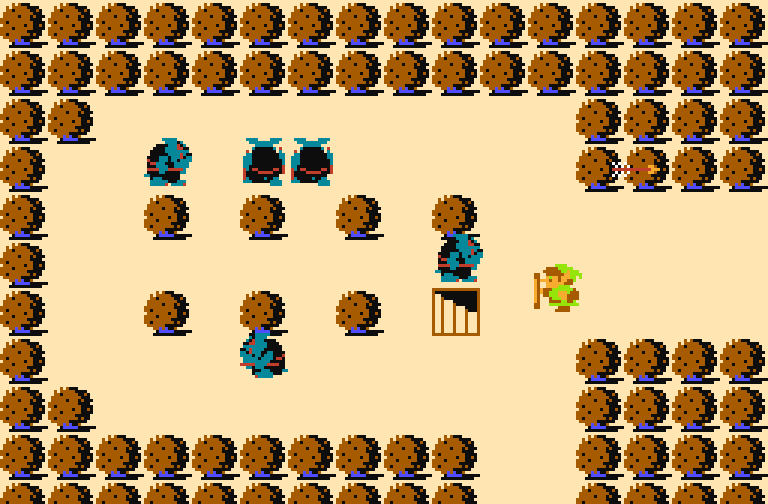
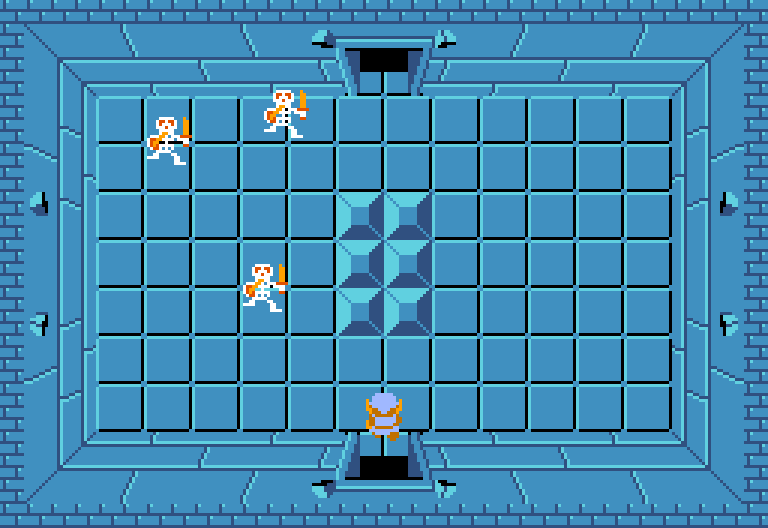
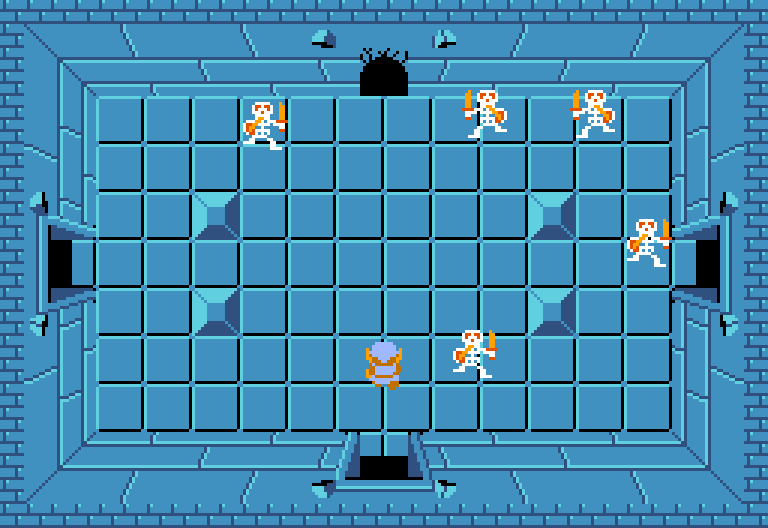
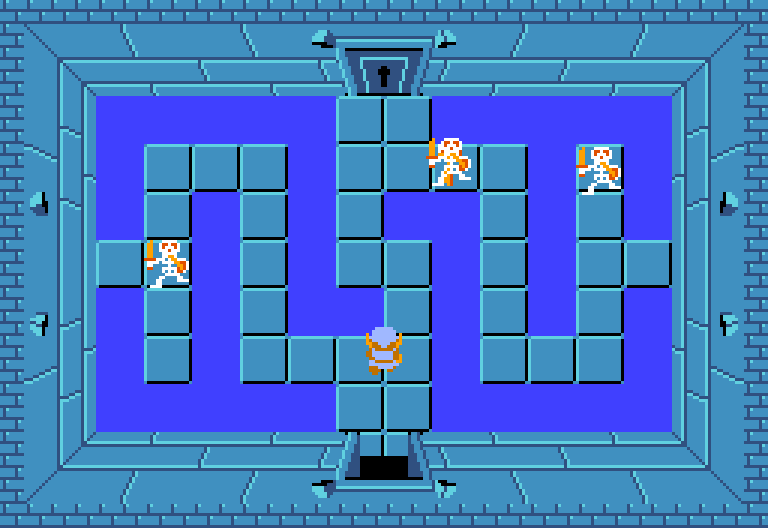
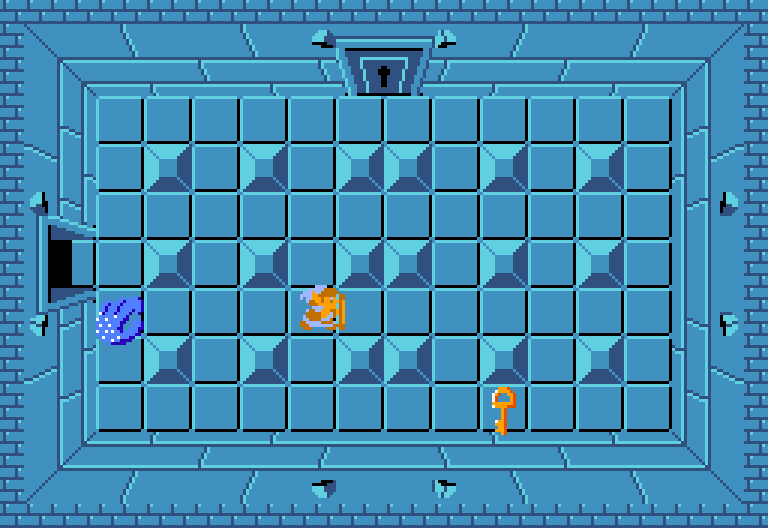
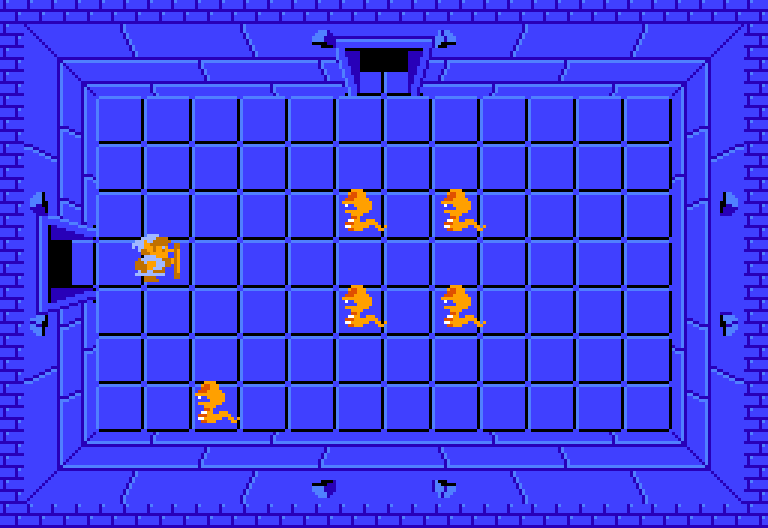
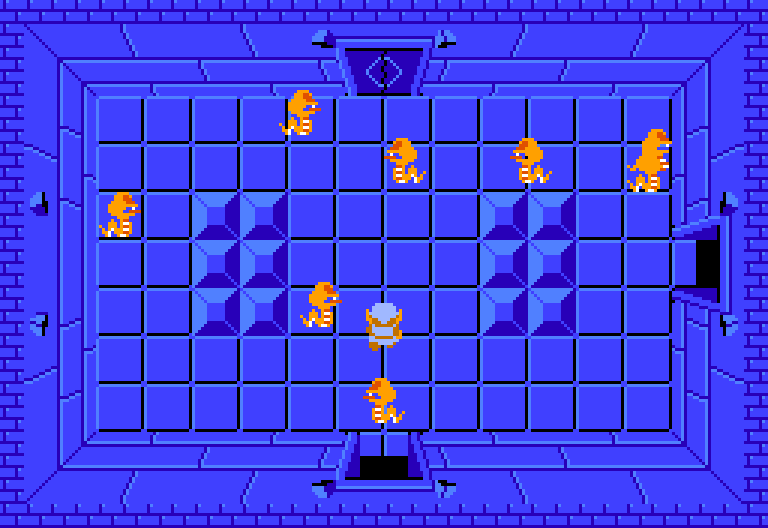
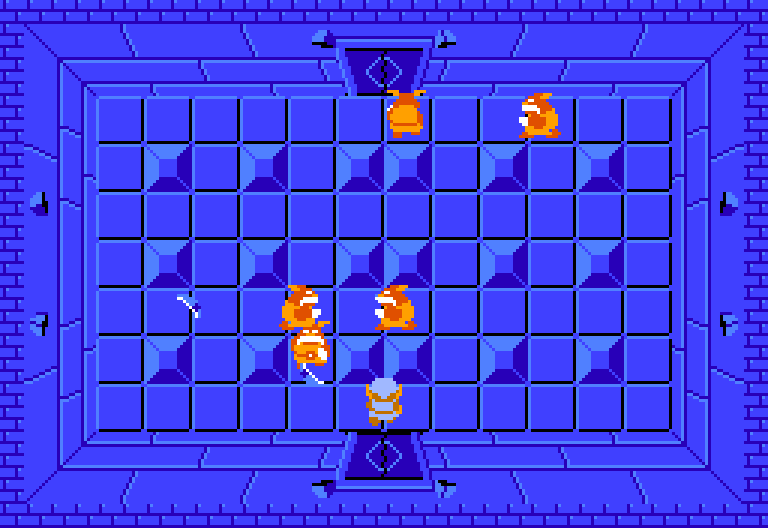
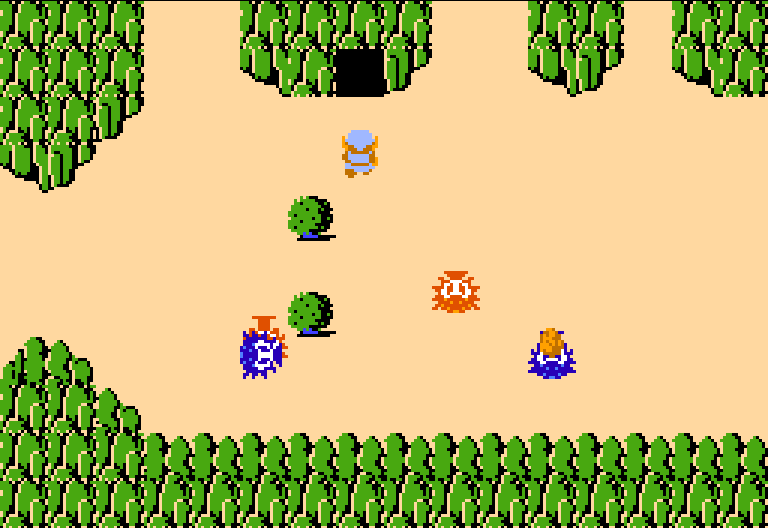
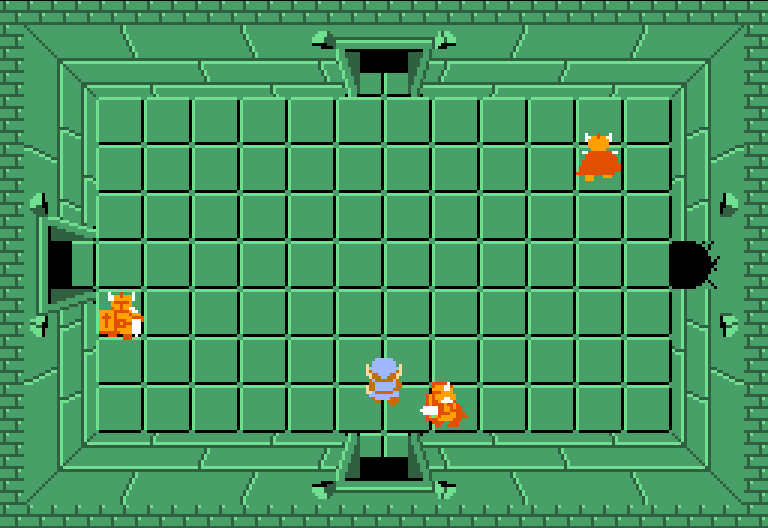
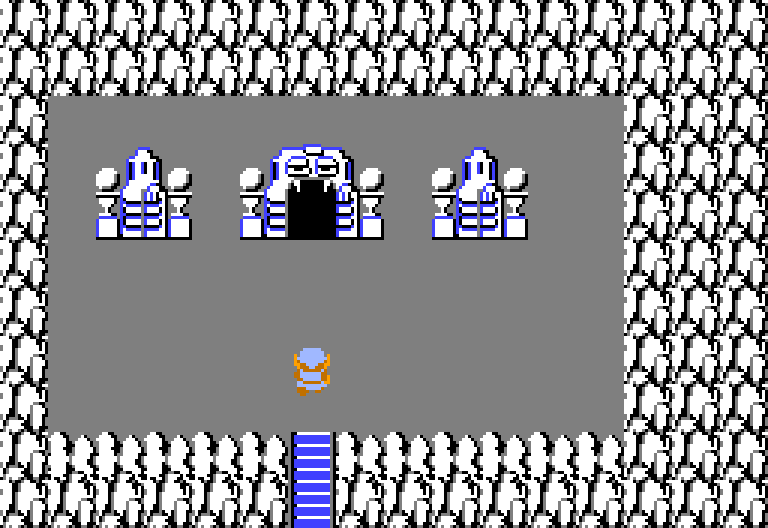
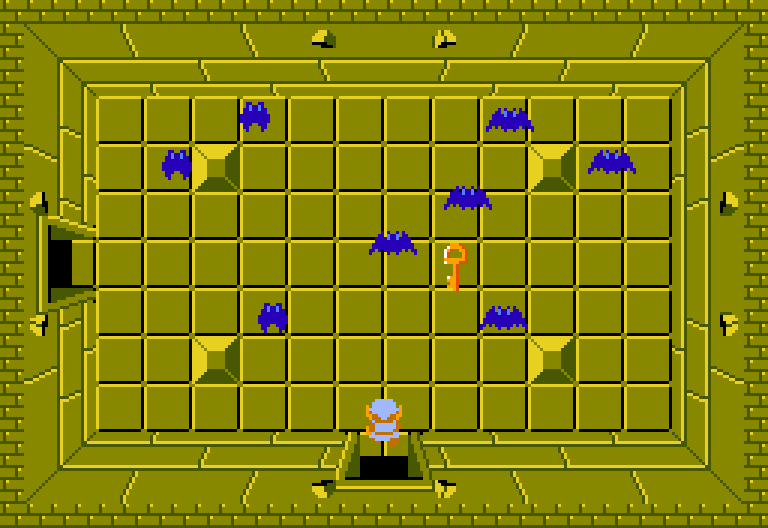
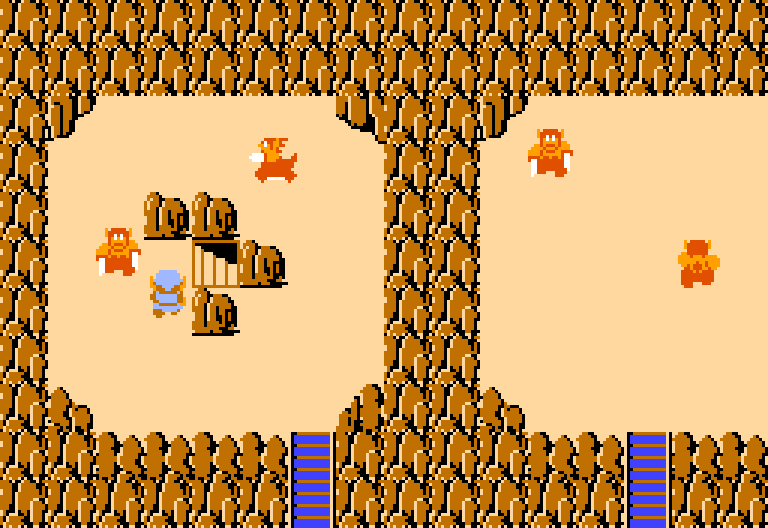
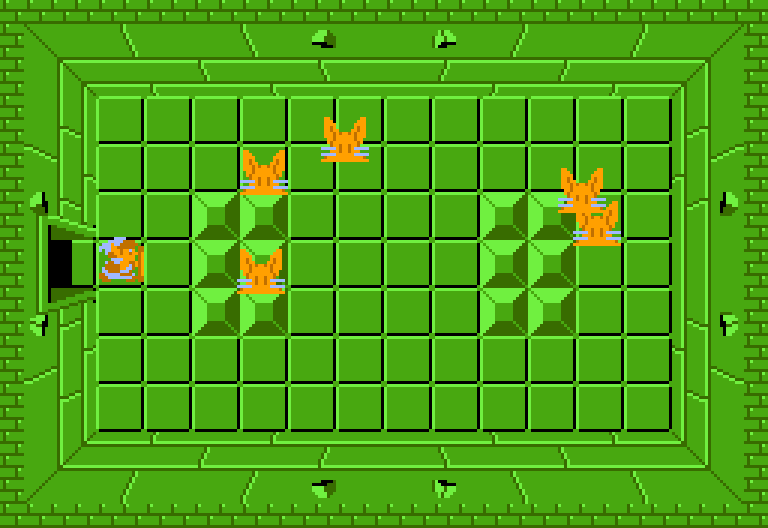
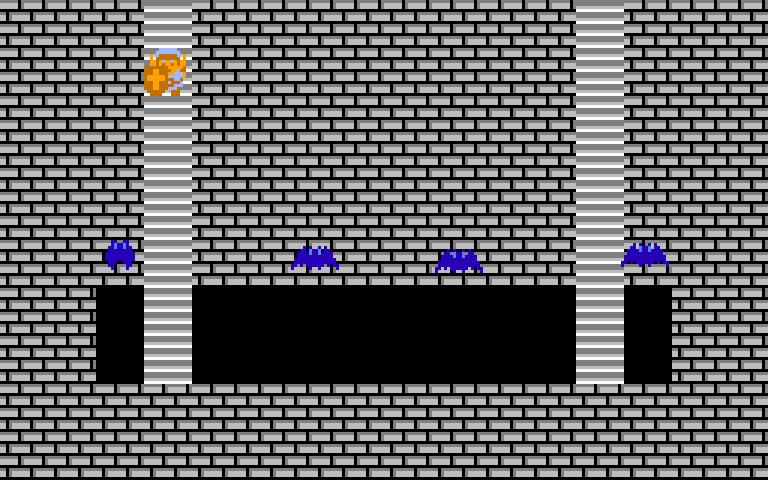
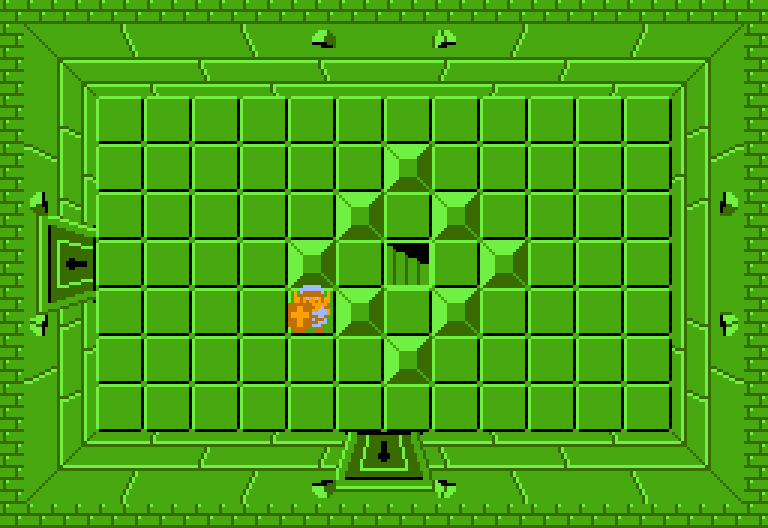
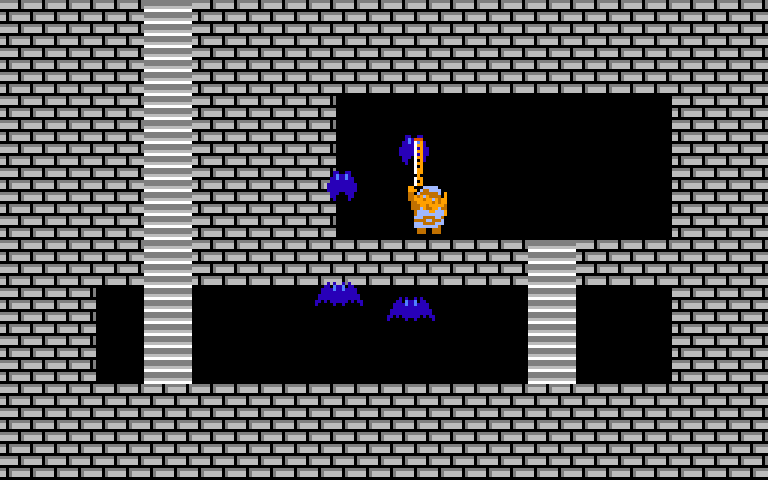
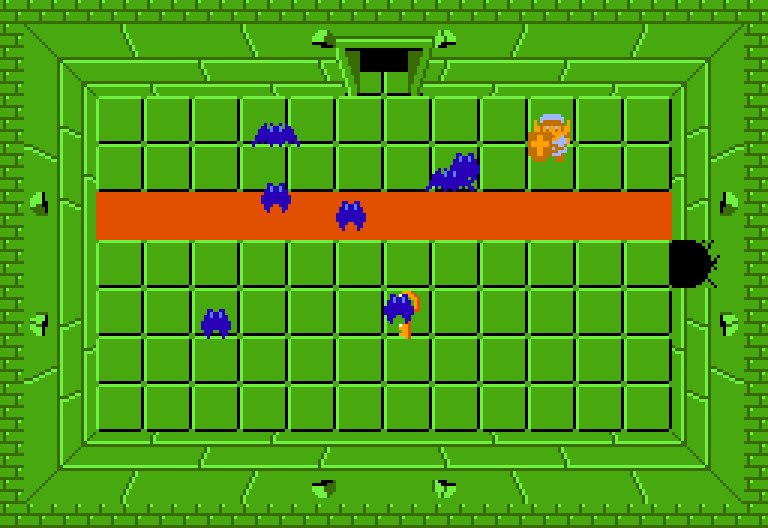
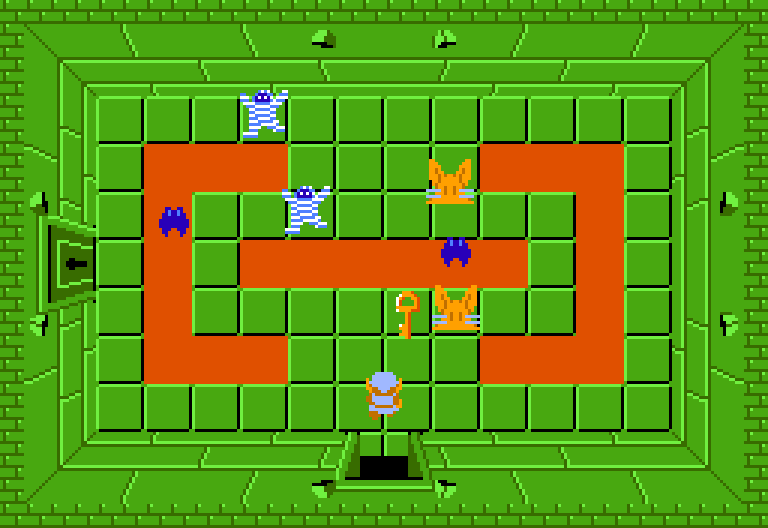
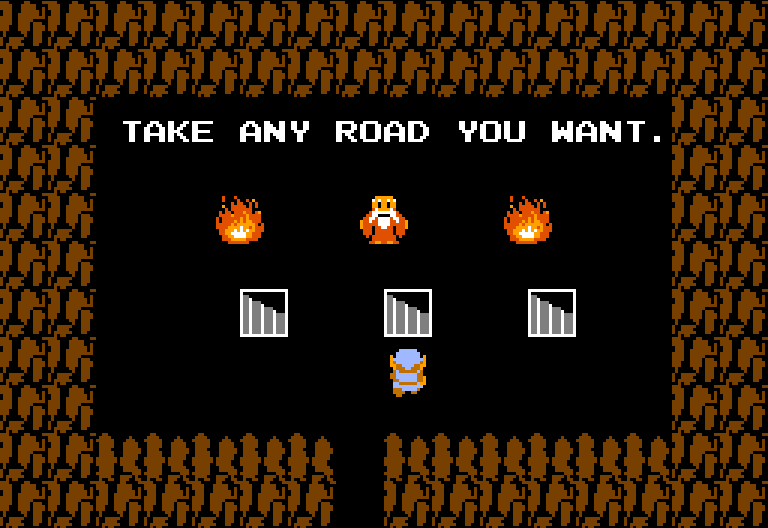
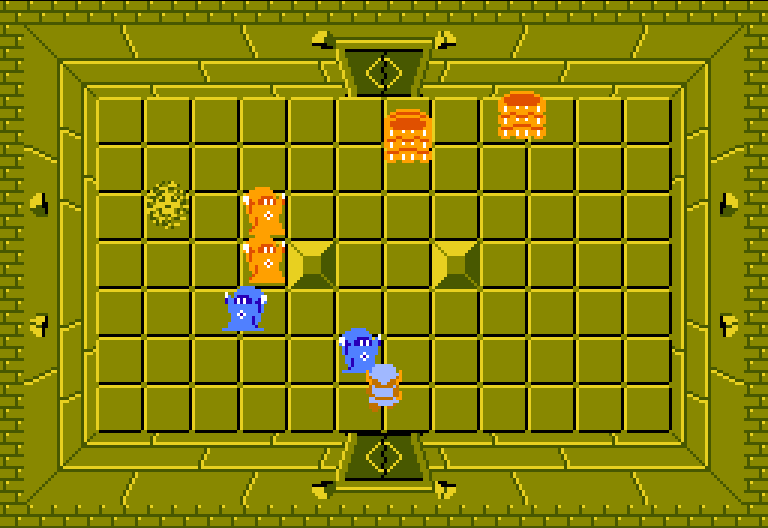
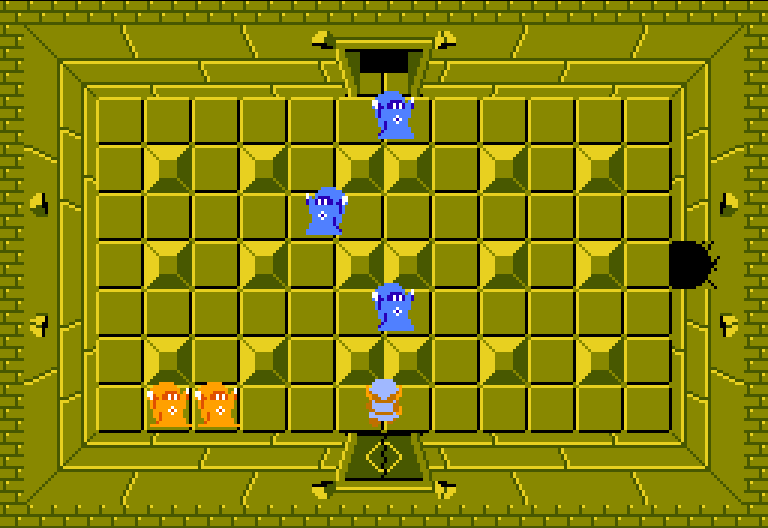
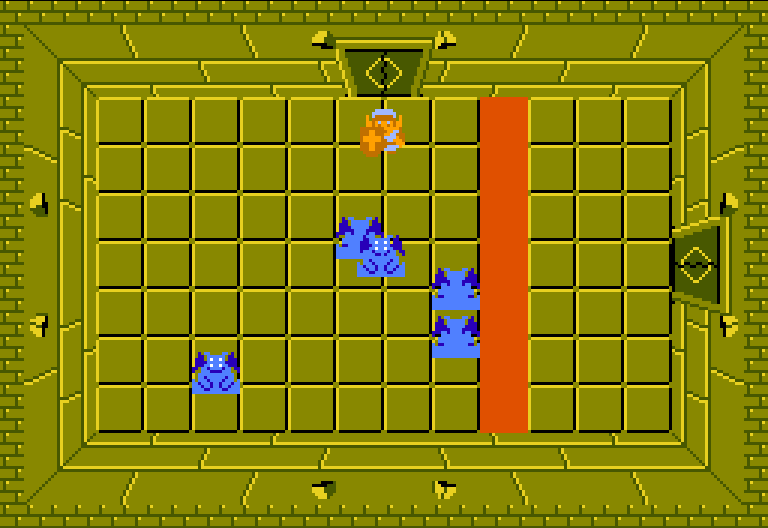
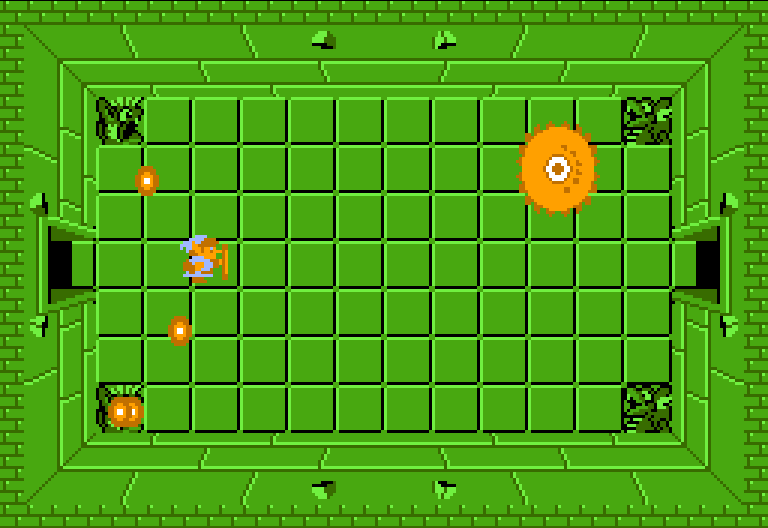
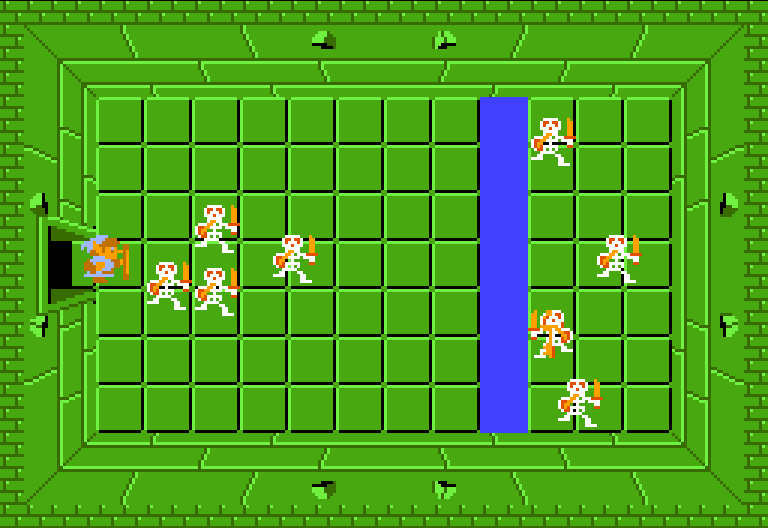
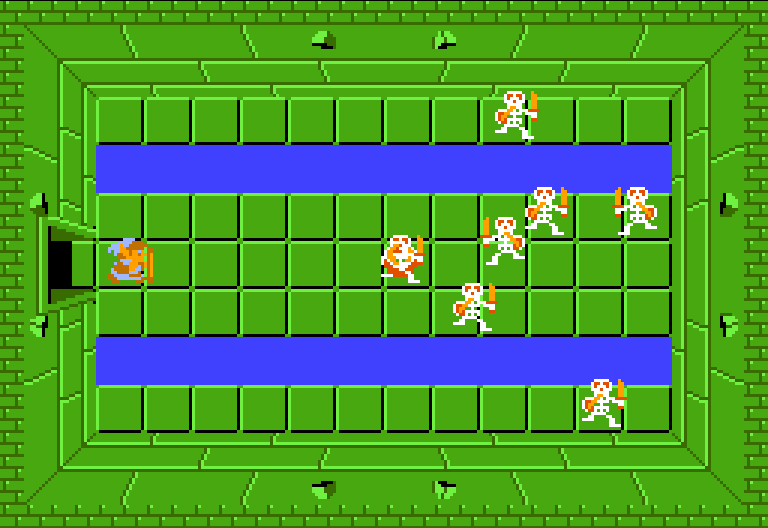
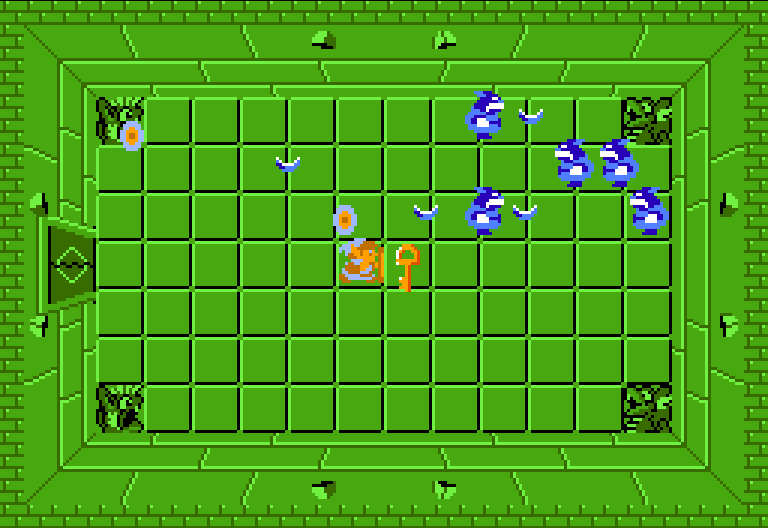
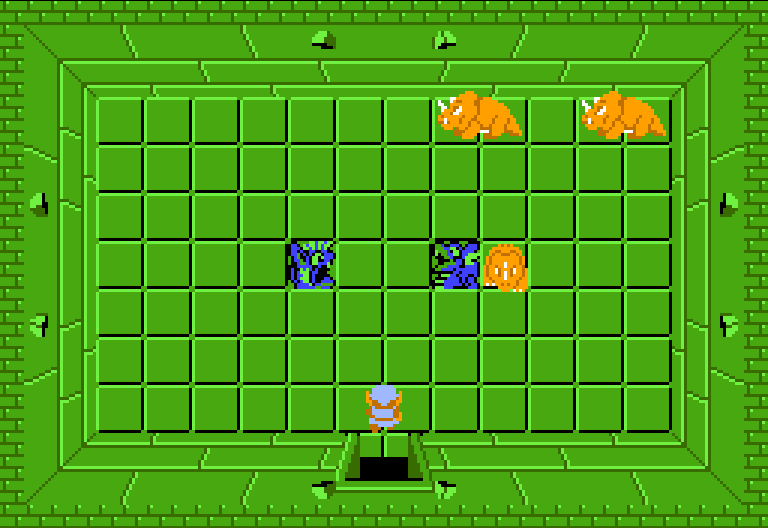
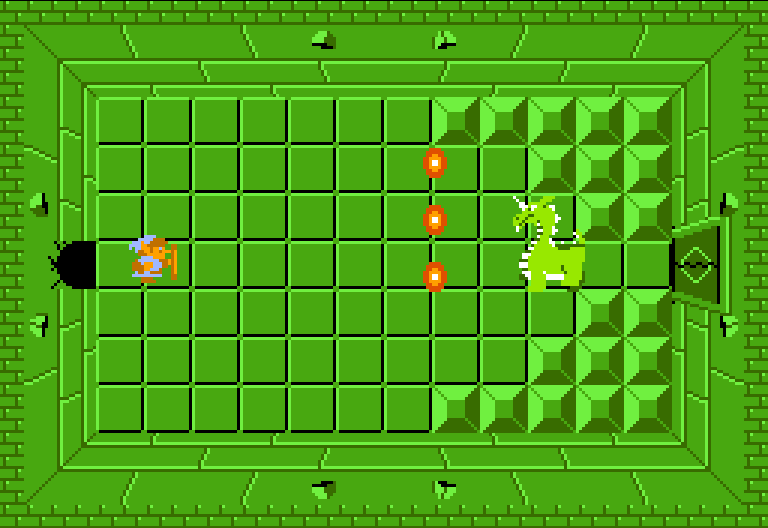
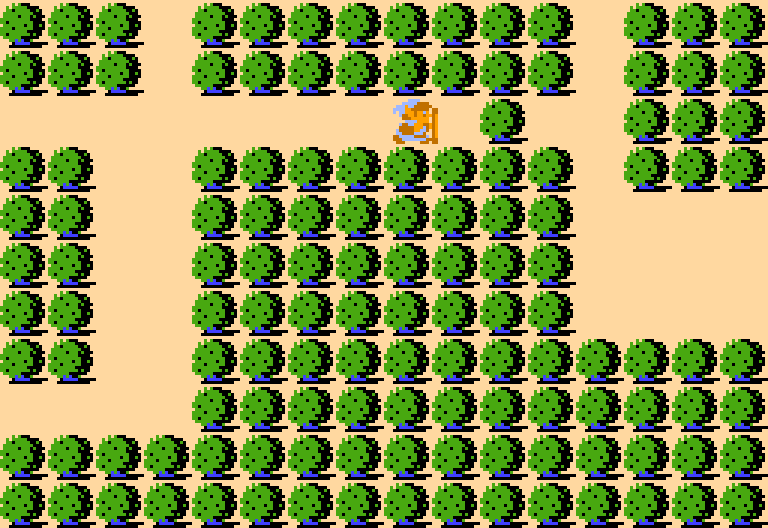
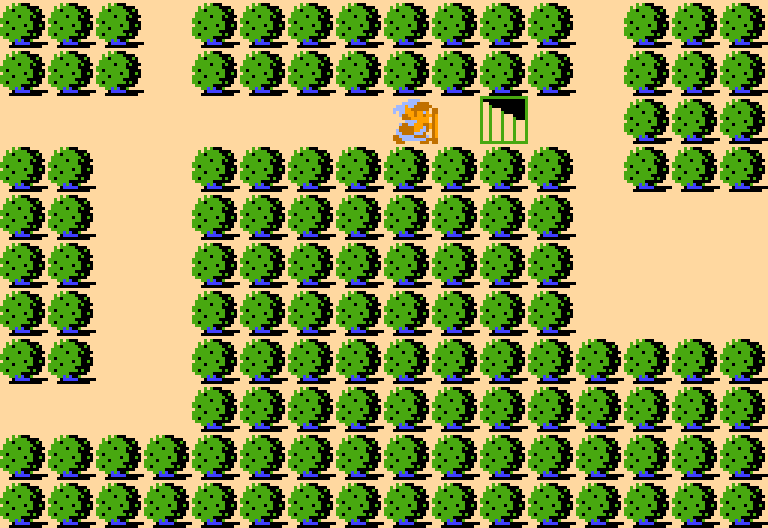
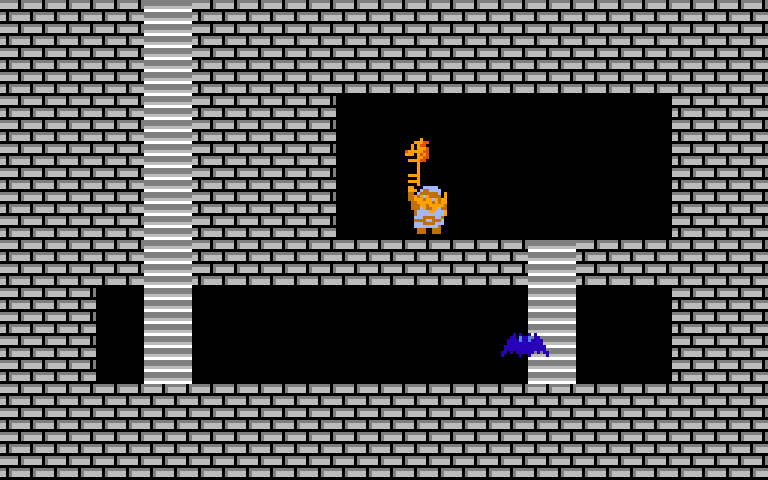
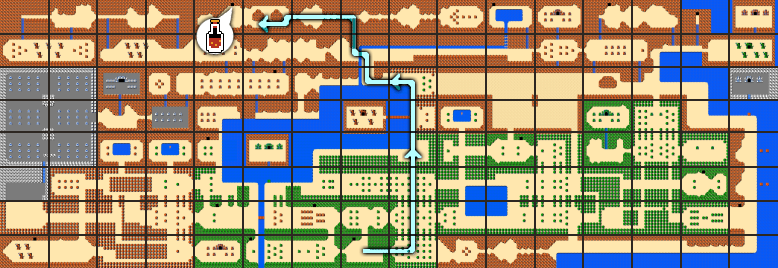
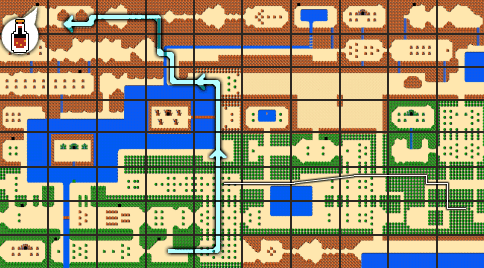
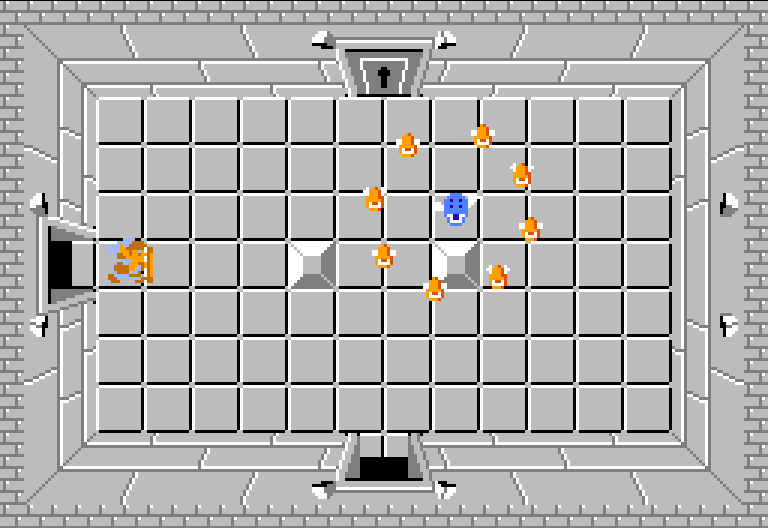
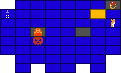
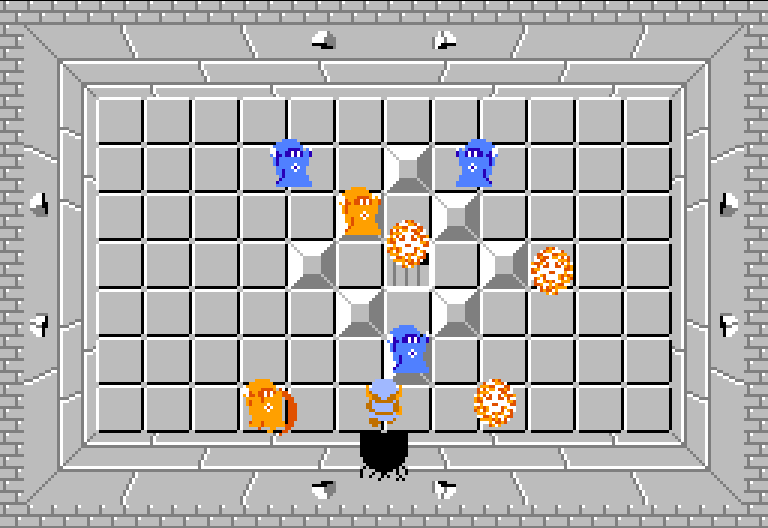
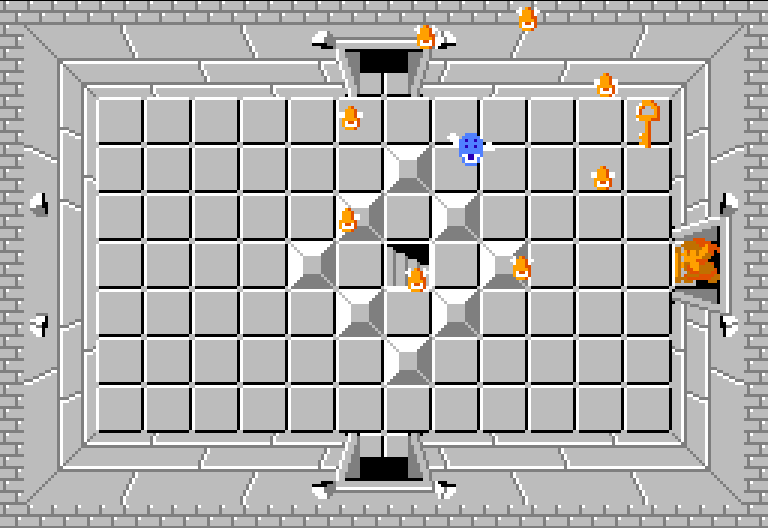
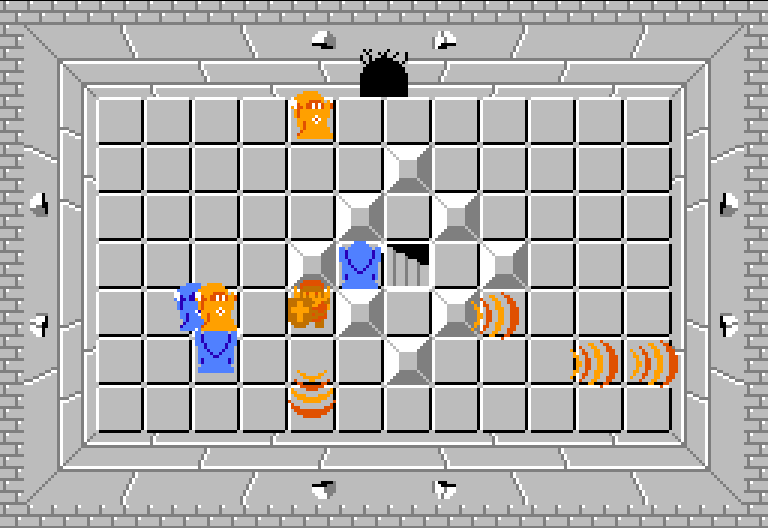
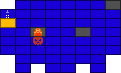
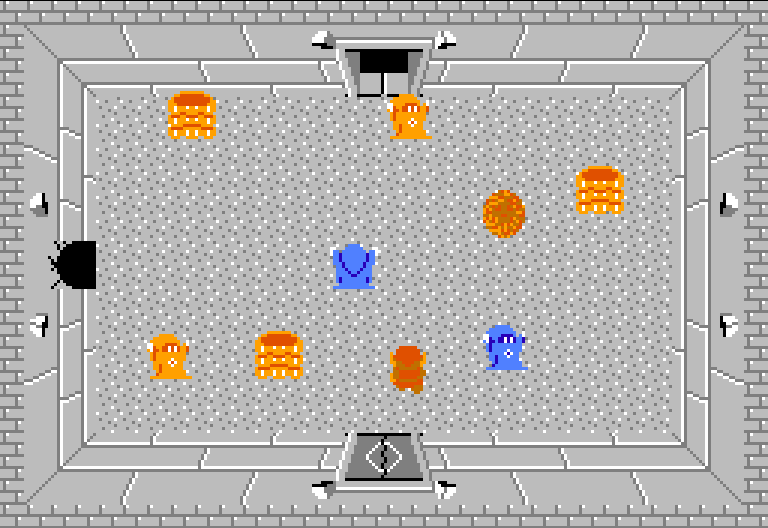
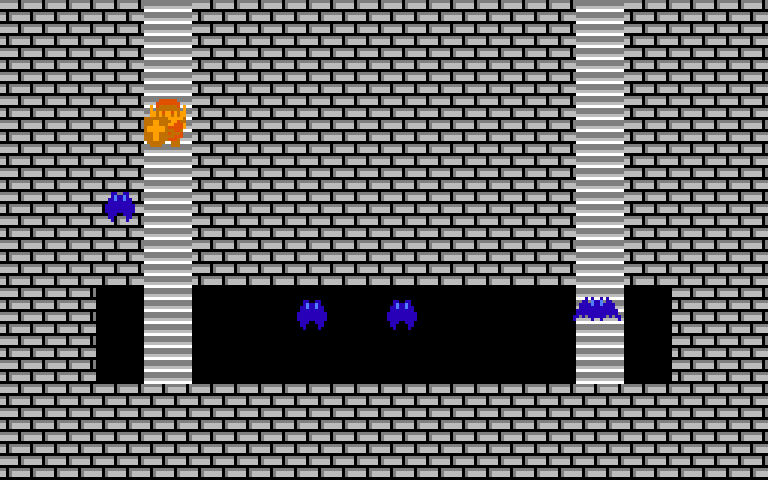
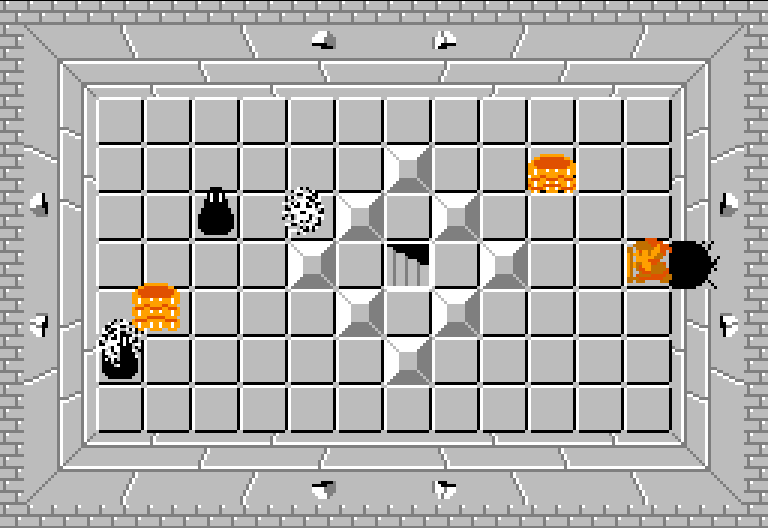
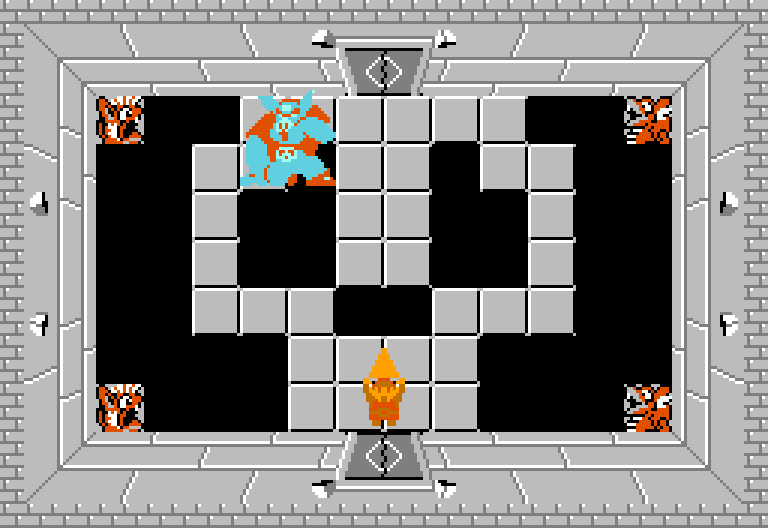
Path to the Eagle
Getting to Labyrinth 1

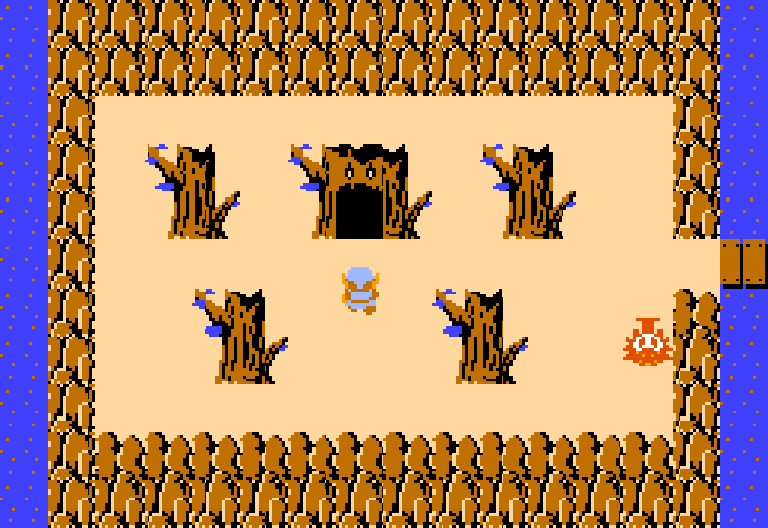
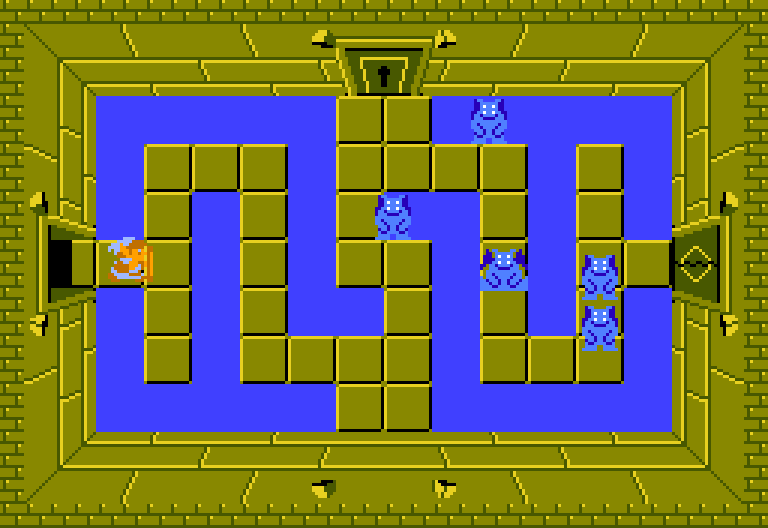
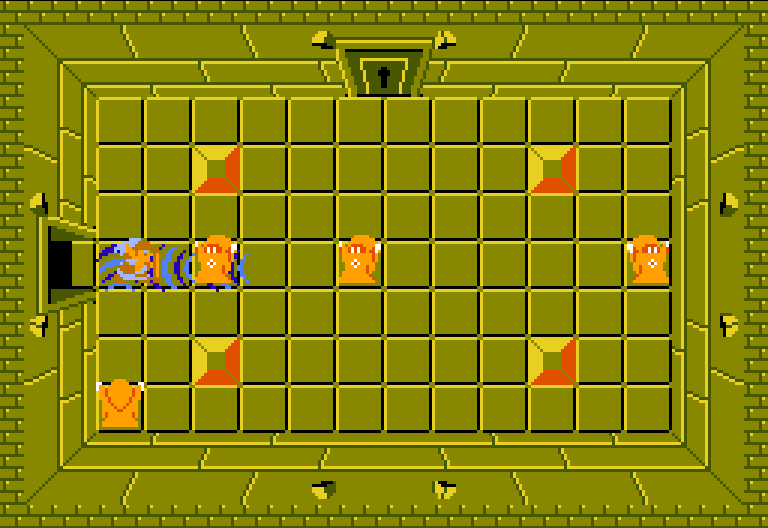
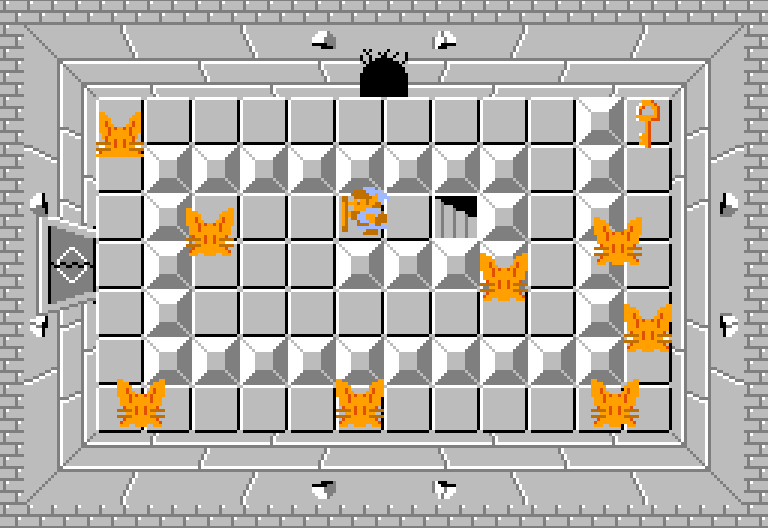
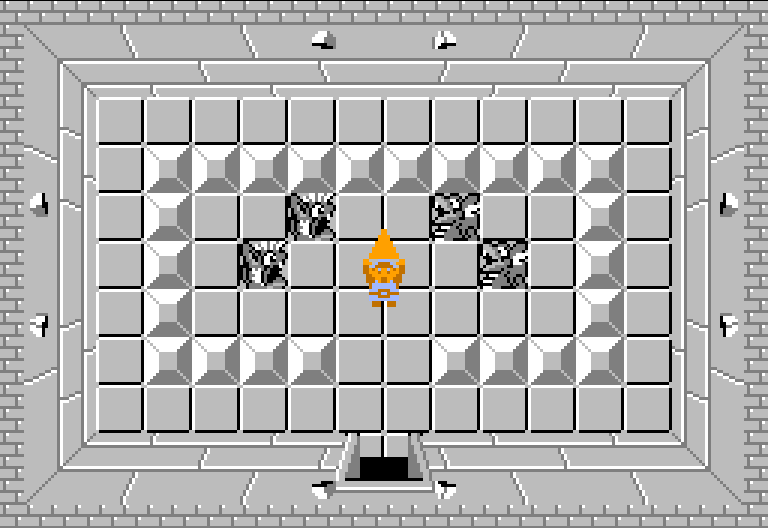
The Eagle
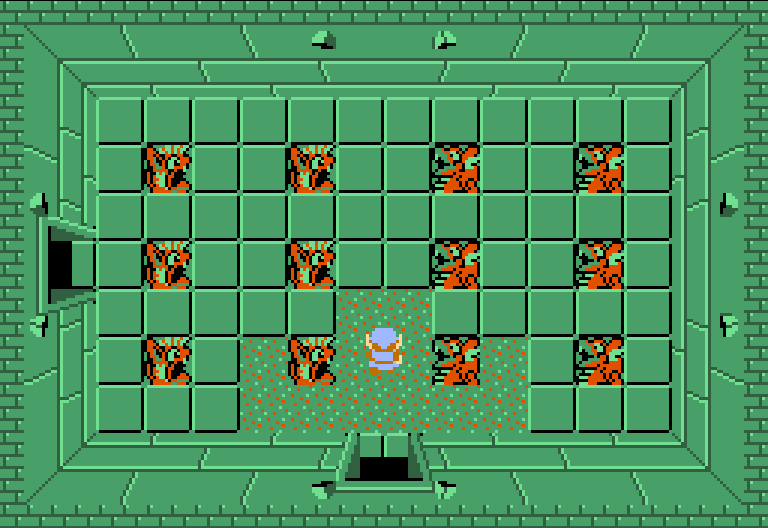
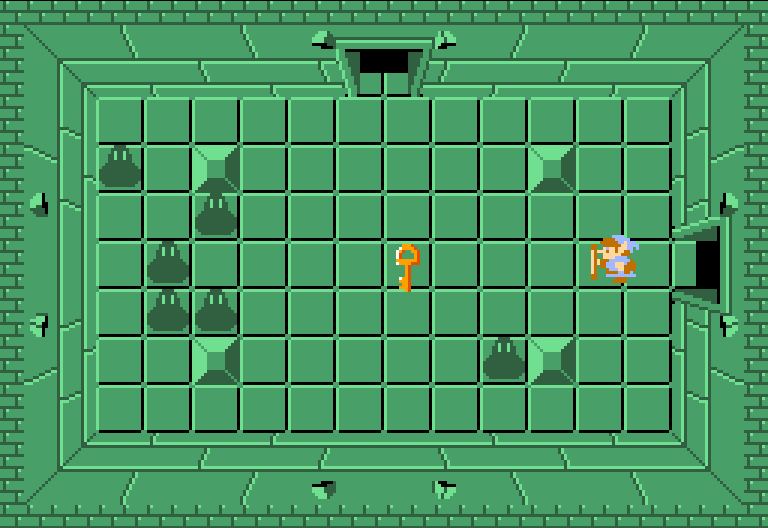
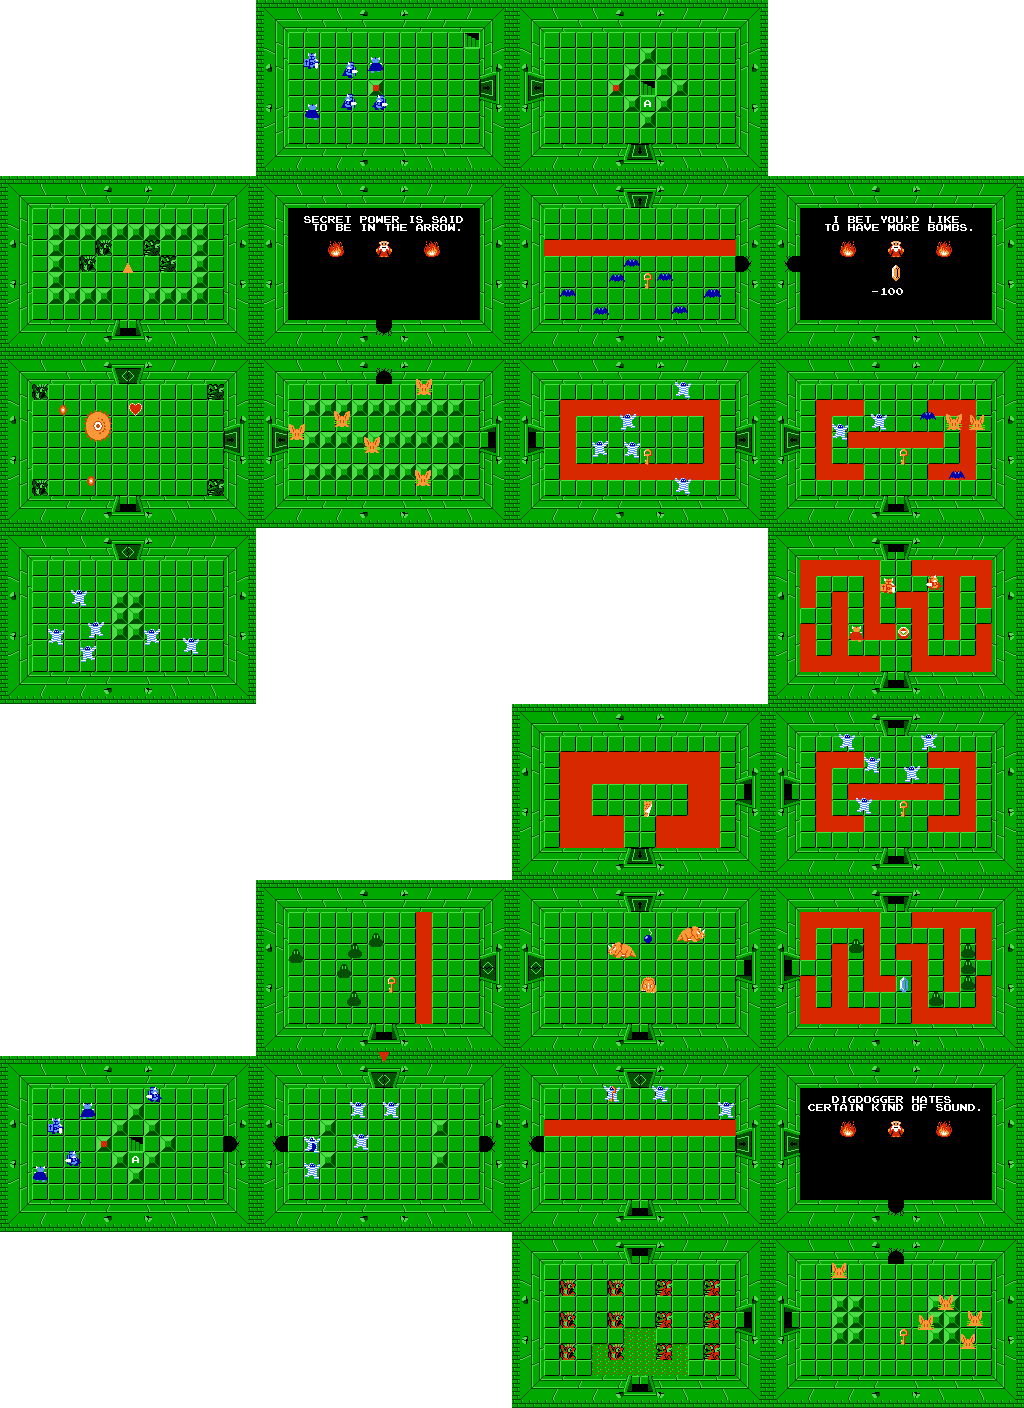
Labyrinth 1
 Bow
Bow
 Boomerang

Opt: Exit dungeon and re-enter to glitch-unlock door.
Go ←


3 Keese. Key.
Go → →

5 Stalfos. Key.
Go ← ↑

3 Stalfos.
Go ↑

5 Stalfos. Key.
Bomb ↑. Go →


8 Keese. Compass.
Go ← ↑


Light. 5 Gel. Map.
Go ↑

3 Stalfos. Key.
Go ↑

3 Goriya. Key.
Go ←

Blade Traps.
Push stone.
Go ⤓

4 Keese. Bow.
Go ⤒ → ↓ ↓ →

3 Goriya. Boomerang.
Go →

Wallmasters.
Key.
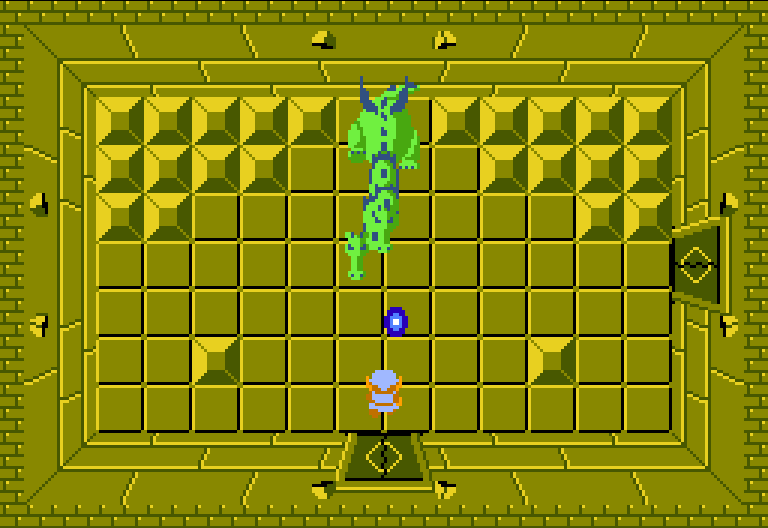
Go ↑

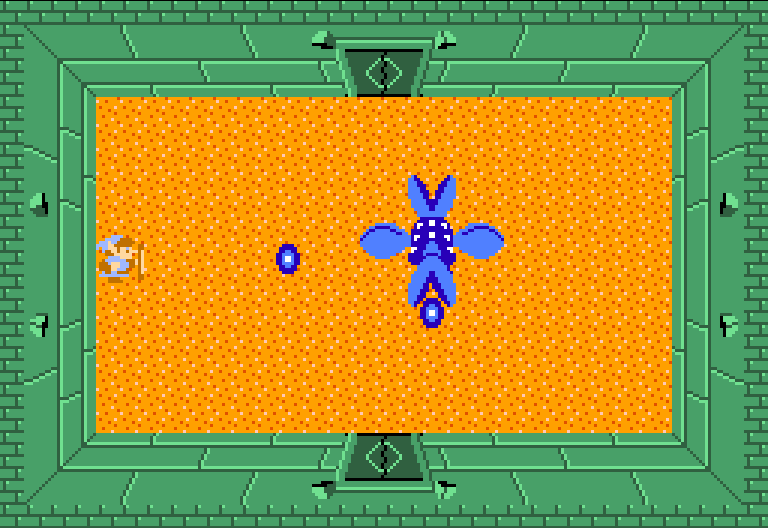
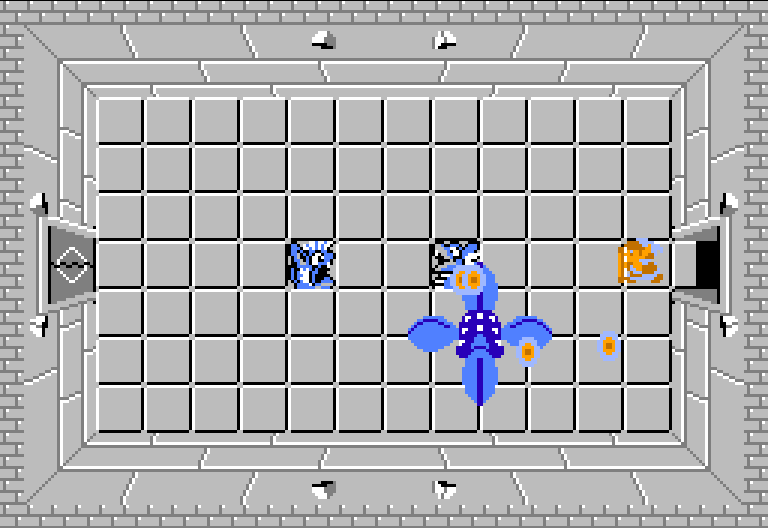
Aquamentus: attack head. Heart.
Go →


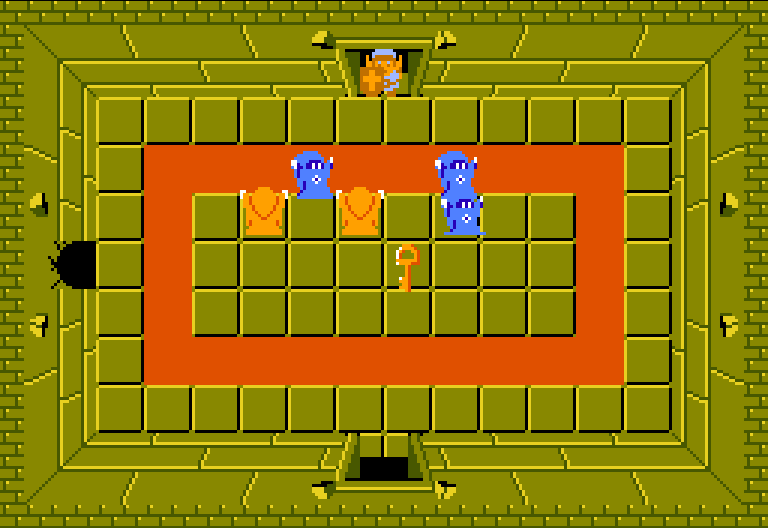
Triforce.
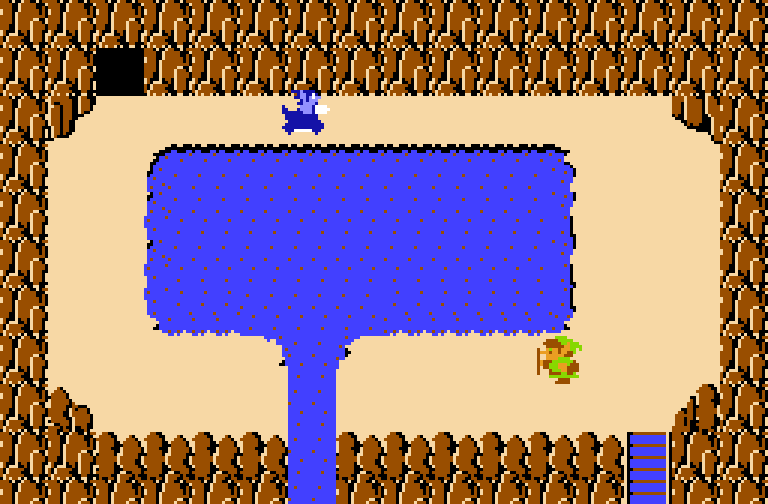
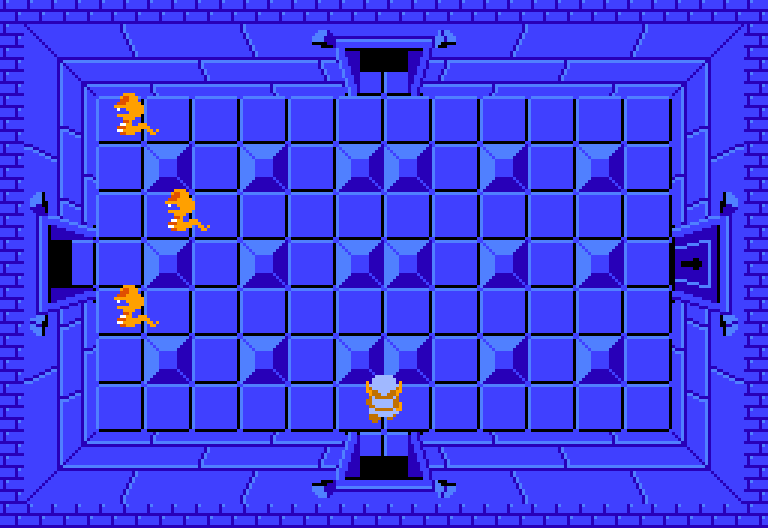
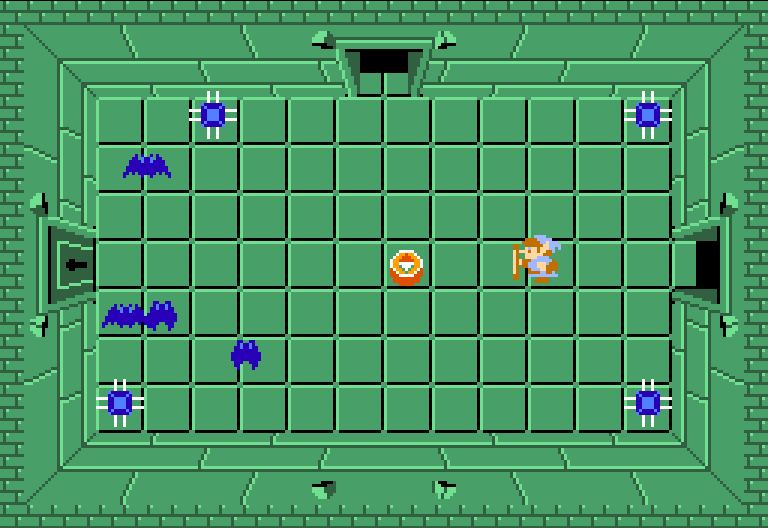
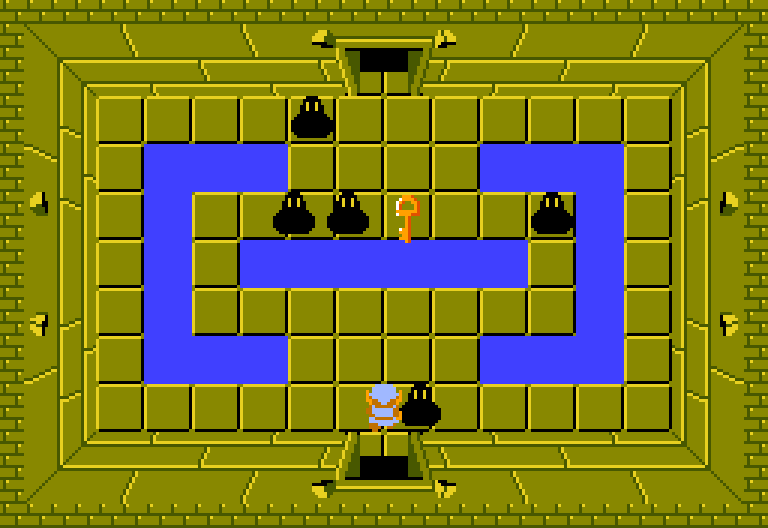
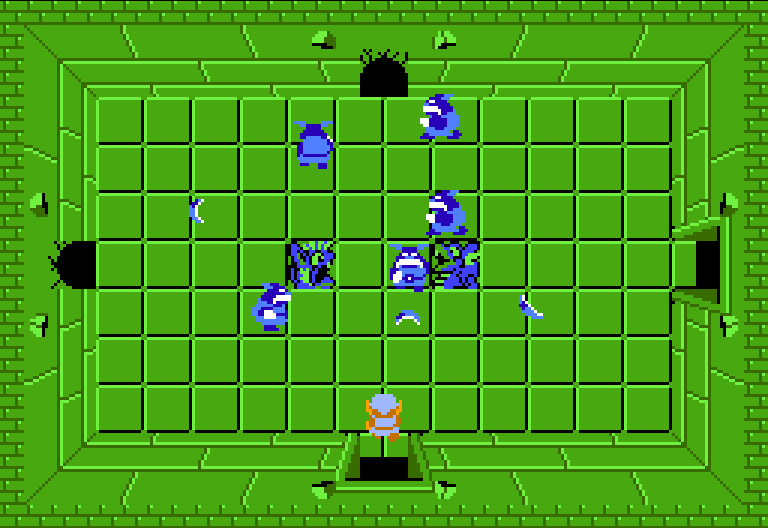
Path to the Moon
Getting to Labyrinth 2
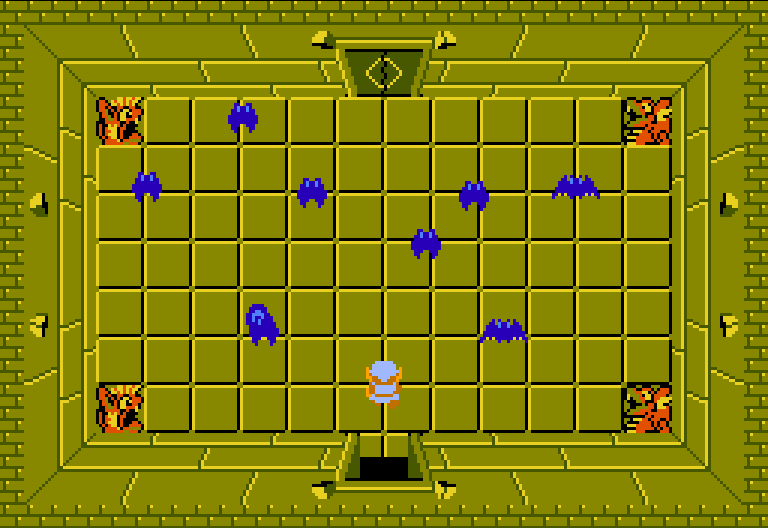
The Moon
Labyrinth 2
 Magical Boomerang

Go ↑

5 Rope.
Go ←

6 Rope. Key.
Go → ↓ →

5 Rope. Key.
Go ↑

3 Rope.
Go →

6 Gel. Compass.
Bomb ↑. Go ↑


5 Gel. Map.
Bomb ↑. Go ↑

3 blue Goriya. Magic Boomerang.
Bomb ↑. Go ↑

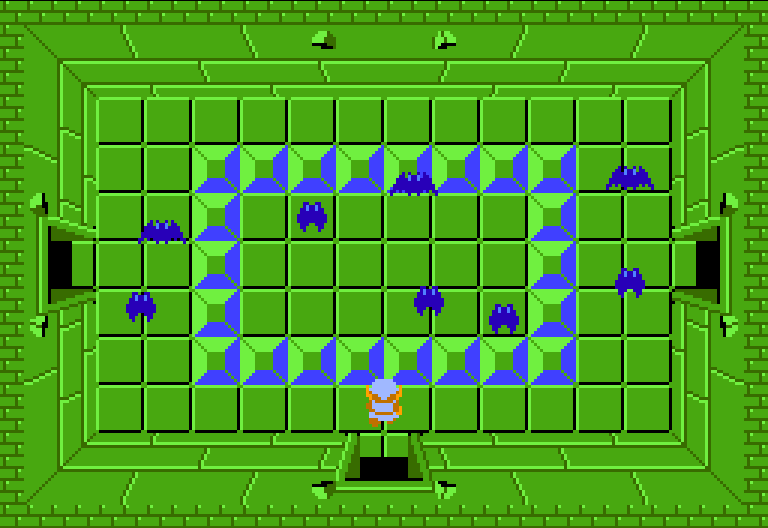
4 Keese, spikes.
Bomb ↑. Go ↑

4 Gel.
Go ←

8 Rope.
Go ↑

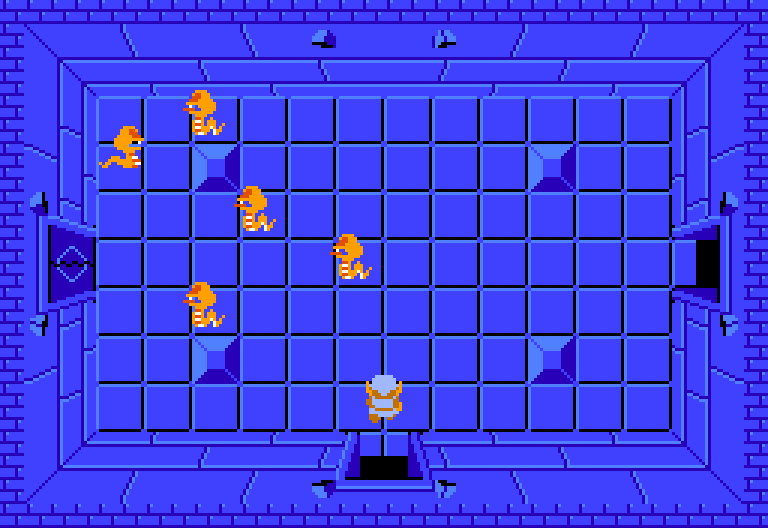
5 Goriya.
Go ↑

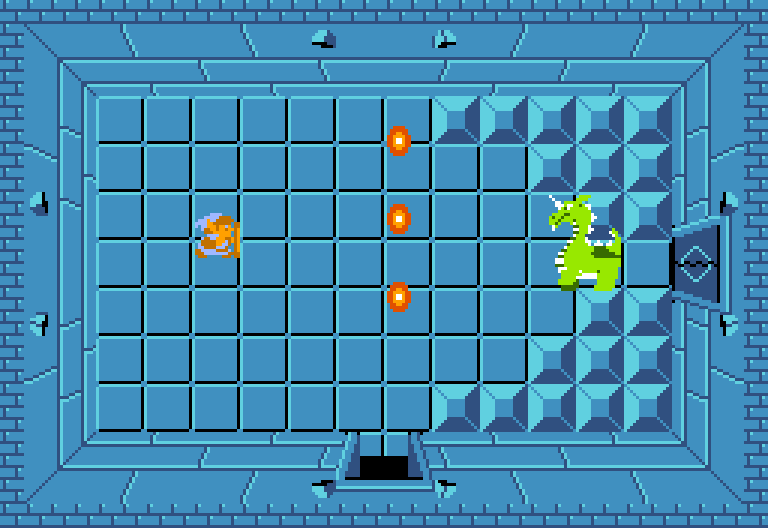
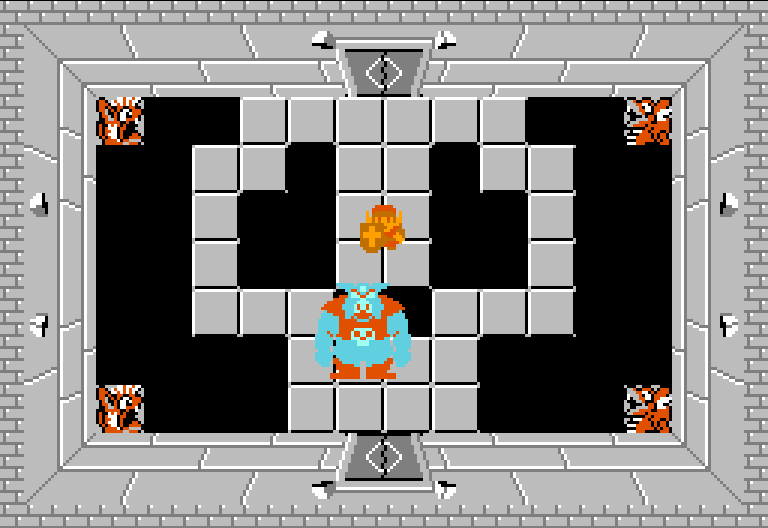
Feed bombs to Dodongo. Heart. Go ←

Triforce.
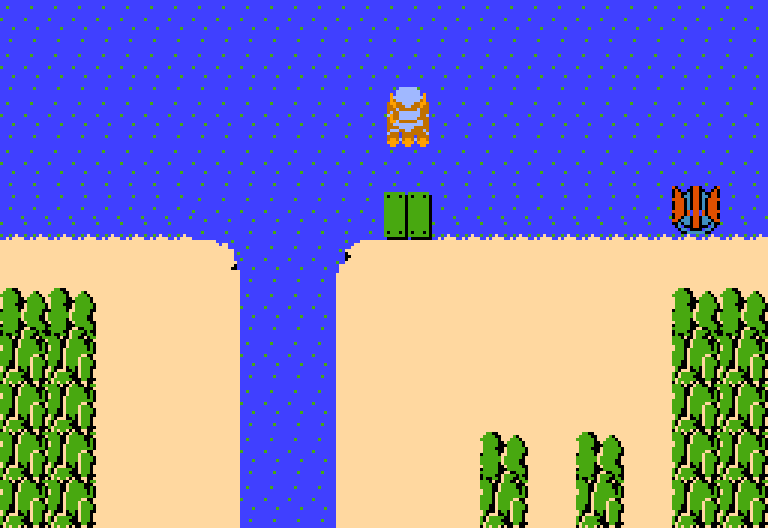
Path to the Manji
Getting to Labyrinth 3
The Manji
Labyrinth 3
 Raft
Raft


Go ←

6 Zol. Key.
Go ↑

5 Zol. Key.
Go ↑

3 Darknut.
Go ←

4 Keese. Compass.
Go ←

5 Darknut.
Go ↓

8 Darknut.
Go ⤓

8 Keese. Raft.
Go ⤒ ↑ → → ↑

3 Zol. Key.
Go →

2 Zol. Map.
Bomb →. Go →

Manhandla. Avoid fire, attack heads, bombs are good. Heart. Go ↑

Triforce.
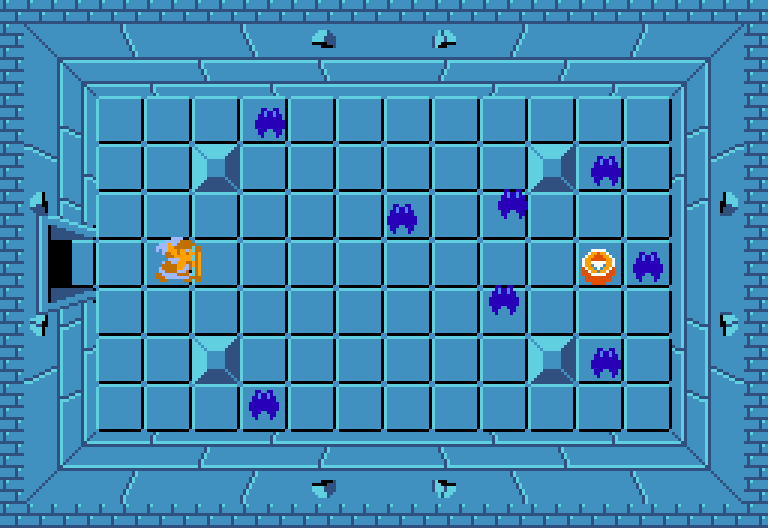
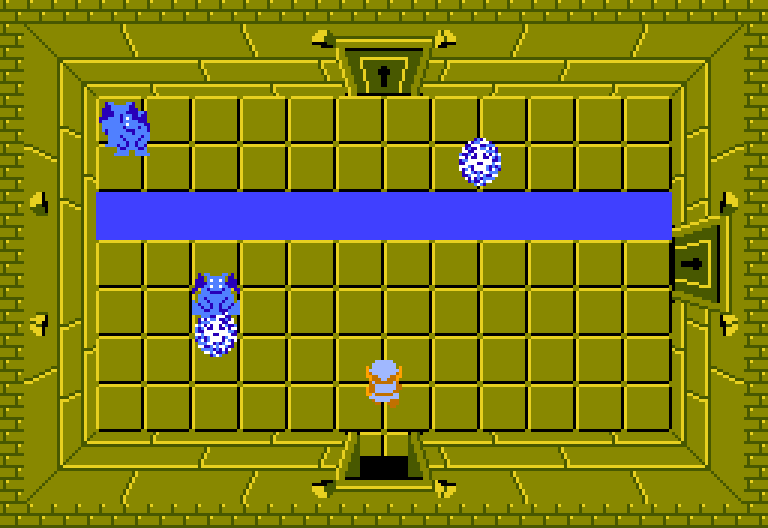
Path to the Snake
Getting to Labyrinth 4
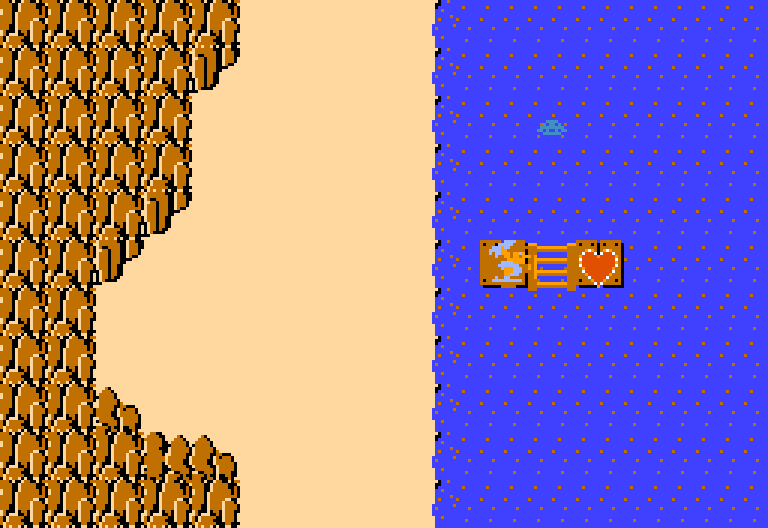
Heart
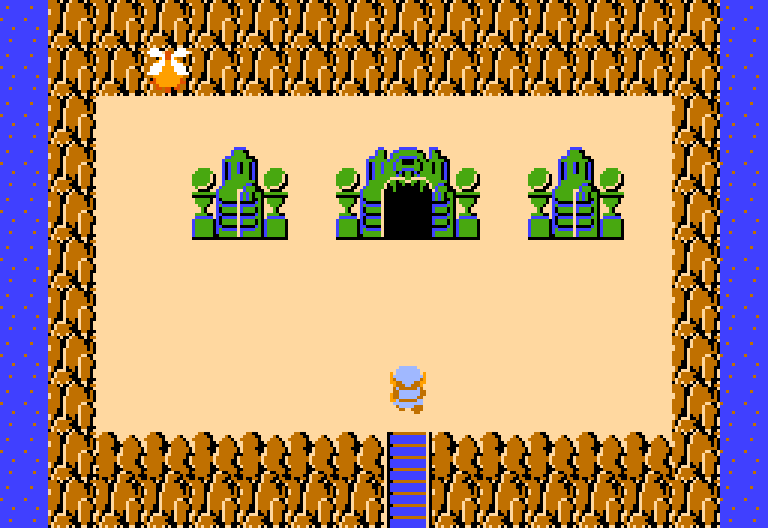
The Snake
Labyrinth 4
 Stepladder

Go ←

8 Keese. Key.
Go → ↑

3 Vire.
Go →

Use candle to light room. 5 Vire. Compass.
Go ← ↑

8 Keese. Key.
Go ←


Light. 5 Vire.
Go ↑

Light. 5 Zol. Key.
Go ↑

Light. 3 Vire. 2 Bubble.
Go →

5 Vire.
Go →

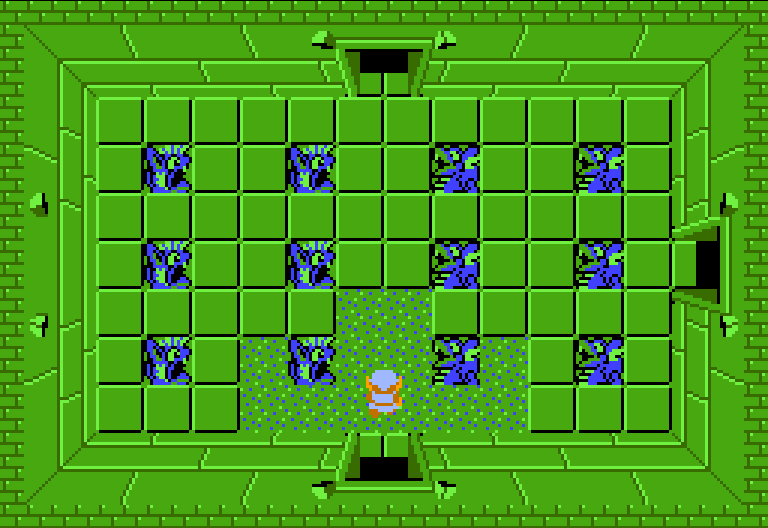
2 Like-Like, 2 Zol, 2 Bubble. Like-Likes eat magic shields. Push left block. Go ⤓
4 Keese. Stepladder can cross water. Go ⤒ ← ← ↑

5 Vire.
Go →


5 Gel. Map.
Bomb ↑. Go ↑ →

5 Vire. Push left block.
Go →

Gleeok. Avoid fire, attack attached heads. Heart.
Go ↑

Triforce.
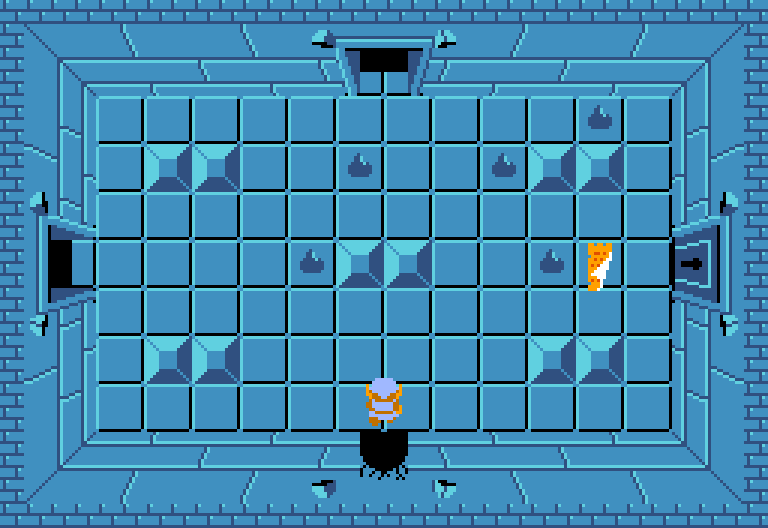
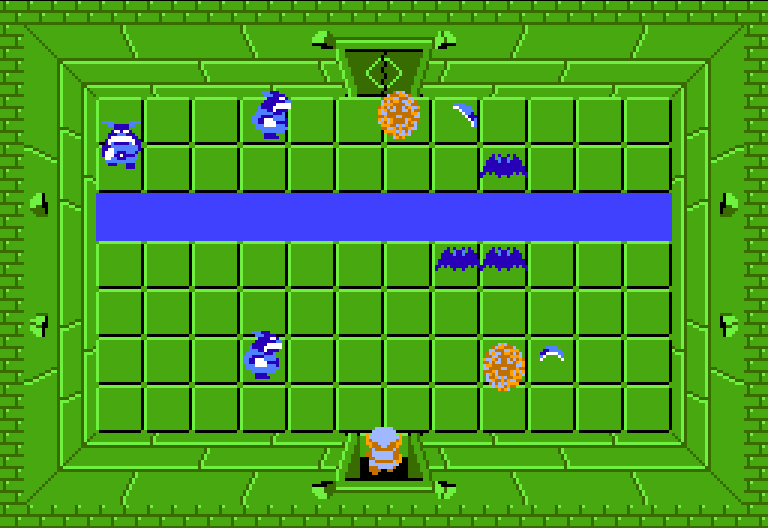
Path to the Lizard
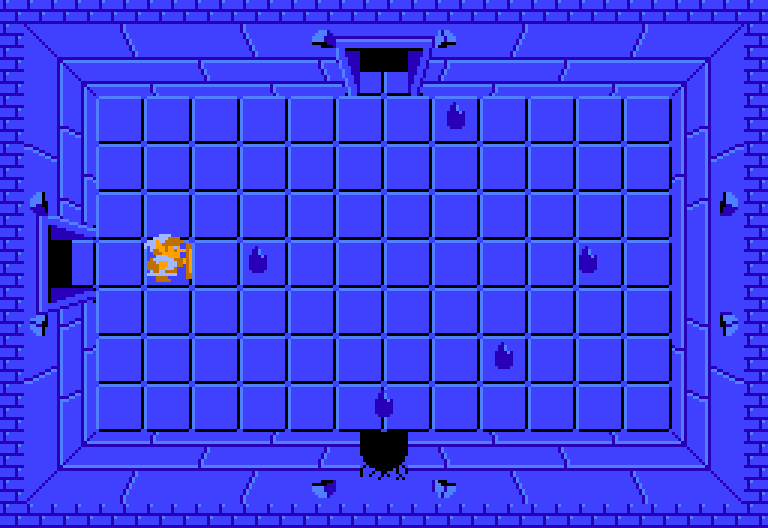
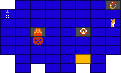
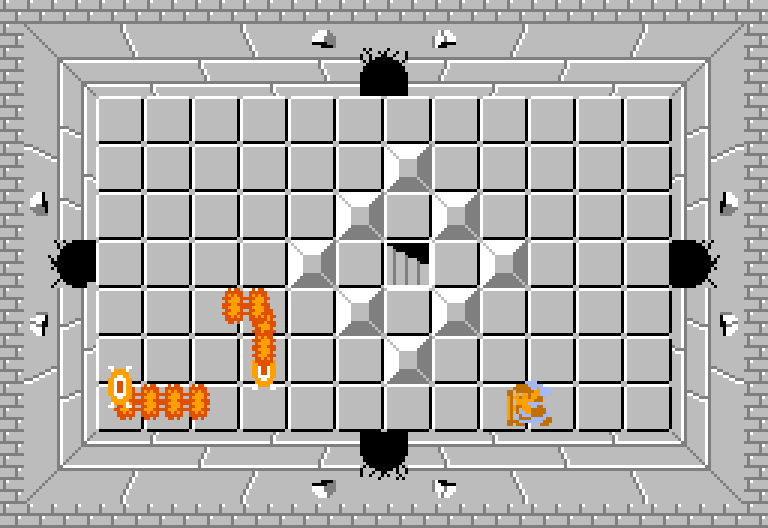
Final Gathering
Heart
 Power Bracelet
 Magical Sword

Take the right path. ⤓ ← ← ↑
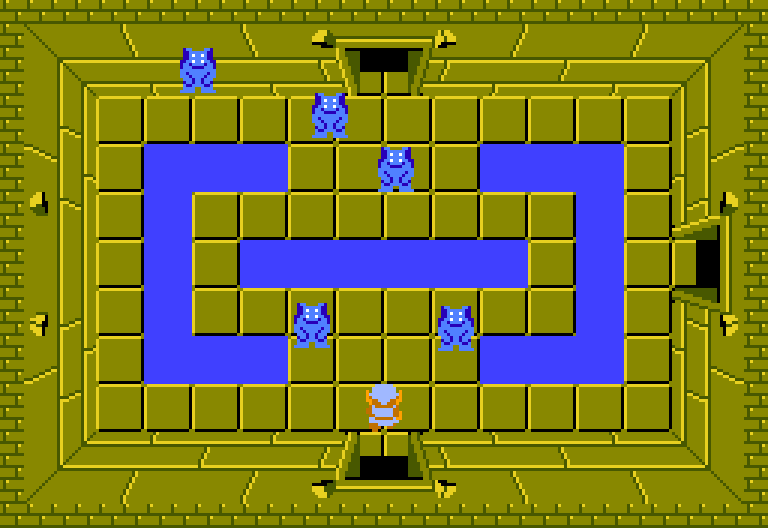
The Lizard
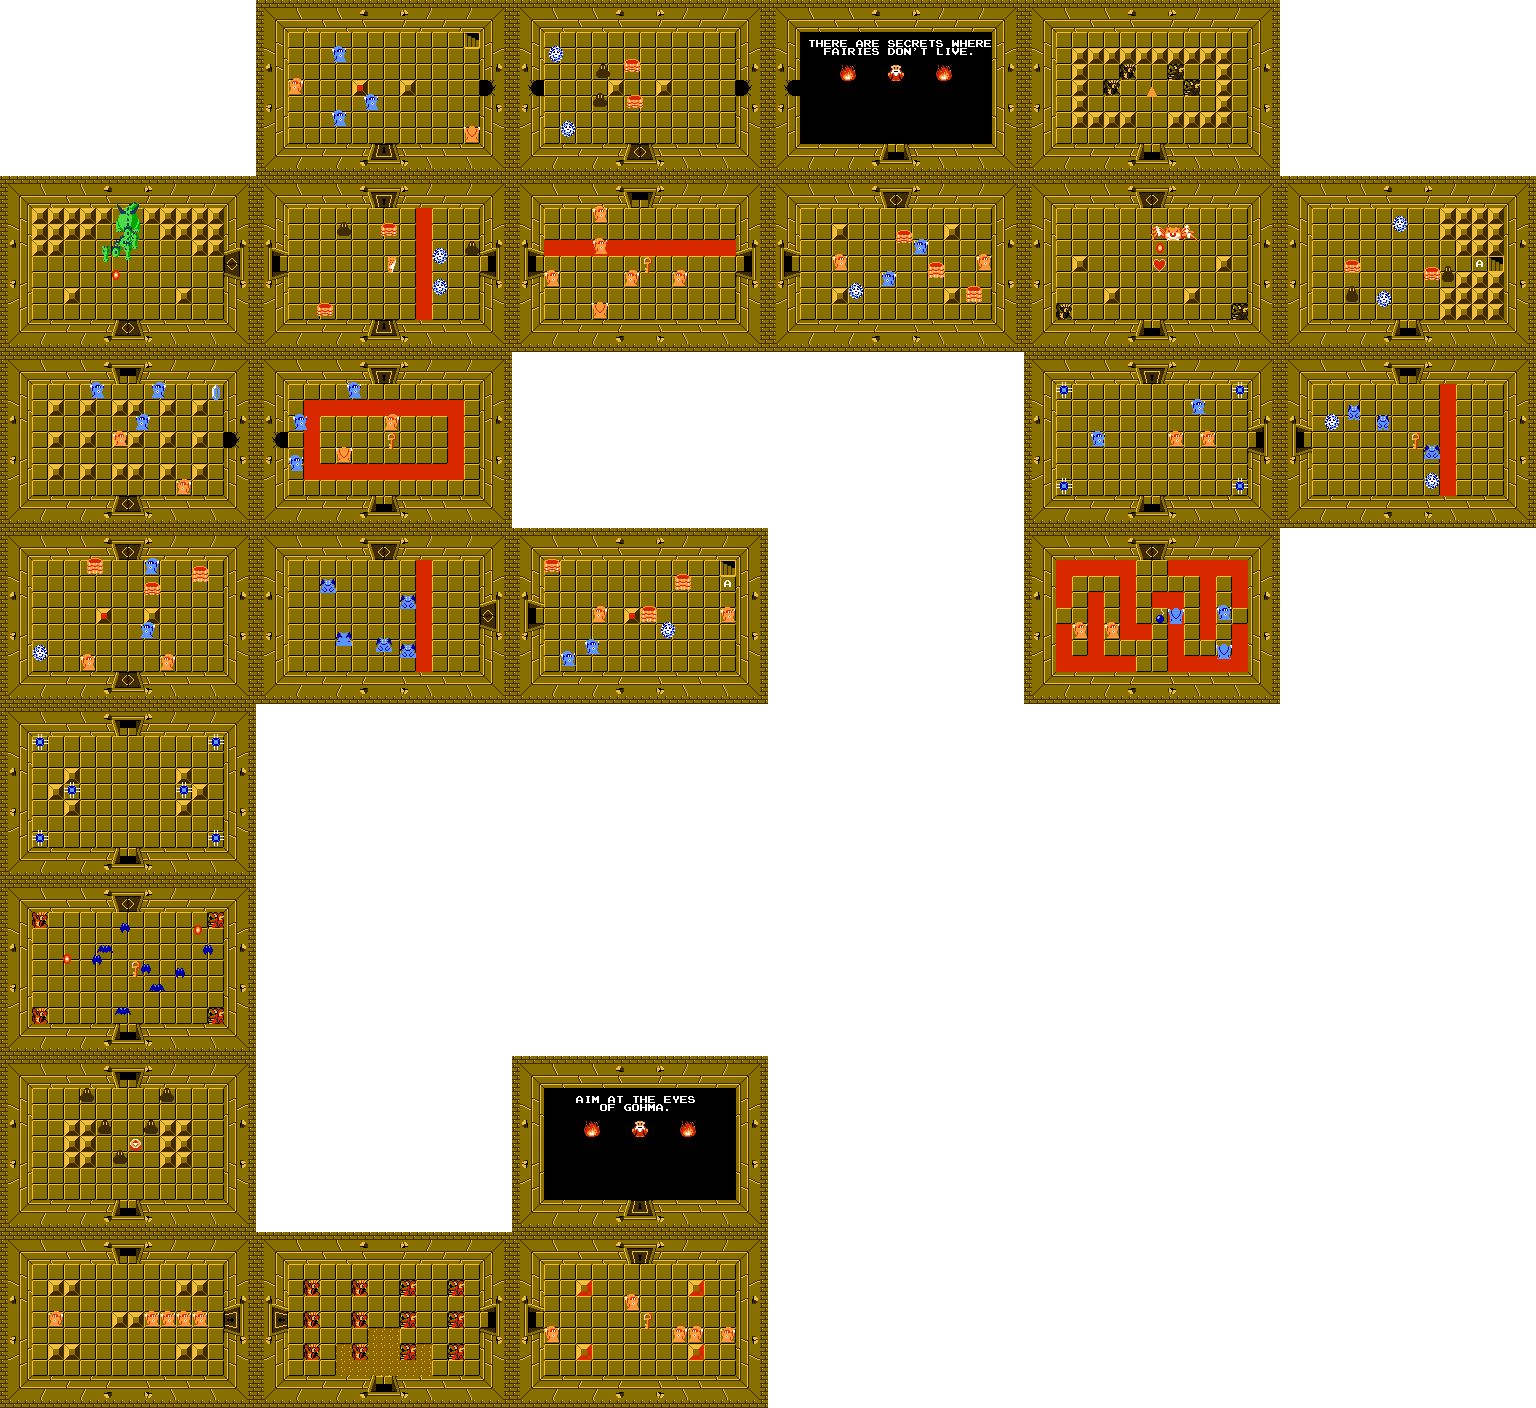
Labyrinth 5
 Whistle

Go →

5 Pols, immune to all but sword or arrow, weak to arrow. Key. Go ← ↑

Light. 3 Gibdo, weak to fire. Key.
Bomb ← Go ↑

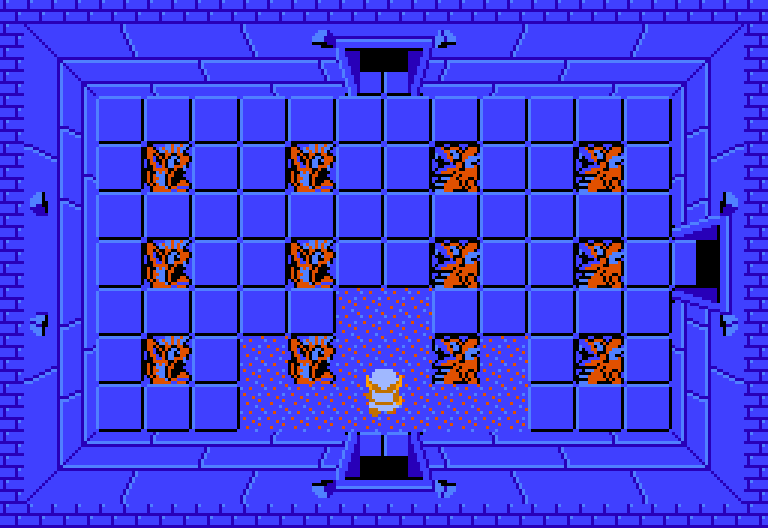
3 Dodongo. Bombs.
Go ↑

Map
Go ↓ ←

5 Zol. Key.
Go ↓

5 Gibdo. Bombs.
Bomb ← Go ←

5 Darknut. Push left block.
Go ⤓
4 Keese.
Go ⤒

Go ←


6 Darknut. Push block.
Go ⤓
4 Keese. Whistle.
Go ⤒ → ↓

6 Keese. Key.
Bomb → Go →

Increase bombs to 12 for ◇100. Backtrack to Dodongo room: ← ↑ ⤓ → → ↑ Go →

Light. 5 Zols. Rupees.
Go ↑

5 Gibdo. Key.
Go ↑

Light. 3 Darknut. Compass.
Go ↑

Light. 2 Gibdo 2 Pols 2 Keese. Key. Go ←

5 Gibdo.
Go ←

5 Pols, weak to arrow.
Go ←

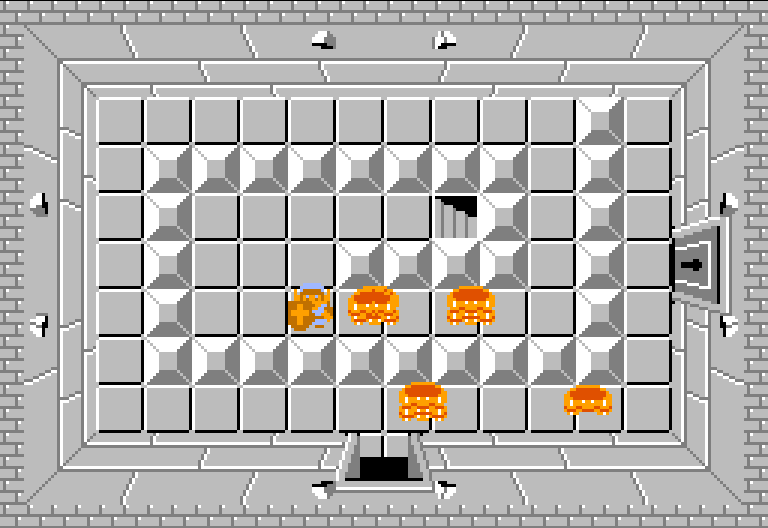
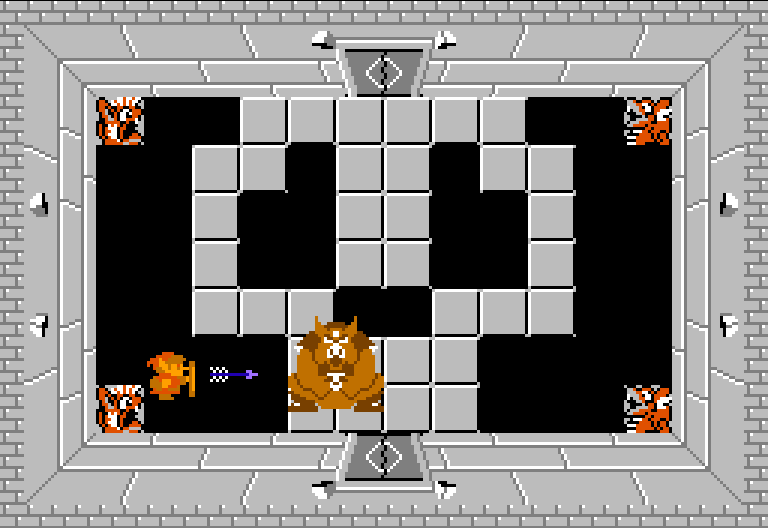
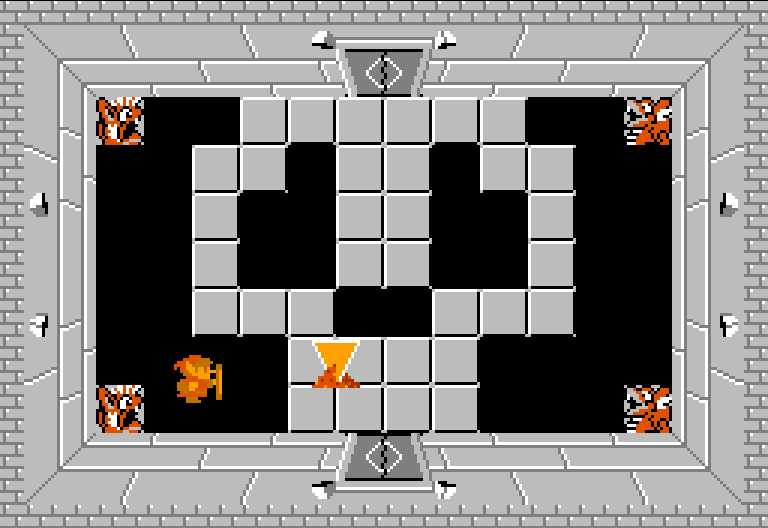
Digdogger, use whistle.
Go ↑

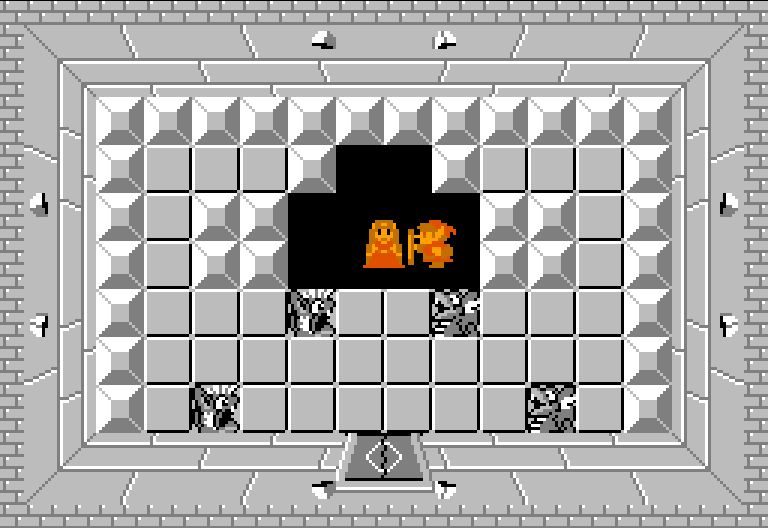
Triforce.
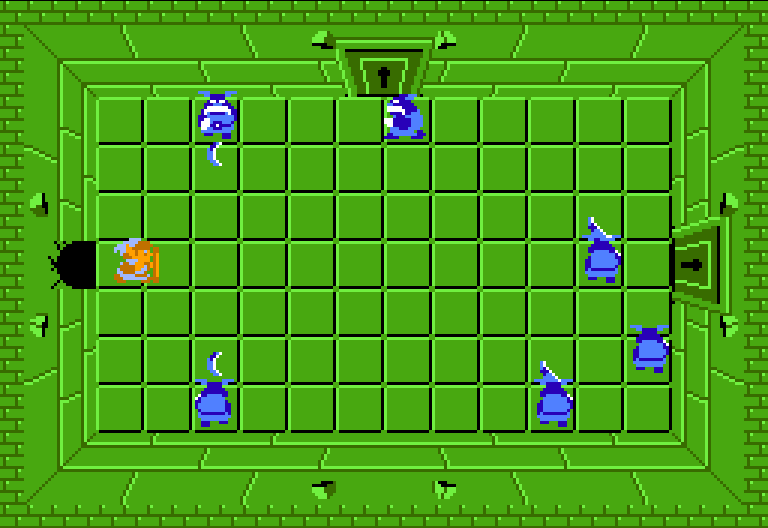
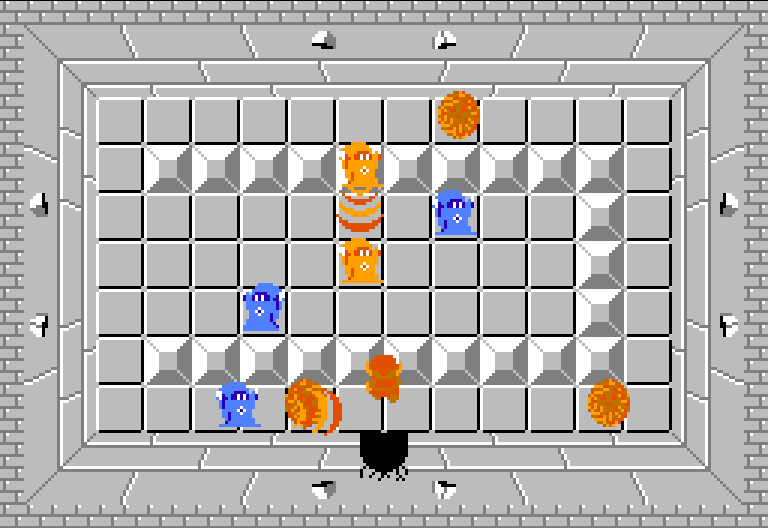
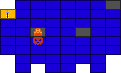
Path to the Dragon
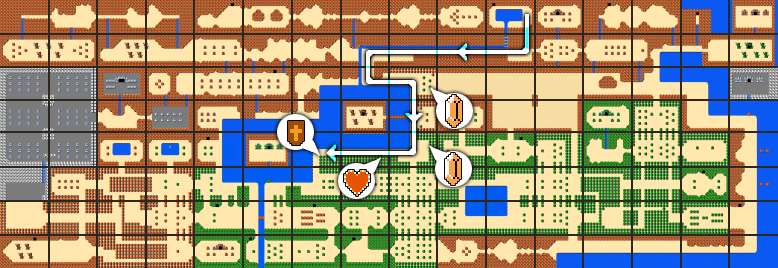
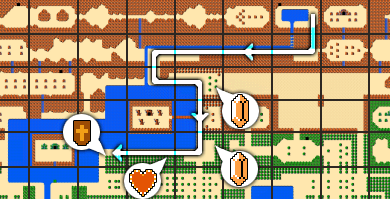
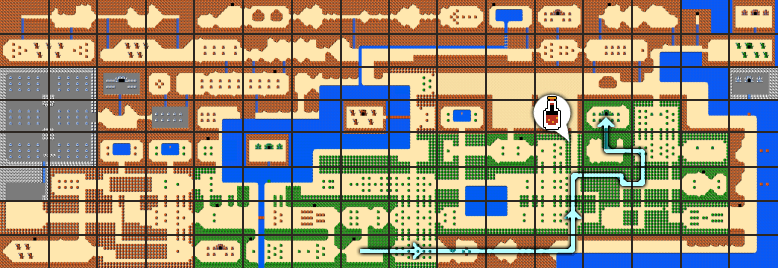
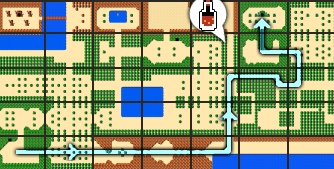
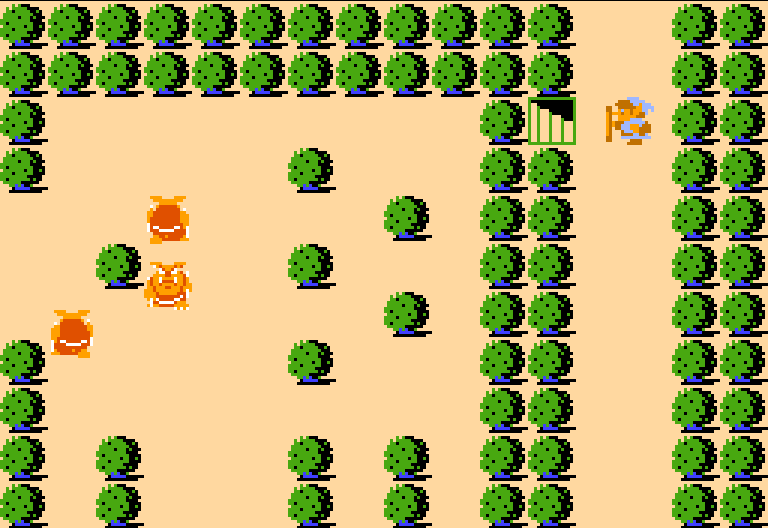
Getting to Labyrinth 6
7.1
From Labyrinth 5, go ↓ 7← ↓ ← ↓ ← ↑.
From the starting point, go 3→, push the left rock,
go ⤓, middle ⤓, then go ↓ ← ↑.

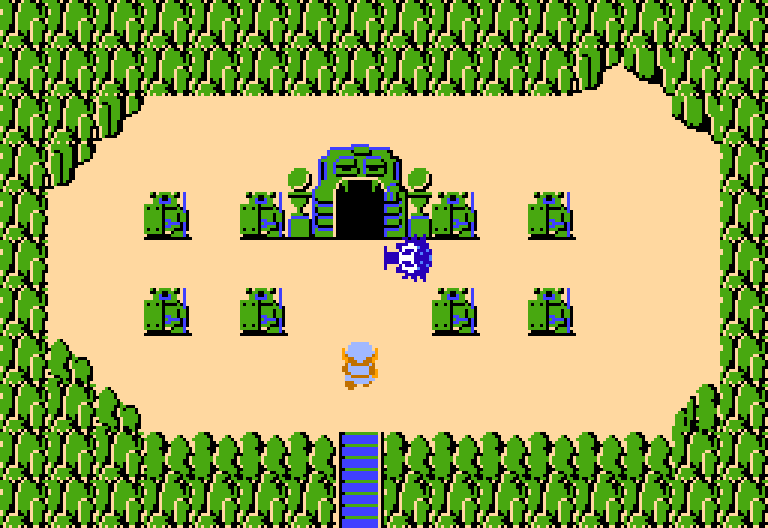
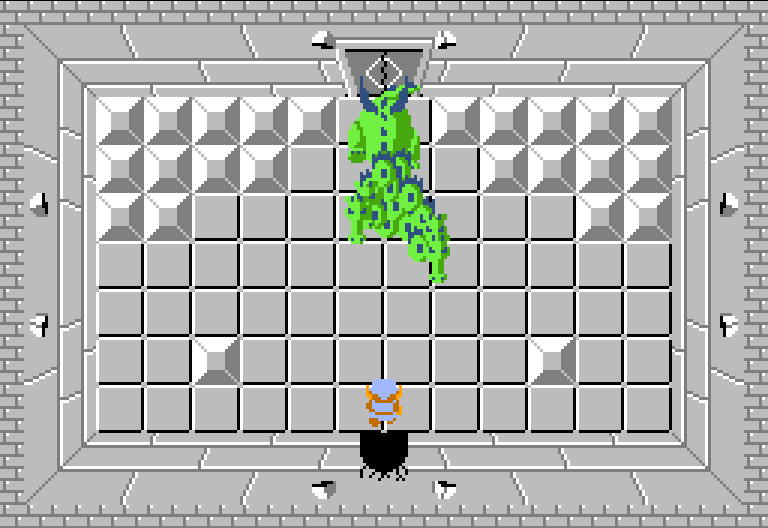
The Dragon
Labyrinth 6
 Magical Wand

Go →

Light. 5 Wizzrobe. Key.
Go ← ←

4 Wizzrobe.
Go ↑


5 Zol. Compass.
Go ↑

8 Keese. Key.
Go ↑

Go ↑

4 Wizzrobe, 2 Like-Like,
1 Bubble. Like-Likes eat shields.
Go ↑

5 Wizzrobe.
Go ↑

Gleeok.
Go →

2 Like-Like, 2 Zol, 2 Bubble. Map.
Go ↑


5 Wizzrobe. Push left block.
Go ⤓
Magical Wand.
Go ⤒ ↓ ↓

Light. 5 Wizzrobe. Key.
Go ↓

Light. 5 Vire, weak to Magical Sword. Go →

4 Wizzrobe, 3 Like-Like, 1 Bubble. Push block.
Go ⤓
4 Keese.
Go ⤒

2 Zol, 2 Like-Like, 2 Bubble.
Go ↓


Light. 3 Vire, 2 Bubble. Key. Go ←

4 Wizzrobe.
Go ↑

Gohma, shoot eye with arrows. Heart.
Go ←↑→↓←⤓⤒

Triforce.
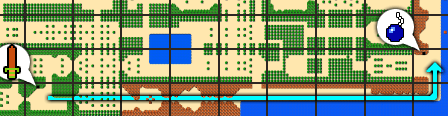
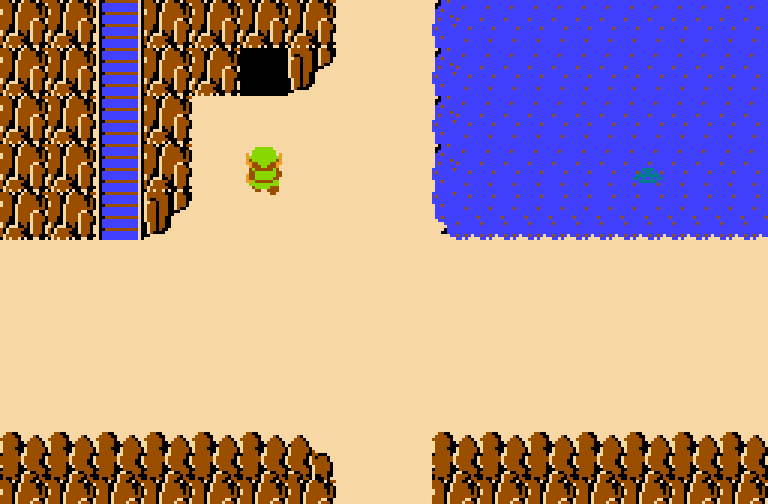
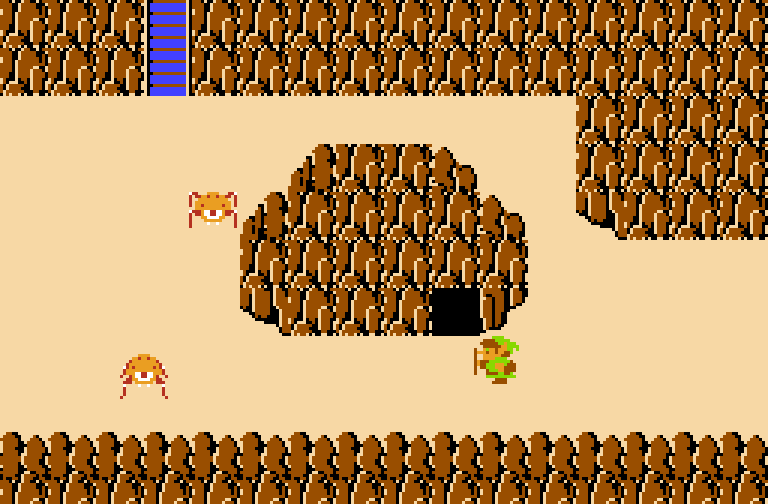
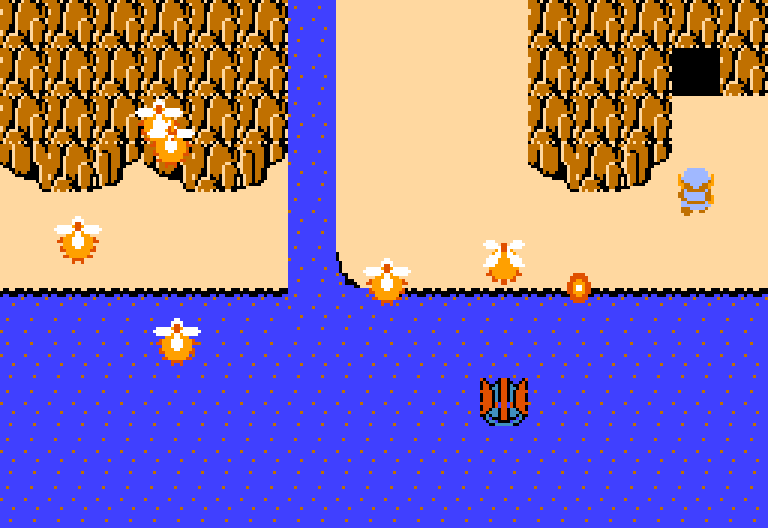
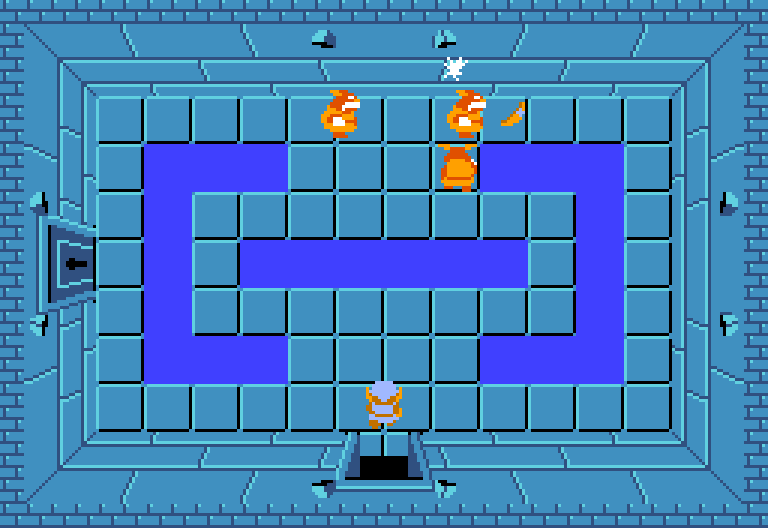
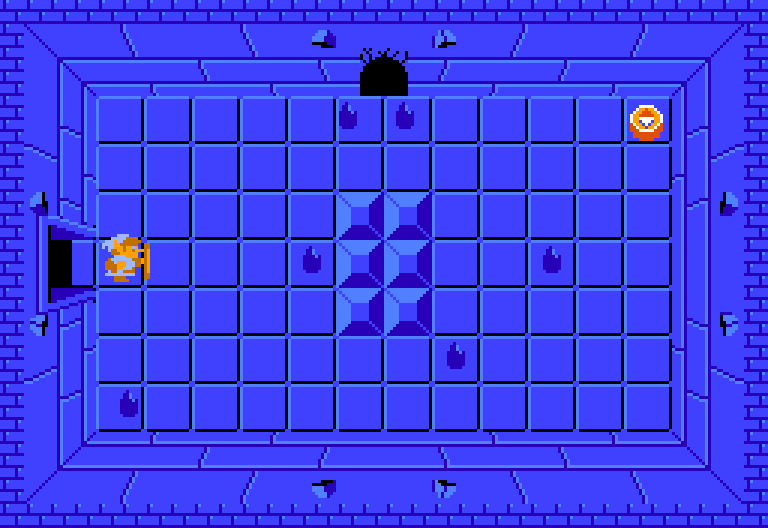
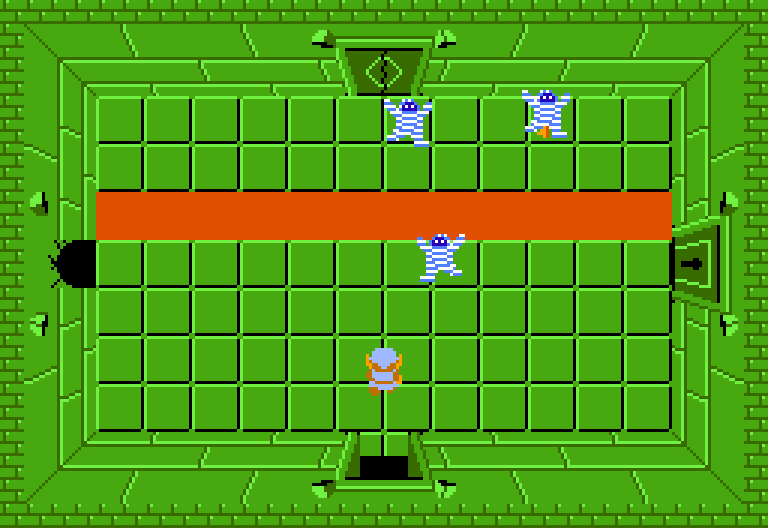
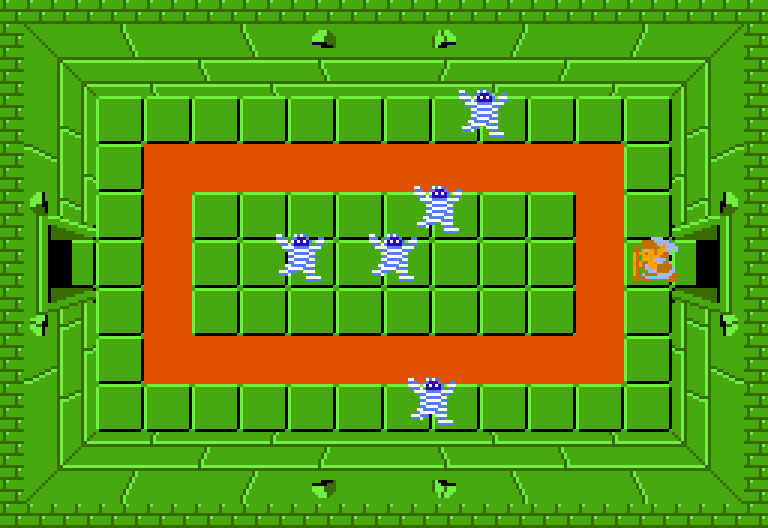
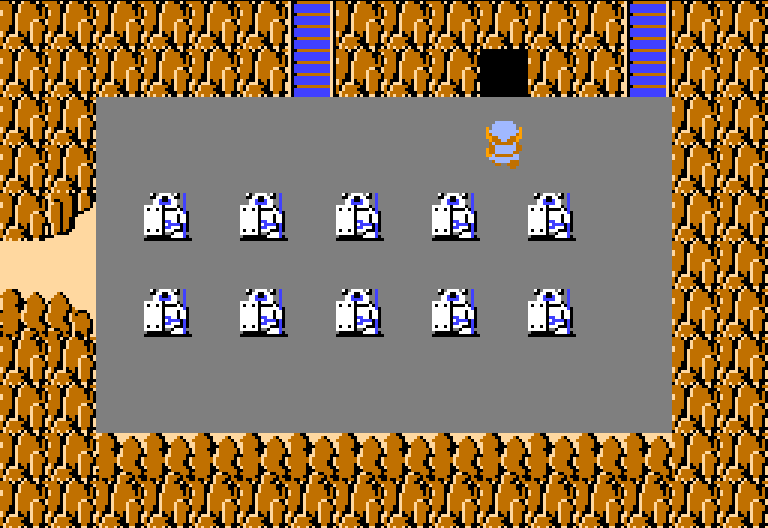
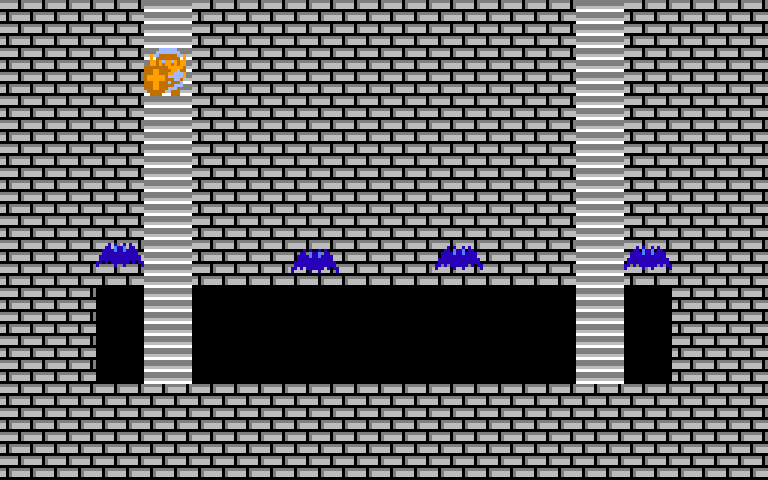
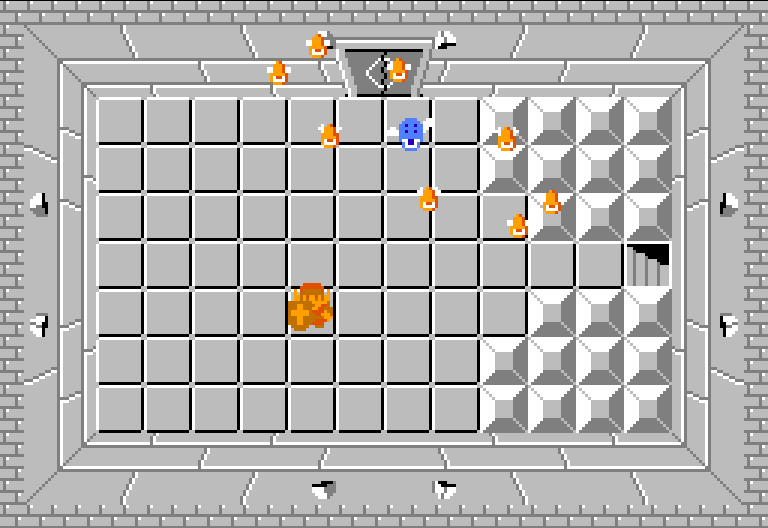
Path to the Demon
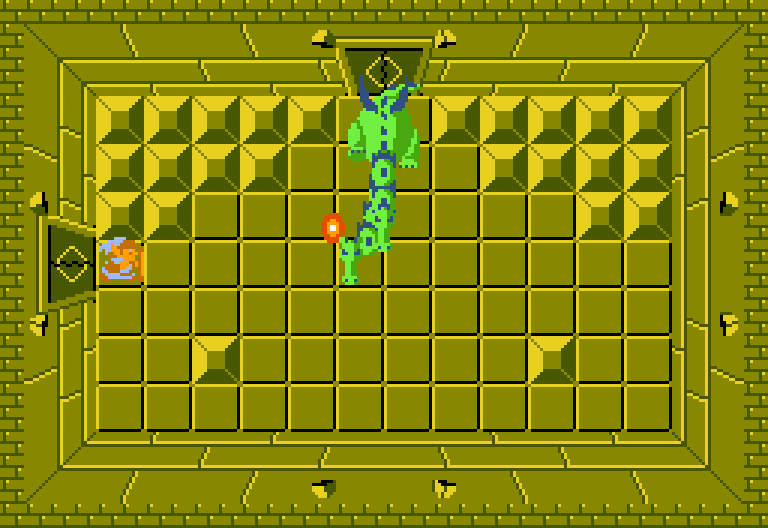
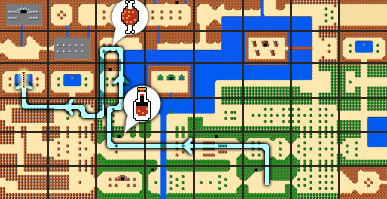
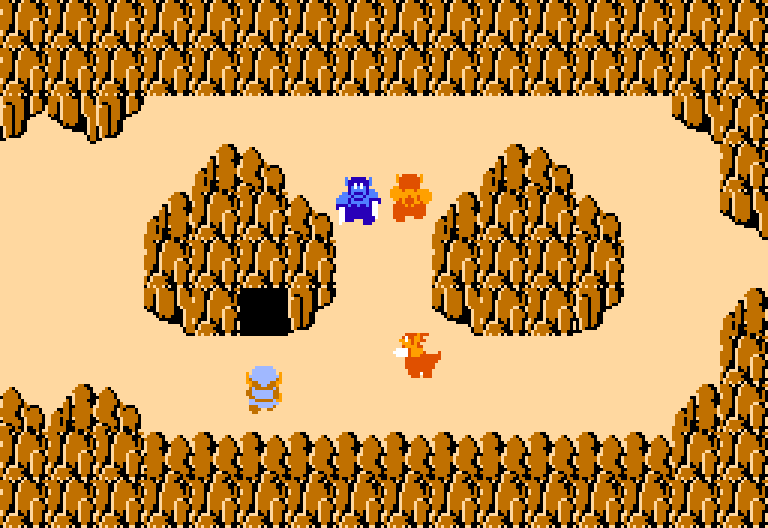
Getting to Labyrinth 7
Bait is required.
From Labyrinth 6 to the starting point,
go ↓ → ↑ middle ⤓ ← ←.
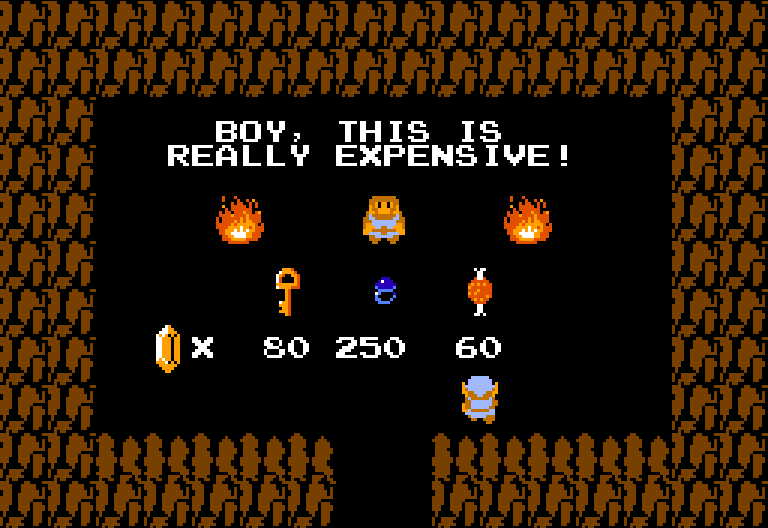
From the start to the shop, go ↑ 3← 3↑. Buy bait ◇60.
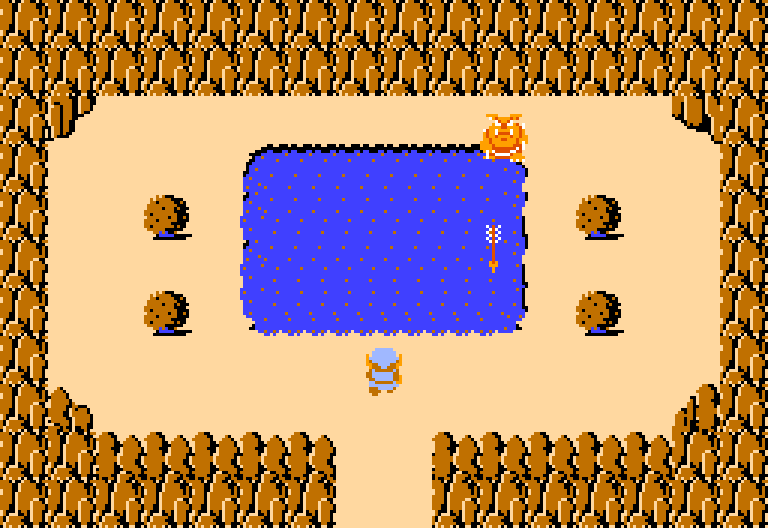
From the shop to the lake, go 2↓ 2← ↑.
Blow the whistle at the lake to reveal Labyrinth 7.

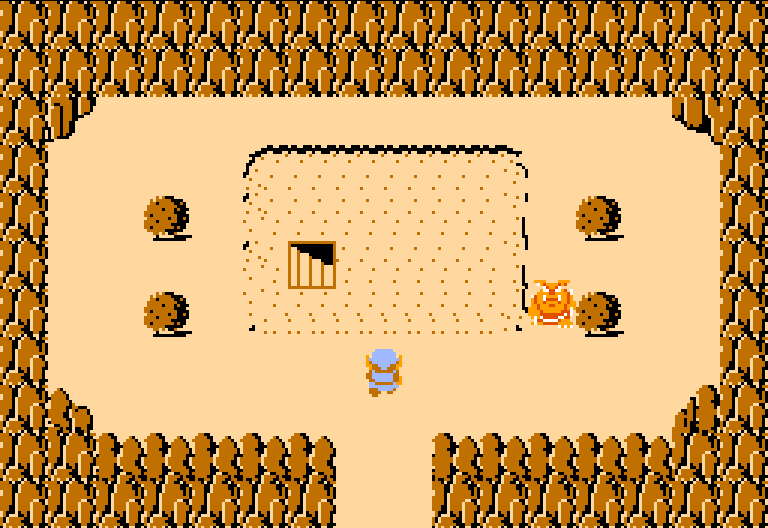
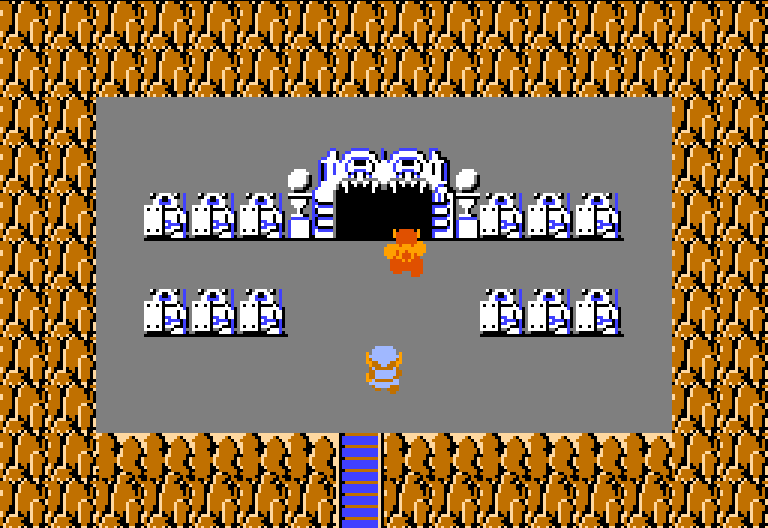
The Demon
Labyrinth 7
 Red Candle

Go →
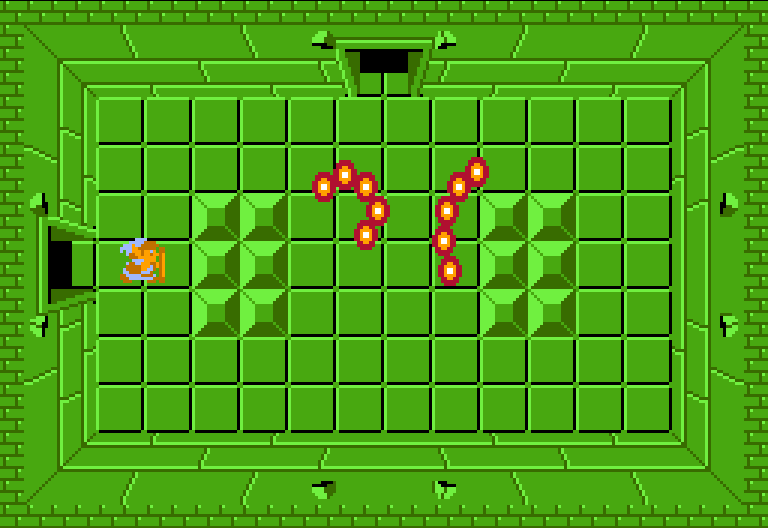

2 Moldorms. Bombs.
Go ↑

Light. 8 Keese.
Go →

6 Goriya.
Go →

Digdogger, whistle. Bombs.
Go →

8 Stalfos. Key.
Go 4←

8 Goriya. Bombs.
Bomb ← Go ←

4 Keese. Bombs.
Go ↓

5 Rope. Key.
Go 2↑

3 Dodongo, avoidable. Rupees.
Go ↑

Increase bombs to 16 for ◇100.
Go ↓ →

6 Goriya.
Go →

Light. 8 Stalfos. Compass.
Go ← ↑

3 Goriya, 3 Keese, 2 Bubble.
Go ↑

Digdogger, avoidable.
Go ←

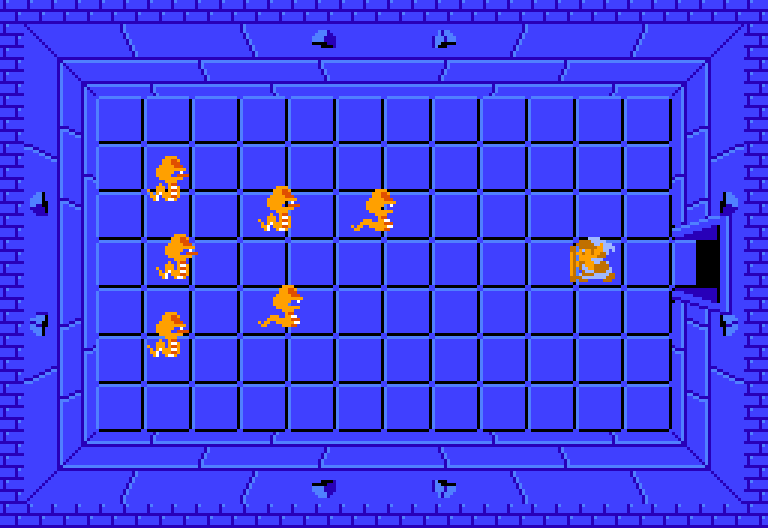
6 Goriya. Rupees.
Go ↑

Leave bait for hungry Goriya.
Go ↑

Light. 3 Keese, 3 Goriya, 2 Bubble. Map. Bomb ↑ Go ↑


Rupees.
Bomb → Go →


6 Goriya. Rupees.
Go →

5 Goriya.
Go ← ↓

6 Goriya.
Bomb → Go →


6 Goriya. Push left block.
Go ⤓
4 Keese. Red candle.
Go ⤒ Bomb → Go →

6 Goriya. Bombs. Room ↑ has more bombs. Go →

Digdogger, try placing bomb right before whistle. Go ↑

3 Dodongo. Bombs.
Bomb → Go →

5 Wallmaster, 3 Bubble. Push mid-right block left. Go ⤓
4 Keese.
Go ⤒

6 Goriya.
Bomb → Go →

Aquamentus. Heart.
Go →

Triforce.
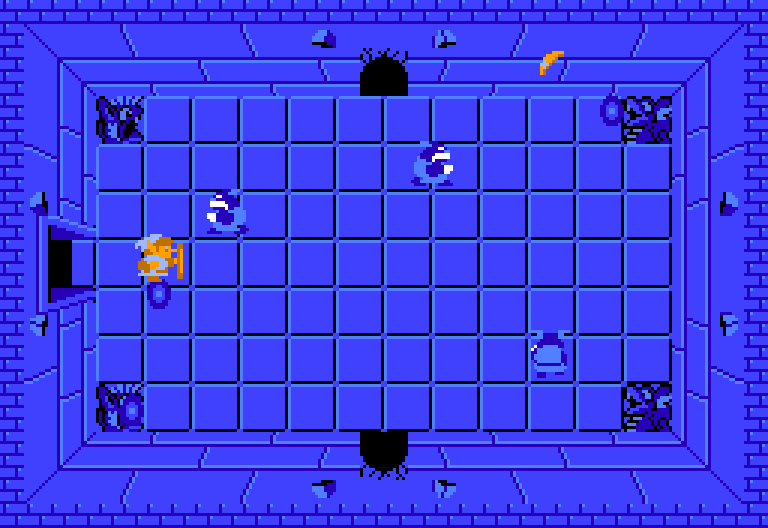
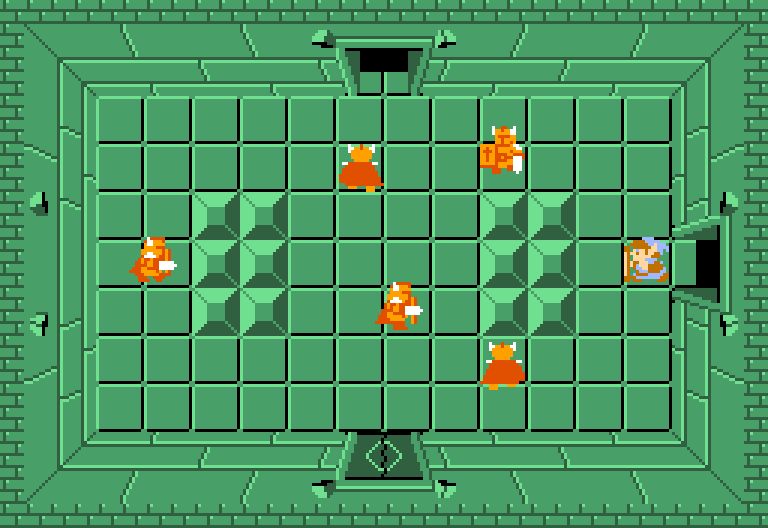
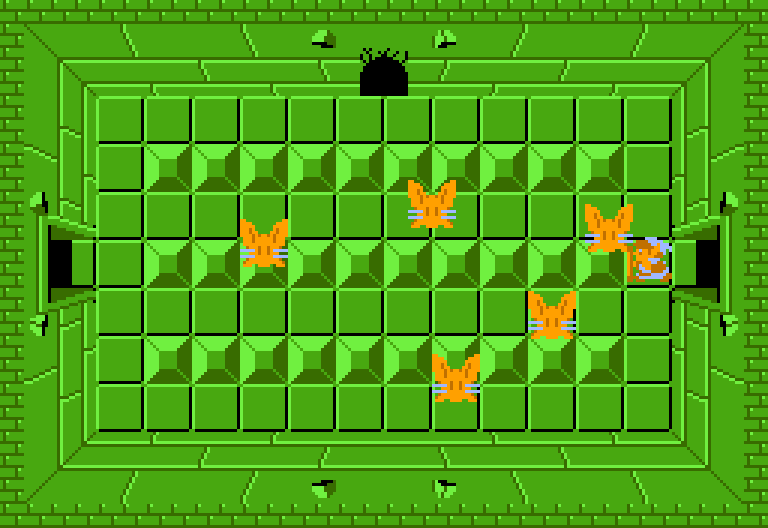
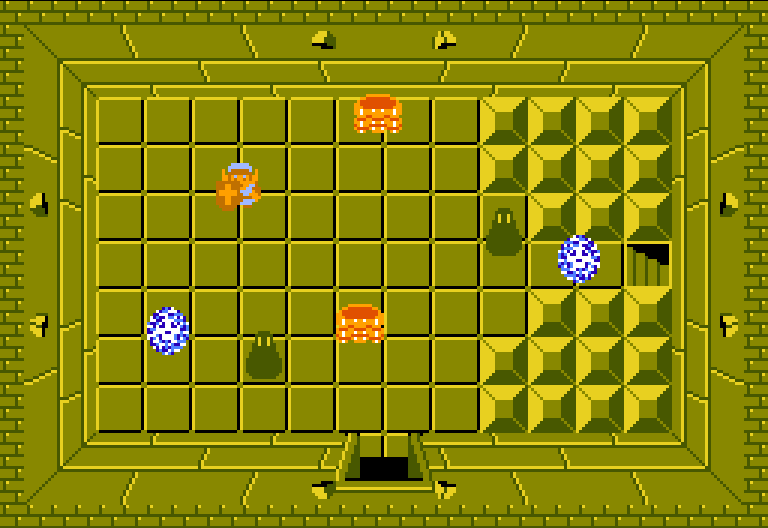
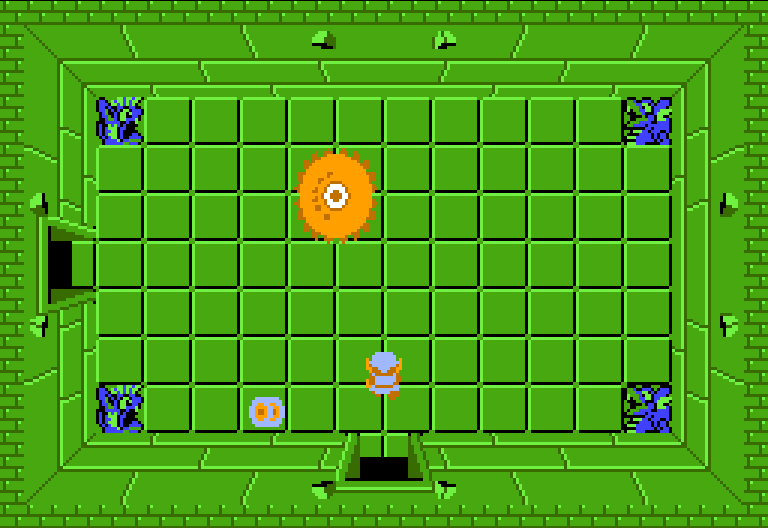
Path to the Lion
Getting to Labyrinth 8
From Labyrinth 7 to the start, go ↓ → ↓ 4→ ↓.
From the start to Labyrinth 8, go 4→ 2↑ → ↓ →.
Burn the bush that blocks the path.

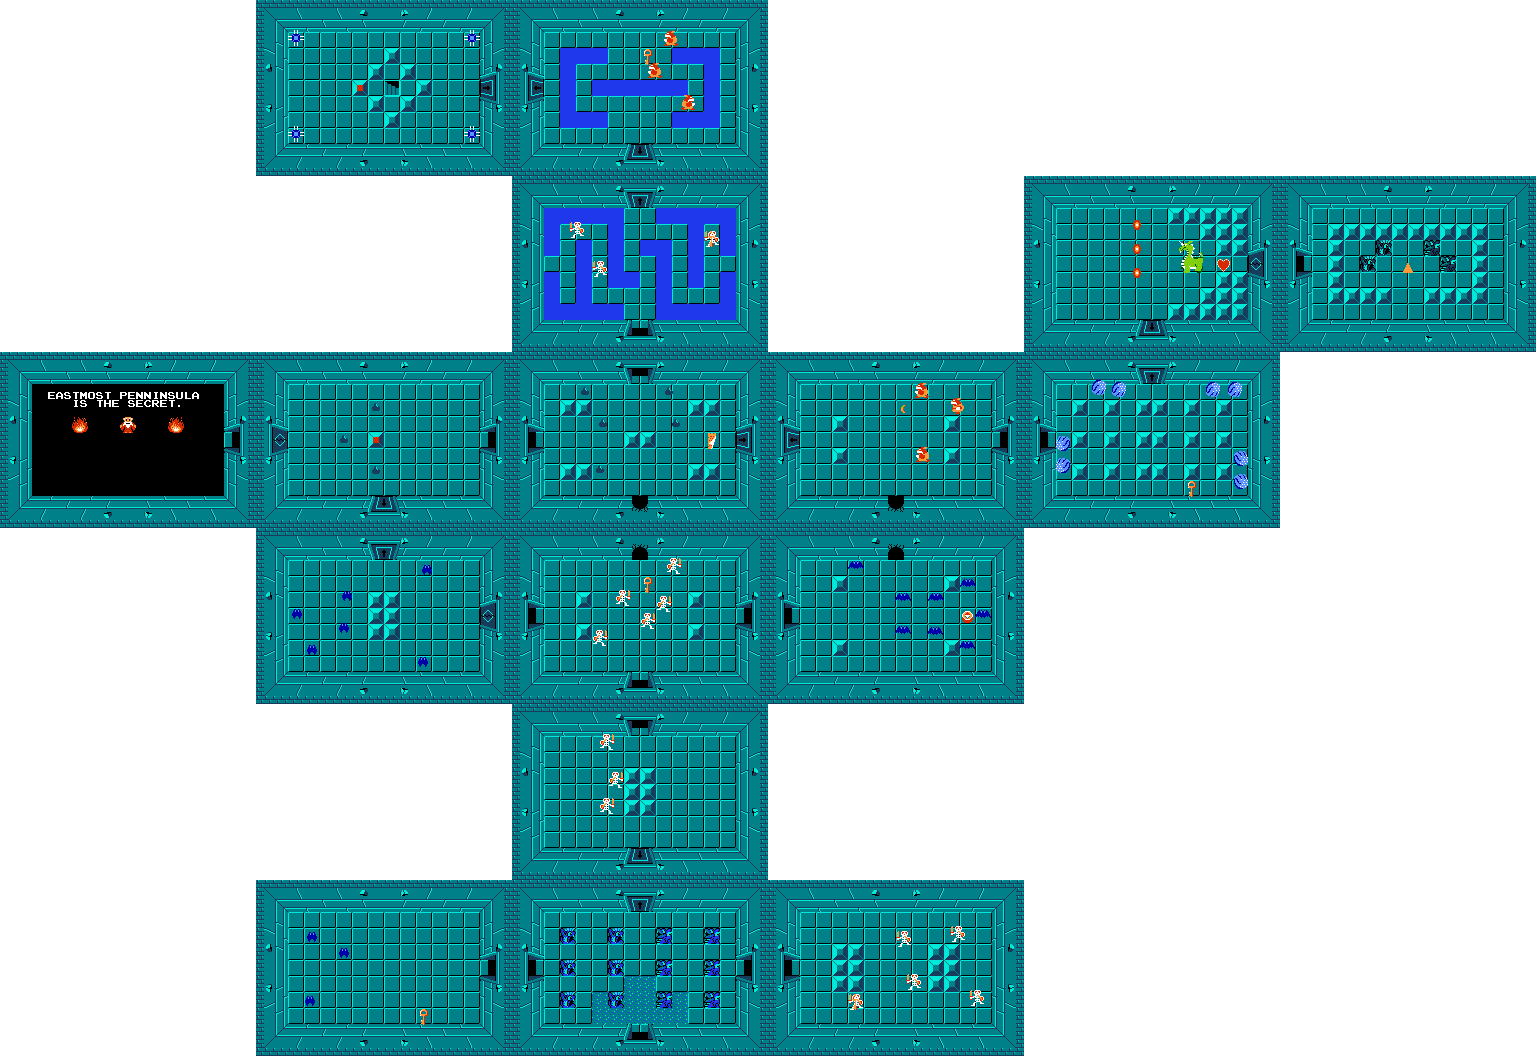
The Lion
Labyrinth 8
 Magic Book
 Magical Key

Go ←

Manhandla, try bombs. Rupees.
Go ←

4 Darknut, 3 Gibdo, 1 Bubble. Push left block. Go ⤓
4 Keese. Magic Book. Wand now shoots fire. Go ⤒ → → ↑

Manhandla. Rupees.
Bomb ↑ Go ↑

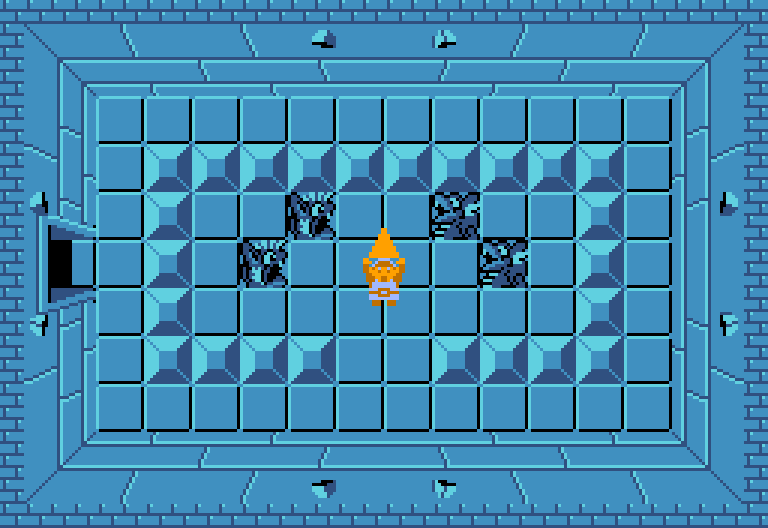
5 Darknut, Statues. Key.
Go ←

Light. 2 Pols, 2 Gibdo, 2 Keese. Key. Go ←

3 Darknut, Statues. Key.
Go 3→

8 Pols. Compass.
Go ← ↑

4 Darknut, 3 Gibdo, 2 Bubble, avoidable. Go ↑

6 Darknut, Statues.
Bomb ↑ Go ↑

Manhandla. Map.
Go ↑

Gohma, use arrows.
Go →

4 Darknut, 2 Pols. Push left block. Go ⤓
4 Keese. Magical Key.
Go ⤒ ← ↓ ↓ →


3 Darknut, 3 Gibdo, 2 Bubble. Bombs. Go ⤓

8 Pols. Key, no longer needed. Bomb ↑ Go ↑

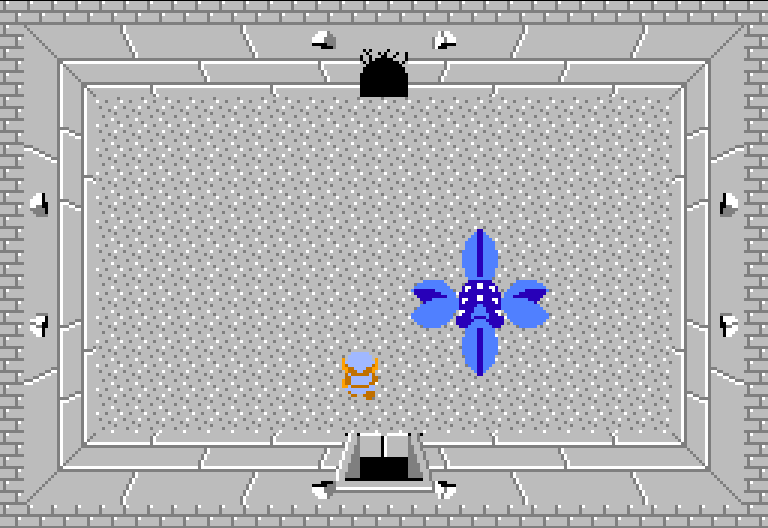
Gleeok with 4 heads. Heart.
Go ↑

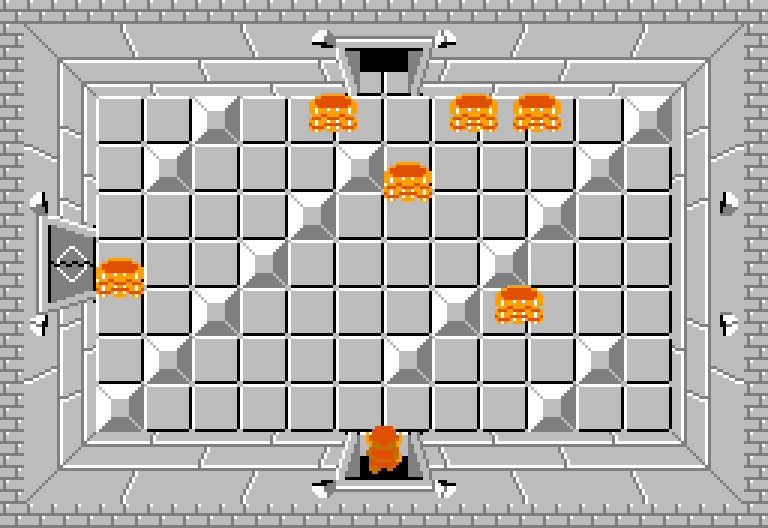
Triforce.
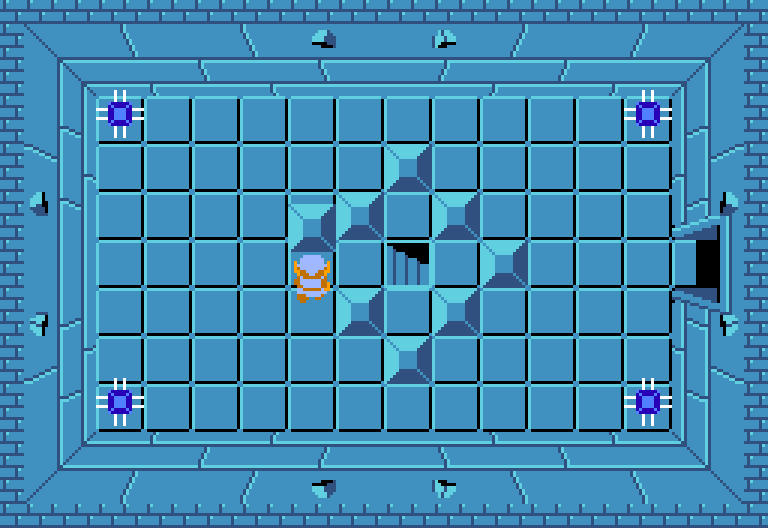
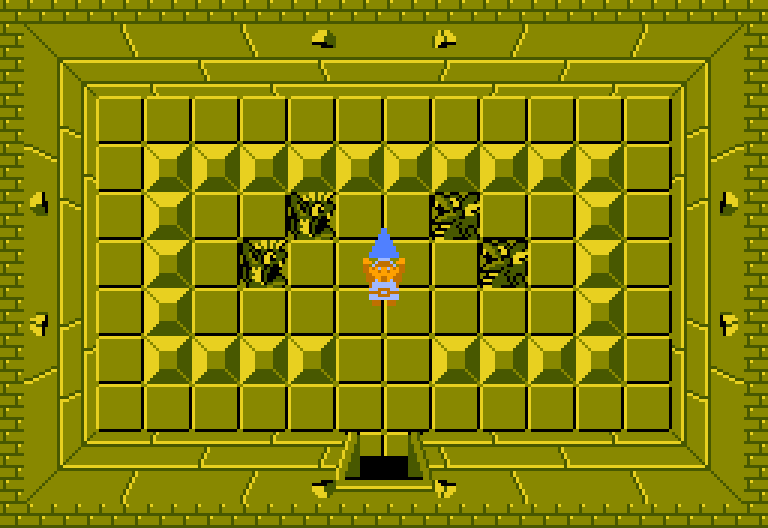
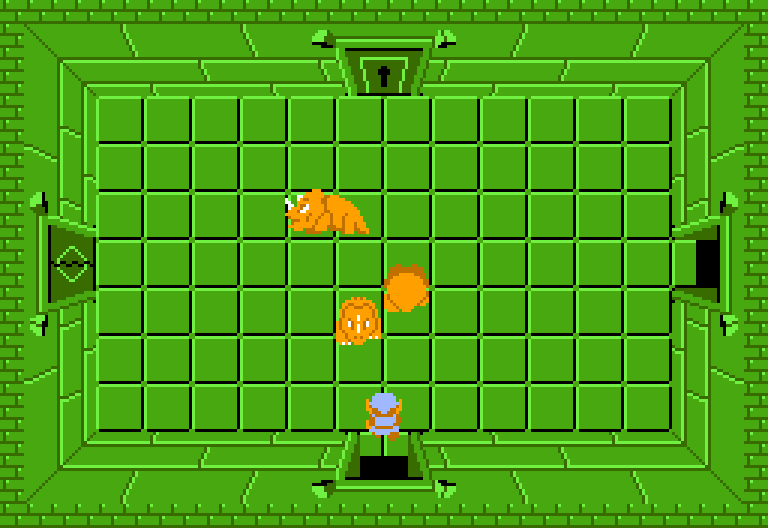
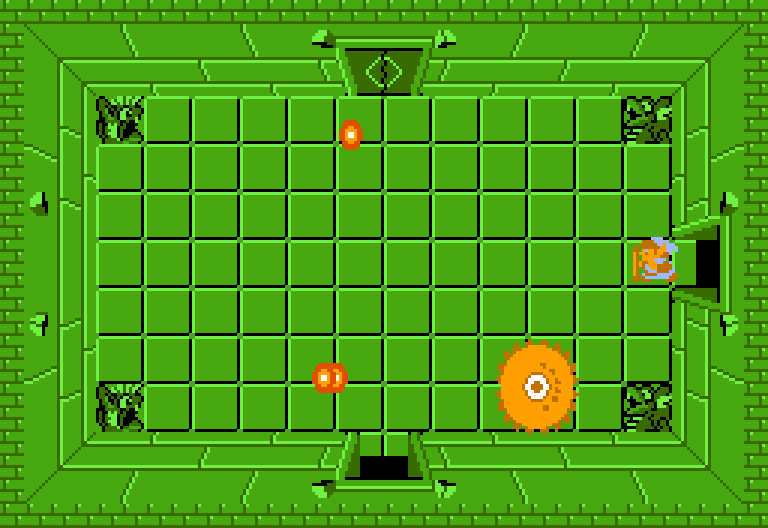
The Entrance to Death
Getting to Labyrinth 9
From Labyrinth 8 to Labyrinth 9, go ↑ 5← 3↑ ← 2↑ 2←.
From the start to Labyrinth 9, go → 5↑ ← 2↑ 2←.
Go ← once more to buy medicine.
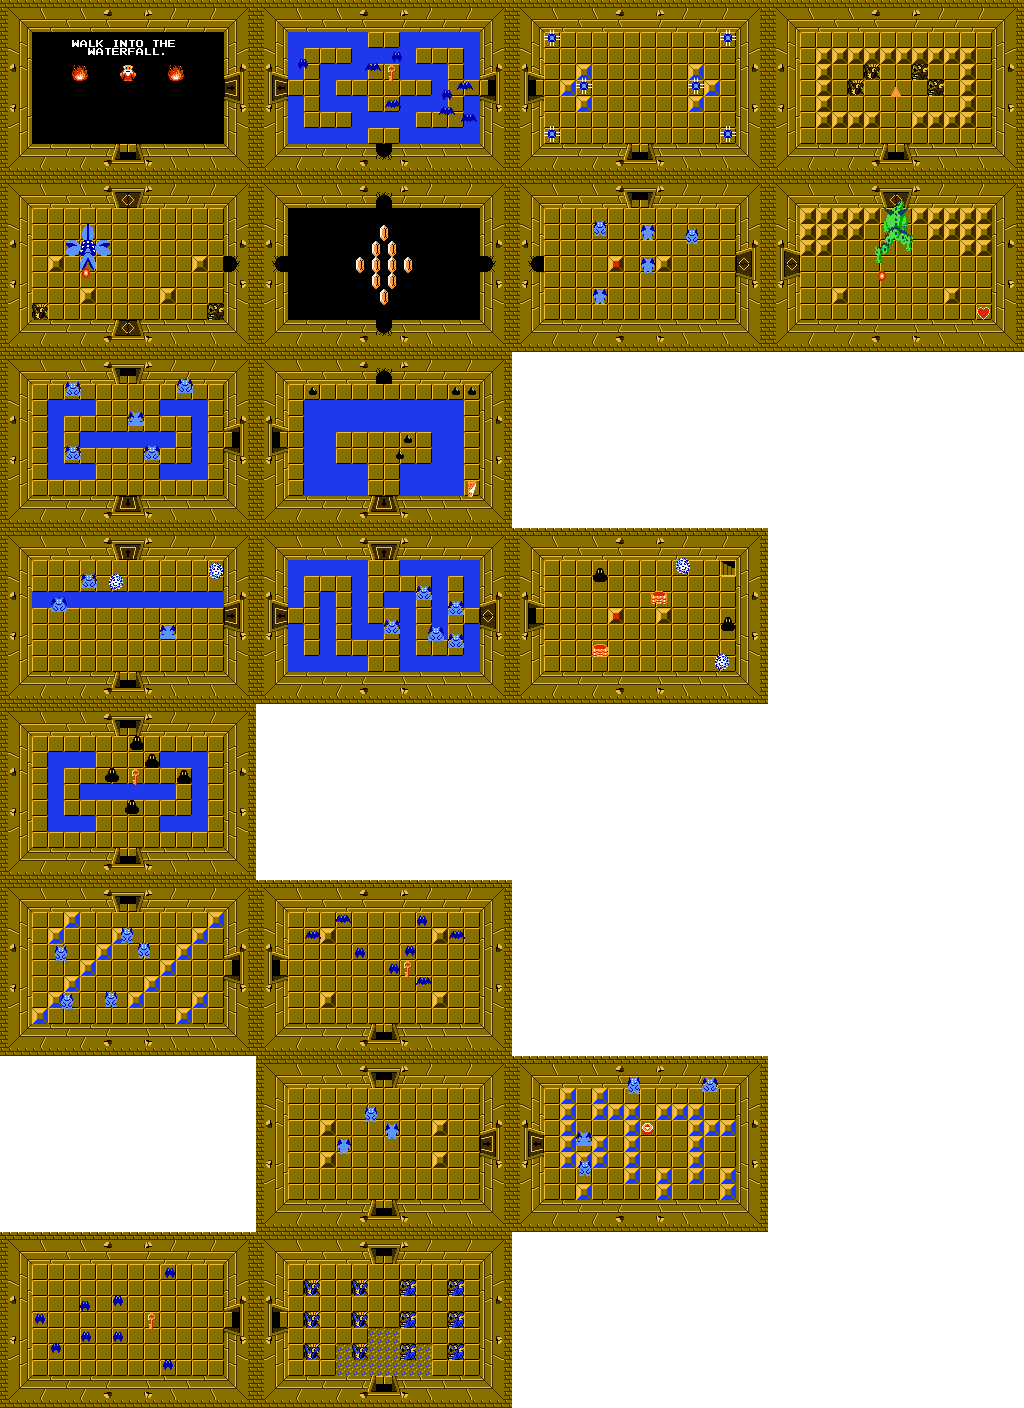
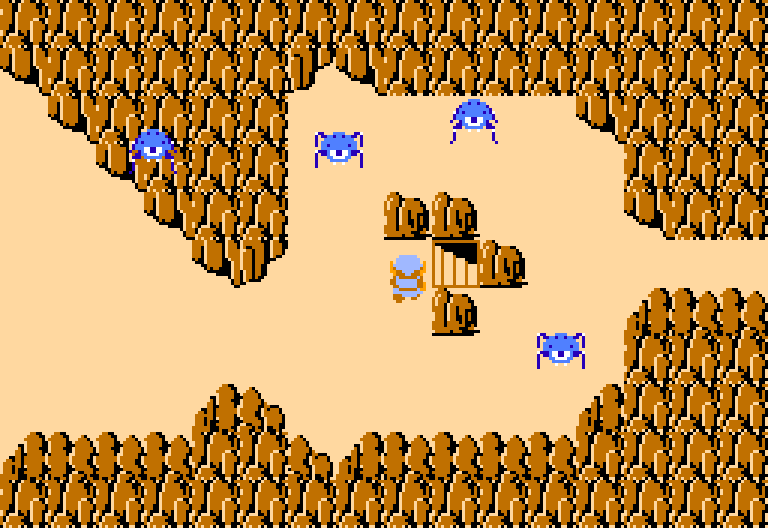
Death Mountain
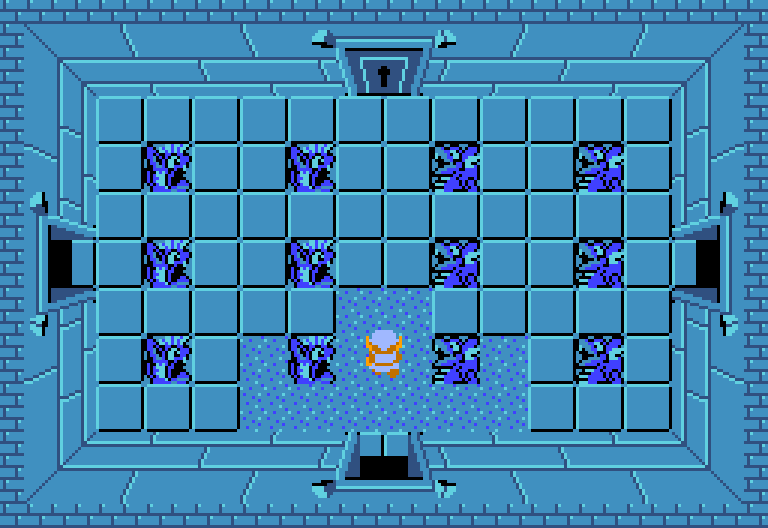
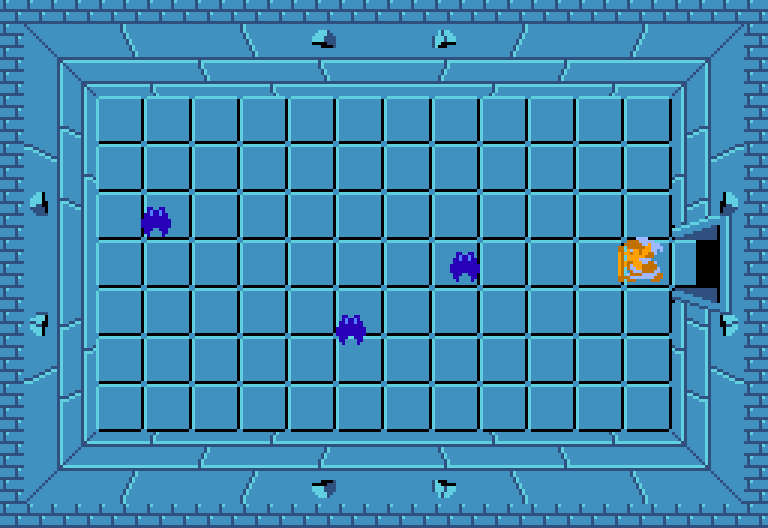
Labyrinth 9
 Red Ring
 Silver Arrow

Go ↑
Go ←
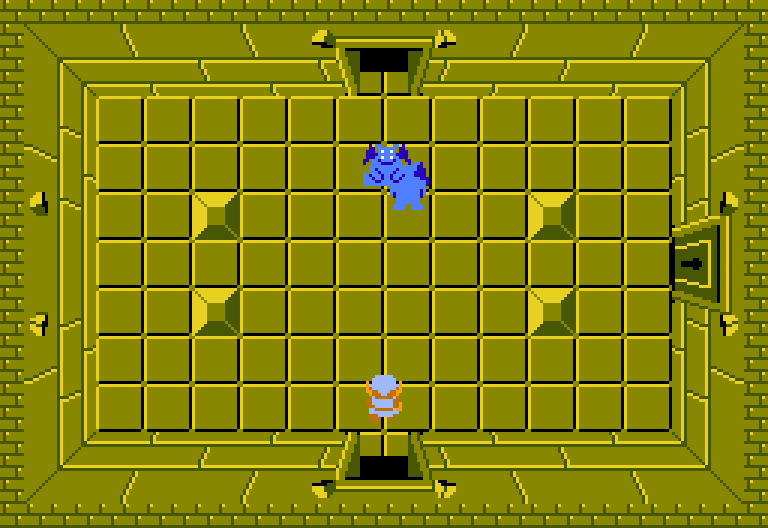
Light. 4 Wizzrobe, 3 Bubble. Bomb ↑ Go ↑
Lanmola, strike head. Push left block. Go ⤓
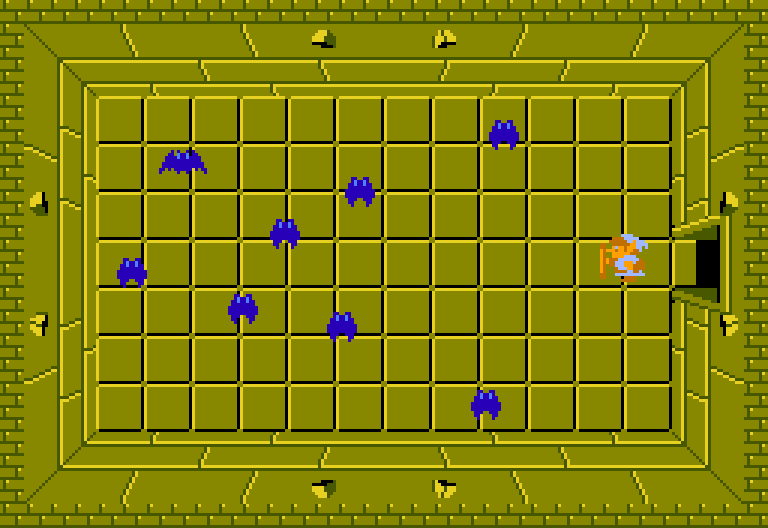
4 Keese.
Go ⤒
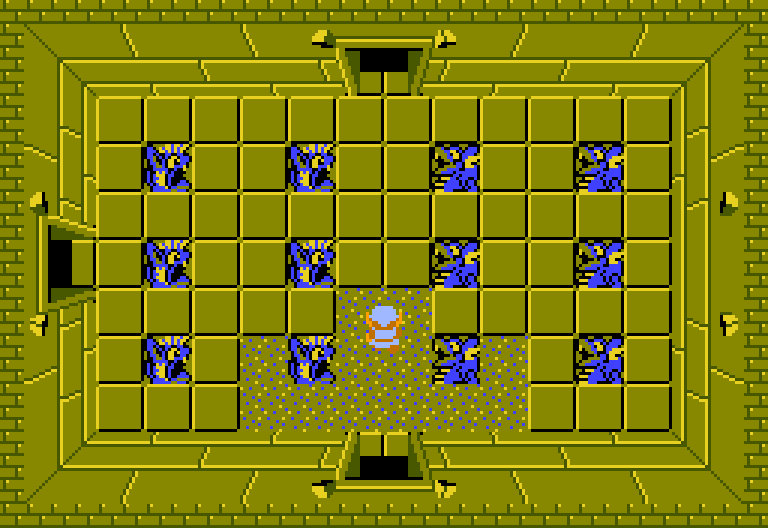
5 Like-Like.
Go →
3 Wizzrobe.
Bomb ↓ Go ↓


2 Like-Like, 2 Zol, 2 Bubble. Bombs. Bomb ↓ Go ↓


5 Wizzrobe. Compass.
Back ↑ ↑ Go →
Patra, defeat smaller ones first. Go ↓
8 Gel. Rupees.
Bomb → Go →
Patra. Map.
Bomb ↑ Go ↑
3 Like-Like, 4 Wizzrobe, 1 Bubble, avoidable.
Bomb ↑ Go ↑
4 Wizzrobe, 3 Bubble. Push left block. Go ⤓
4 Keese. Red Ring. 4x armor versus green.
Back ⤒ ↓ ↓ ← ↑ Go ↑
Old Man.
Bomb ← Go ←
5 Wizzrobe. Push left block.
Go ⤓
4 Keese.
Go ⤒
5 Zol.
Go ←
8 Keese. Rupees.
Go ←
Patra. Push left block.
Go ⤓

4 Keese.
Go ⤒
5 Wizzrobe.
Bomb ↑ Go ↑
5 Wizzrobe. 3 Bubble. Push mid-right block. Go ⤓
4 Keese. Silver Arrow.
Back ⤒ ↓ ⤓ ⤒ Go ↑
6 Like-Like.
Go ↑
Light. 4 Like-Like, Spikes, avoidable. Go ↑
4 Wizzrobe, 3 Like-Like, Bubble. Bomb ← Go ←
4 Wizzrobe. Push left block. Go ⤓
4 Keese.
Go ⤒
4 Wizzrobe, avoidable.
Bomb ← Go ←

2 Like-Like, 2 Zol, 2 Bubble. Push left block. Go ⤓

4 Keese.
Go ⤒
Patra.
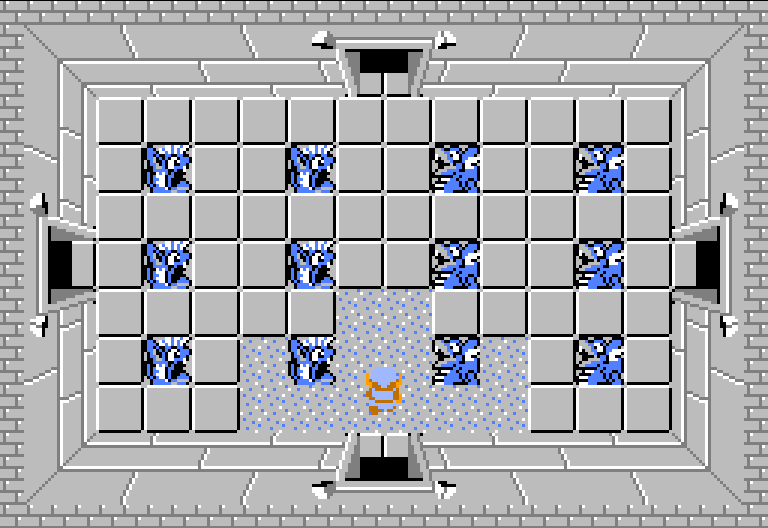
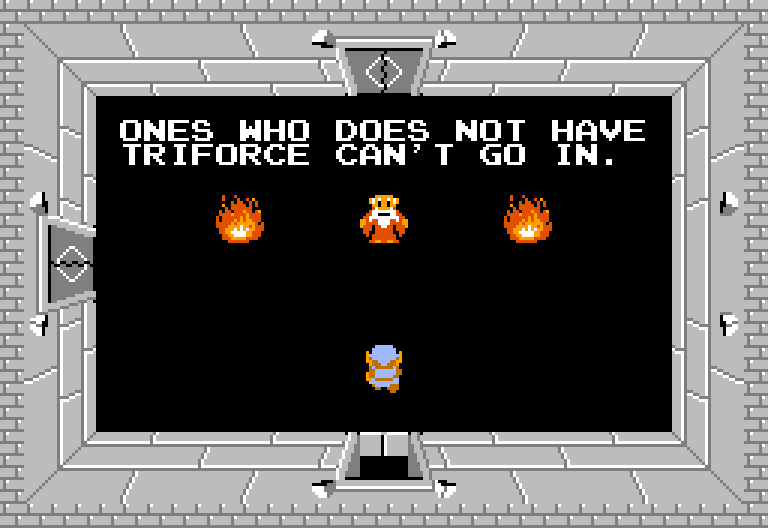
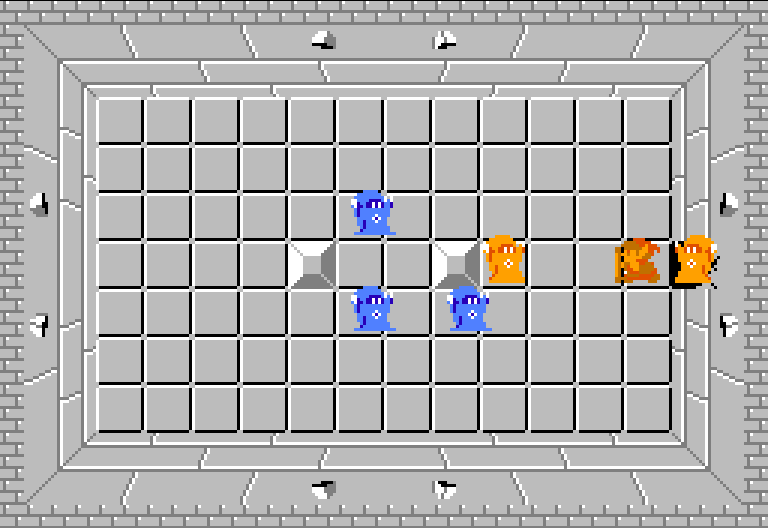
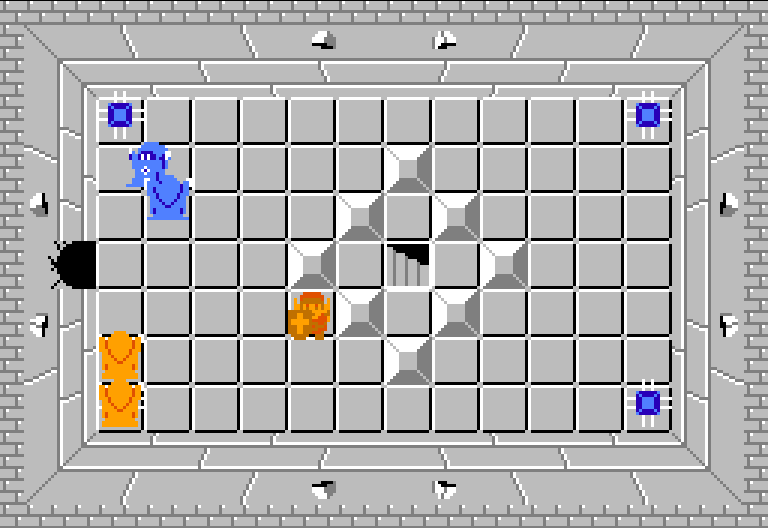
Go ↑ to face the Dark Beast
Dark Lord Ganon
Hatred and Malice Incarnate
Triforce of Power
Link will hold up the Triforce of Wisdom and the battle begins.
He disappears and shoots fire. Find the pattern, strike him.
Eventually, he weakens. Finish him with the silver arrow.
Retrieve the Triforce of Power. Go ↑
Slash away the fire. Approach Princess Zelda.
Thus ends the story
You're a Hero!
Thanks to Nintendo for this amazing classic, and thanks again to Zelda Dungeon for the original resources I've collected here. In contrast to the minimalism here, check out that site for a treasure trove of additional information covering all Zelda games.
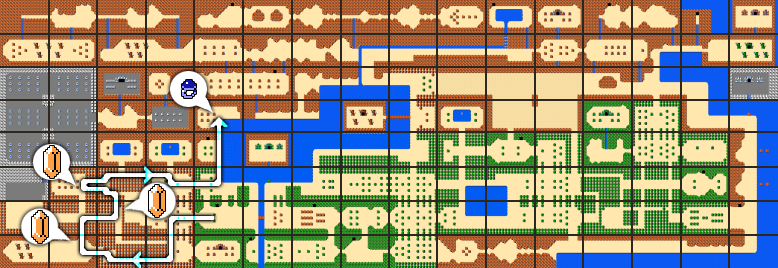
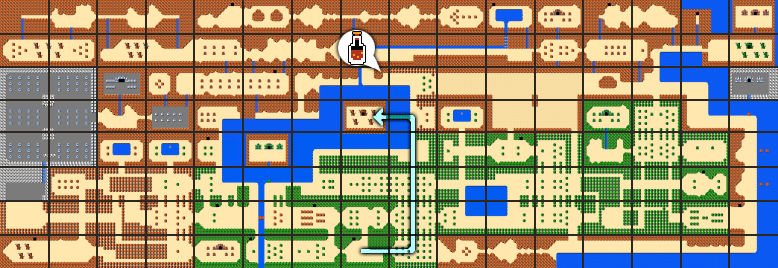
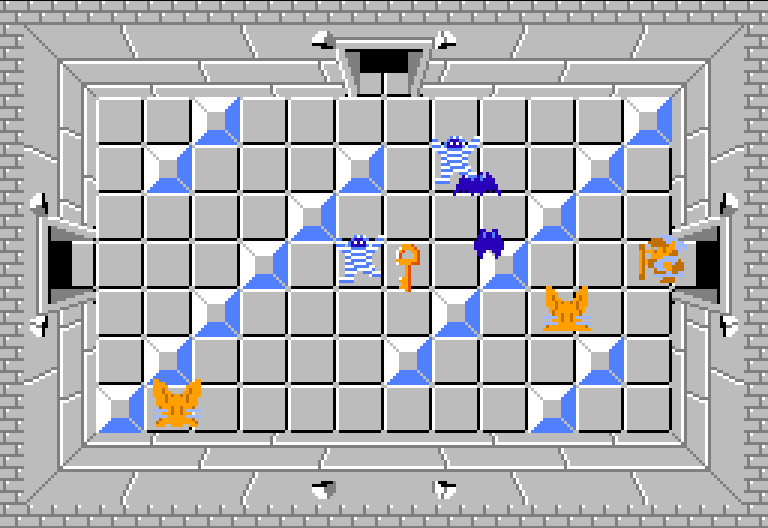
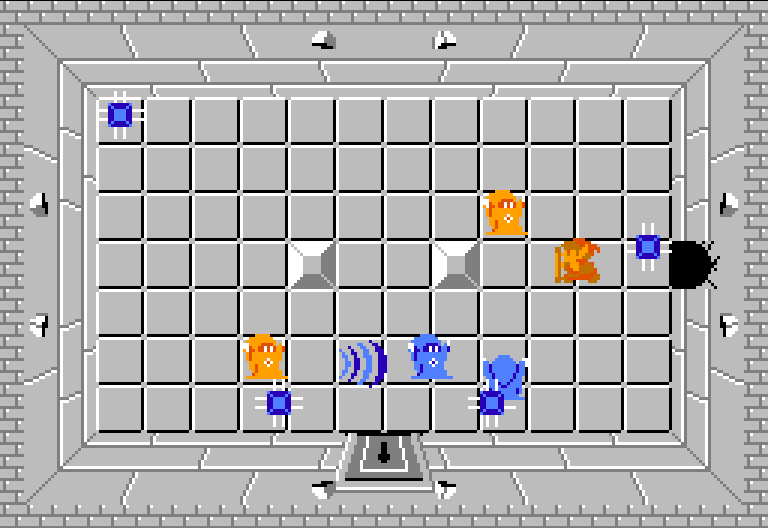
Emulation Resources
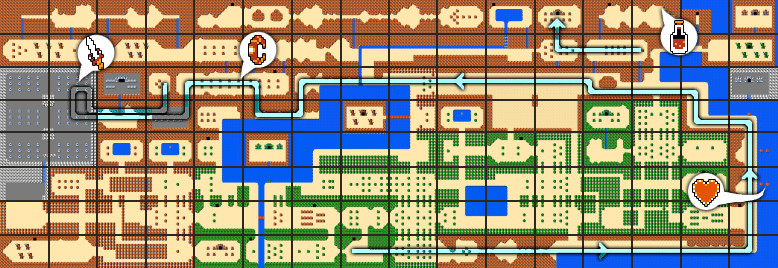
Conjure Magic at Home
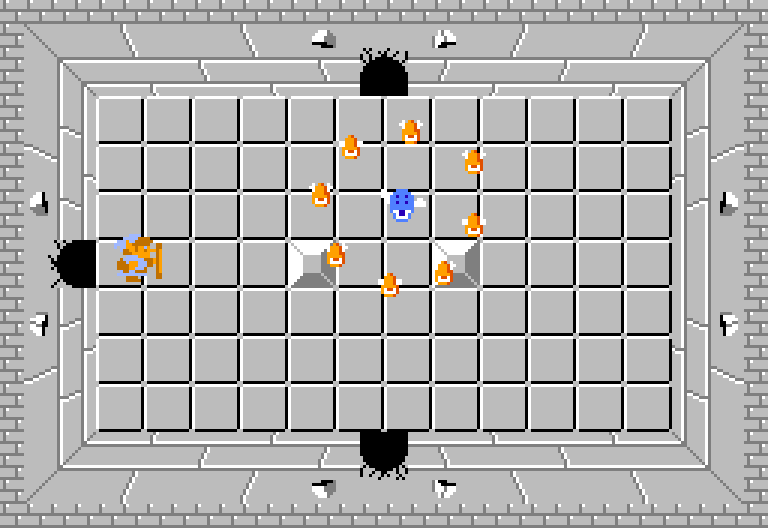
 Automap Plus
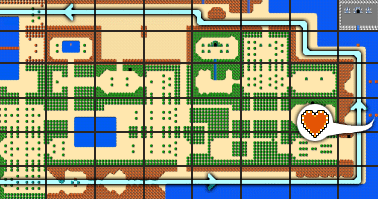
There are ROM hacks here which can add new graphics, levels, or features. This impressive entry is Automap Plus by snarfblam, which adds a map to the overworld that is revealed as the player explores.
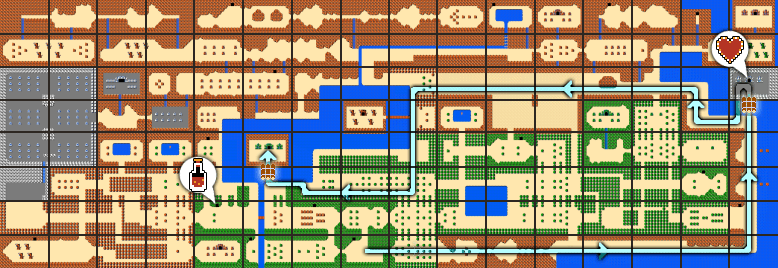
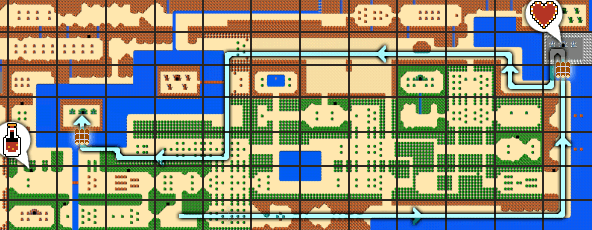
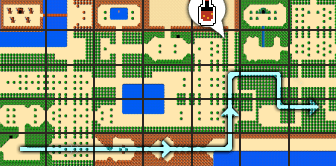
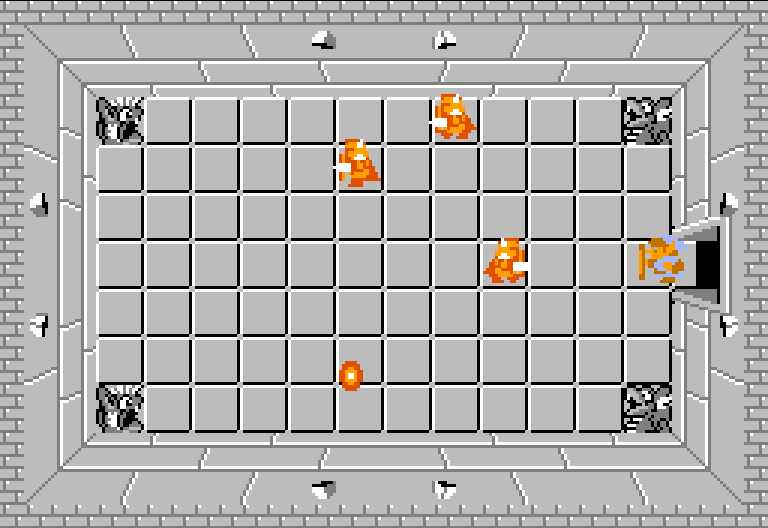
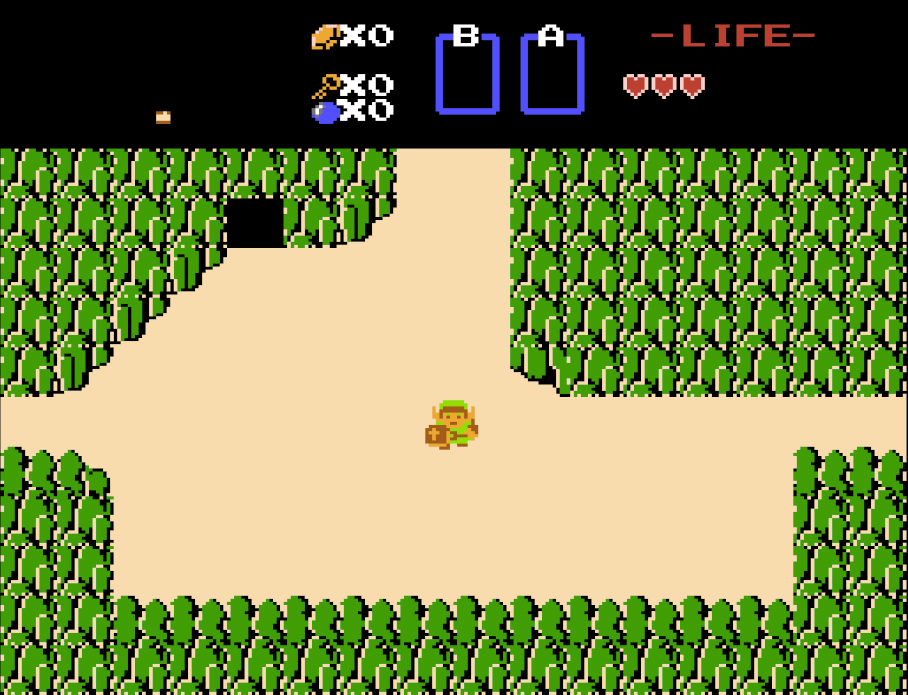
Original, unmodified, plain gray map:
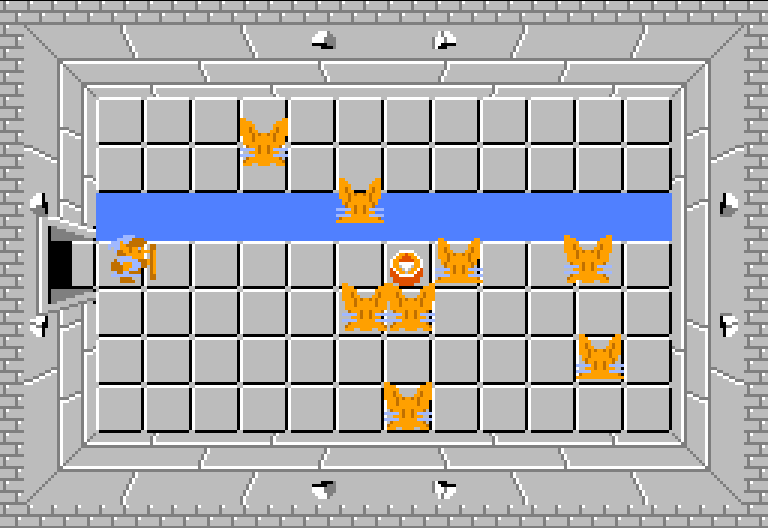
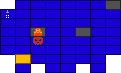
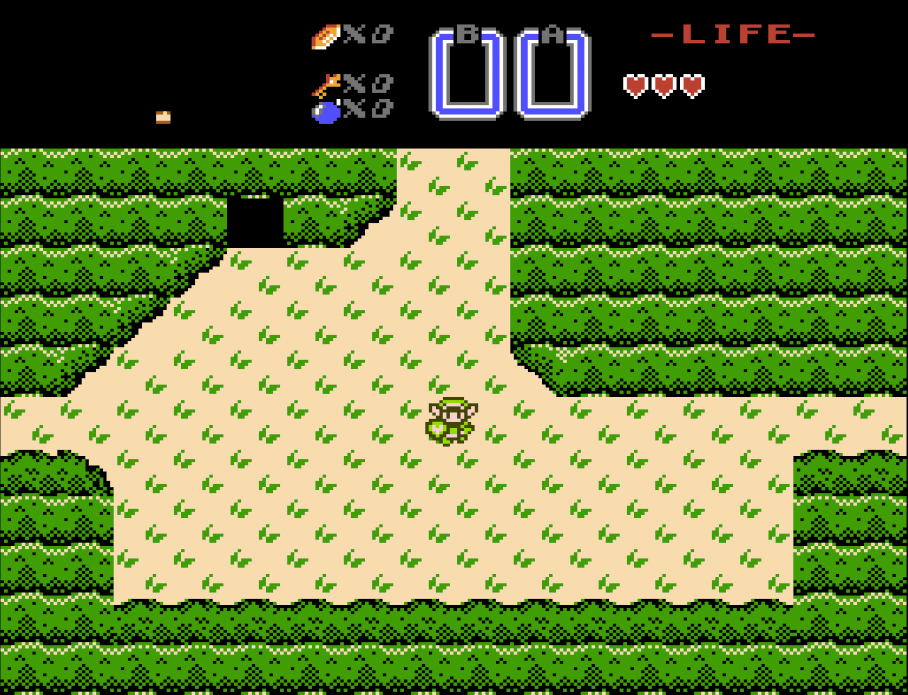
Automap, fully explored:

Additional changes: the heart meter is drawn in 1/8 heart increments, and potions and fairies refill life faster.
The hack is presented as a collection of patch files without the ROM itself, and you must have exactly the right version of the ROM with exactly the right checksum in order to apply the patch. Finding the right one was extremely difficult and time consuming, but I want to save you the effort, so long as you own a legitimate copy of the retail game.
 Download patched ROM, https://ttm.sh/hbt.nes
Rename it to something like
"The Legend of Zelda (map).nes".
Legend of Zelda DX
This ROM hack, The Legend of Zelda DX from pacnsacdave, updates graphics in the style of Link's Awakening DX which was released for Gameboy Color in 1998, while including snarfblam's automap too. I resisted this one as a NES nostalgia purist, but once I tried it I loved it.
Original:
DX graphics:
The automap isn't visible here because it's a fresh game which hasn't been explored yet.
Download patched ROM, https://ttm.sh/hWV.nes
Rename it to something like
"The Legend of Zelda (DX).nes".
 Multi-System Emulators
May the triforce be with you.
⤒ back to index